
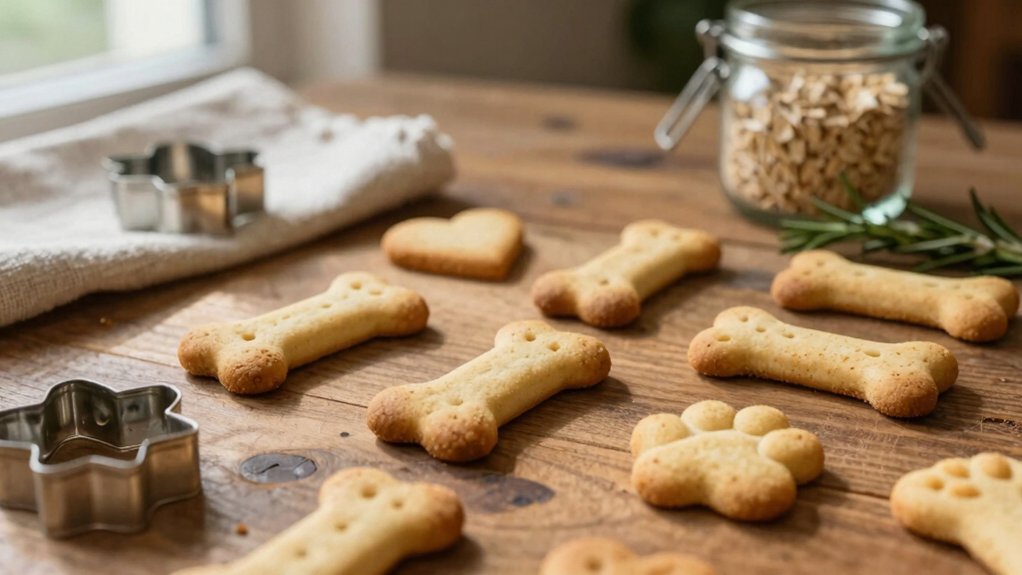
You’ll love this simple, vet-friendly peanut butter & pumpkin biscuit: mix 1 cup oats (ground), 1/2 cup canned pumpkin, 1/4 cup plain peanut butter, 1 egg, and a splash of water to form dough; roll, cut with a BoneItUp cookie cutter, and bake at 350°F for 15–20 minutes. It’s grain-friendly, low-salt, and easy to portion for training. Swap cooked chicken or sweet potato for variety, watch allergens, and follow vet guidance to learn more about tweaks and sizing.
Disclosure: This post may contain Amazon affiliate links, at no extra cost to you. Content on Pawtangle is created with research support from AI tools and carefully reviewed, edited, and fact-checked by the lead author, Dr.Fahri Pat , to ensure accuracy and reliability. Learn more
Key Takeaways
- Choose recipes using vet-safe ingredients (oats, sweet potato, plain peanut butter, lean cooked meat) and avoid toxic foods like xylitol, chocolate, grapes.
- Prefer recipes with clear calorie and portion guidance, using consistent measurements and cookie cutters for uniform treats.
- Select recipes that balance protein, carbs, and healthy fat appropriate for your dog’s size and life stage.
- Opt for simple, preservative-free formulations you can bake at home (350°F for ~15–20 minutes) using food-safe molds.
- Consult your veterinarian before introducing new homemade treats, especially for allergies, weight management, or medical conditions.
| BoneItUp DIY Dog Treat Making Kit |  | Best For Beginners | Contents: 4 silicone molds, 3 cookie cutters, 10 recipes, instruction guide, gift bags | Purpose: Home baking DIY dog treats | Care: Dishwasher-friendly (silicone); hand wash recommended for longevity | VIEW LATEST PRICE | Read Our Analysis |
More Details on Our Top Picks
BoneItUp DIY Dog Treat Making Kit
If you’re the kind of dog owner who loves hands-on projects and wants full control over what goes into your pup’s treats, the BoneItUp DIY Dog Treat Making Kit is a perfect fit. You get four silicone molds, three cookie cutters, ten recipes, an instruction guide, and gift bags, all in a compact 9.57 x 6.77 x 2.44-inch package. It’s an all-in-one kit that lets you mix simple, preservative-free ingredients, shape dough, and bake at 350°F for 15–20 minutes. The tools are food-safe and dishwasher-friendly, though hand washing will keep them lasting longer. Great for gifts and parties.
- Contents:4 silicone molds, 3 cookie cutters, 10 recipes, instruction guide, gift bags
- Purpose:Home baking DIY dog treats
- Care:Dishwasher-friendly (silicone); hand wash recommended for longevity
- Baking Temperature:Bake at 350°F
- Weight:10 ounces (283 grams)
- Packaging Dimensions:Package 9.57 x 6.77 x 2.44 inches; Item 8.28 x 2.56 x 11.56 inches
- Additional Feature:Silicone molds included
- Additional Feature:Gift bags provided
- Additional Feature:10 recipe collection
Factors to Consider When Choosing Dog Biscuit Recipes
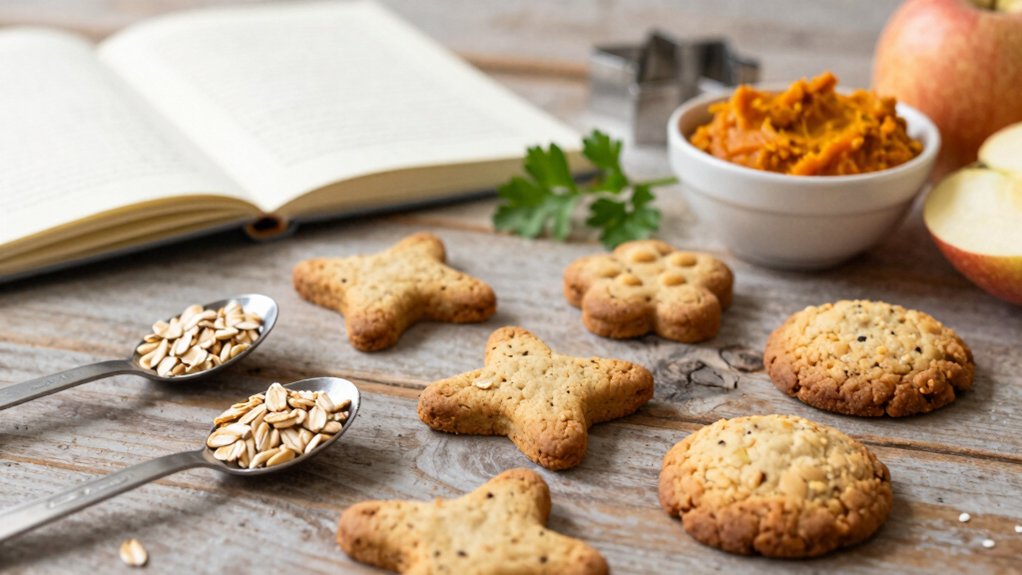
When you pick a dog biscuit recipe, start by checking ingredient safety and whether the mix gives balanced nutrition for your dog’s size and life stage. Also watch for common allergens and choose ingredients you can actually find locally, so you won’t be tempted to substitute risky items. Finally, think about portion size control—make biscuits small for training treats and larger for meals, and use consistent measurements so each treat has predictable calories.
Ingredient Safety
Because your dog’s health depends on what you feed them, you’ll want to pick ingredients that are both tasty and safe, and that means avoiding a handful of well-known hazards like chocolate, grapes, raisins, onions, and garlic. Start with whole, natural options—oats, sweet potatoes, and plain peanut butter are great choices because they’re nutritious and familiar. Watch for allergens: many dogs react to wheat, corn, or soy, so try oat or almond flour as alternatives. Use low-sodium ingredients and skip added sugars or artificial sweeteners, especially xylitol, which is extremely toxic. Finally, check your dog’s specific health needs—age, weight, and conditions like pancreatitis change what’s safe—so confirm with your vet before making treats.
Nutritional Balance
Balancing nutrients in homemade dog biscuits means thinking like a tiny chef for your pup’s body: aim for a clear mix of protein, carbs, and healthy fat so treats support energy, muscle, and coat health rather than just filling bellies. Start by choosing a lean protein like cooked chicken or canned salmon for muscle repair, and compare quantities so protein isn’t just a garnish. Add whole grains—oats or brown rice—for steady energy and fiber to keep digestion regular. Include vegetables or fruits such as carrots or blueberries for vitamins and antioxidants, but use them in moderation. Boost skin and coat with a small amount of fish oil or ground flaxseed as the healthy fat. Always skip toxic items like chocolate, grapes, and onions.
Allergen Awareness
Although you want your pup to enjoy every bite, you also need to watch for ingredients that can cause allergies or sensitivities, so pick recipes with care and a bit of planning. First, know common allergens: wheat, corn, soy, and dairy often upset dogs, so try grain-free flours or oat alternatives when needed. Many dogs also react to proteins like chicken or beef; consider swapping in lamb or fish and test one new protein at a time. Never use toxic foods such as chocolate, grapes, or onions. Always check labels for hidden allergens and additives, and keep treats simple. Before you bake, consult your veterinarian to confirm restrictions and set up an elimination test safely.
Ingredient Availability
When you pick a dog biscuit recipe, think first about how easy it will be to find the ingredients—you don’t want to be halfway through baking only to realize a key item is rare or expensive. Start with recipes that use pantry staples like whole wheat flour, oats, and peanut butter; they’re cheap, common, and often in every home. If you like seasonal flavors—pumpkin or sweet potato—choose them based on local availability so you won’t hunt online. Check your dog’s dietary needs up front; allergies or restrictions will narrow your options and affect where you shop. Finally, mind shelf life: perishable ingredients mean smaller batches and quicker use, while dry staples let you store mixes for months and bake on demand.
Portion Size Control
Think of portion size as the steering wheel for your dog’s weight—you control it, and it keeps everything on track. When choosing biscuit recipes, check each treat’s size and calories so they fit your dog’s daily needs; smaller biscuits work great for training since you can reward often without overdoing calories. Match biscuit size to breed and activity level — tiny cutters for toy breeds, larger ones for active working dogs — and adjust portions if your dog is less active. Use standardized cookie cutters or molds to make uniform biscuits, which makes counting easier. Weighing batches or noting calories per biscuit helps you compare recipes and stick to a plan that supports a healthy weight and lifestyle.
Ease Of Preparation
If you want baking to feel quick and stress-free, pick recipes that use simple, easy-to-find ingredients and just a few clear steps—mix, shape, and bake—and you’ll save time without sacrificing quality. When you choose recipes, prioritize those with short ingredient lists and straightforward instructions so you can move from counter to oven fast. Look for specific baking temperatures and times to avoid guesswork and get consistent results. Use silicone molds or cookie cutters to speed shaping and keep treats uniform, which helps with portion control. Also favor recipes that offer easy variations—swap oats for pumpkin or add a little cheese—so you can modify for occasions or picky pups without extra fuss. These choices make baking enjoyable and reliable.
Conclusion
You’ve got the tools to pick or tweak a dog biscuit recipe that’s safe, tasty, and easy to make. Think about ingredients, nutrients, allergies, and portion control—then test small batches. For example, Maria swapped wheat for oat flour for her Labrador’s sensitive stomach and saw faster digestion and more tail-wags. Try one change at a time, keep treats small, and label batches. With a little practice, you’ll make biscuits your dog loves and you trust.