
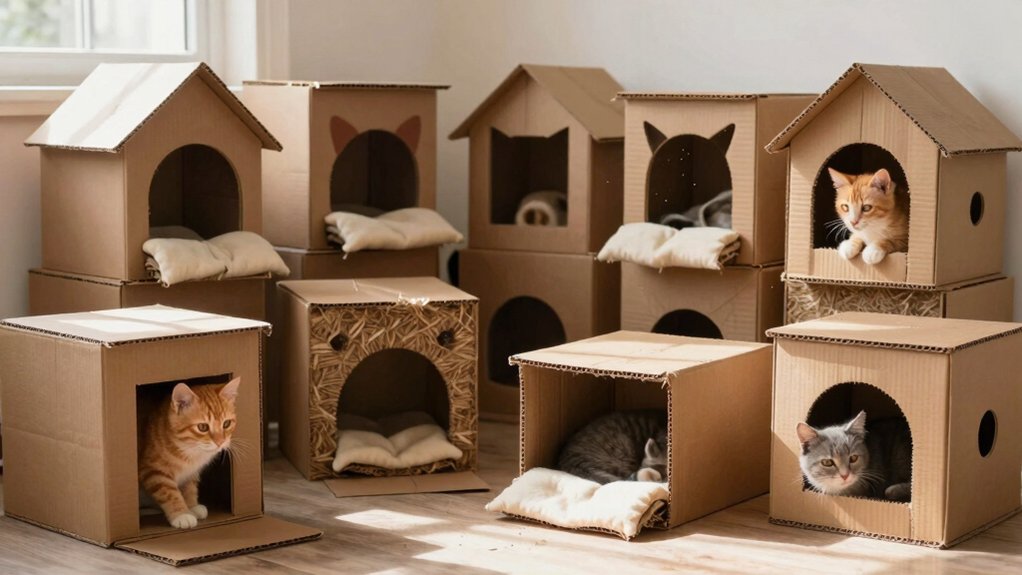
You can build 13 cardboard cat houses your cat may love, including a modern cottage, castle, tunnel playhouse, multi-level condo, hidden retreat, camper van, space rocket, mushroom cottage, café, scratch house, window hideaway, Scandinavian cottage, and beginner box house. Start with a sturdy 20–24-inch box, cut safe doors and windows with a utility knife, smooth edges, and add a peaked roof, washi-tape trim, bedding, scratch panels, or ramps. Keep each house stable, ventilated, and sheltered outdoors. More practical design tips follow.
Disclosure: This post may contain Amazon affiliate links, at no extra cost to you. Content on Pawtangle is created with research support from AI tools and carefully reviewed, edited, and fact-checked by the lead author, Dr.Fahri Pat , to ensure accuracy and reliability. Learn more
Key Takeaways
- Choose a sturdy 20–24-inch cardboard box that lets your cat turn around, stretch, and settle comfortably.
- Create appealing designs such as cottages, castles, tunnels, window hideaways, camper vans, or space rockets.
- Cut cat-sized doors and windows neatly with a utility knife, then smooth edges and frame them with washi tape.
- Add peaked roofs, scratching panels, ramps, platforms, ventilation holes, and reinforced seams for safe, stimulating play.
- Make the house inviting with cozy bedding, familiar cardboard scents, favorite dry food, and sheltered, fully cured weatherproofing outdoors.
Modern Cat Cottage
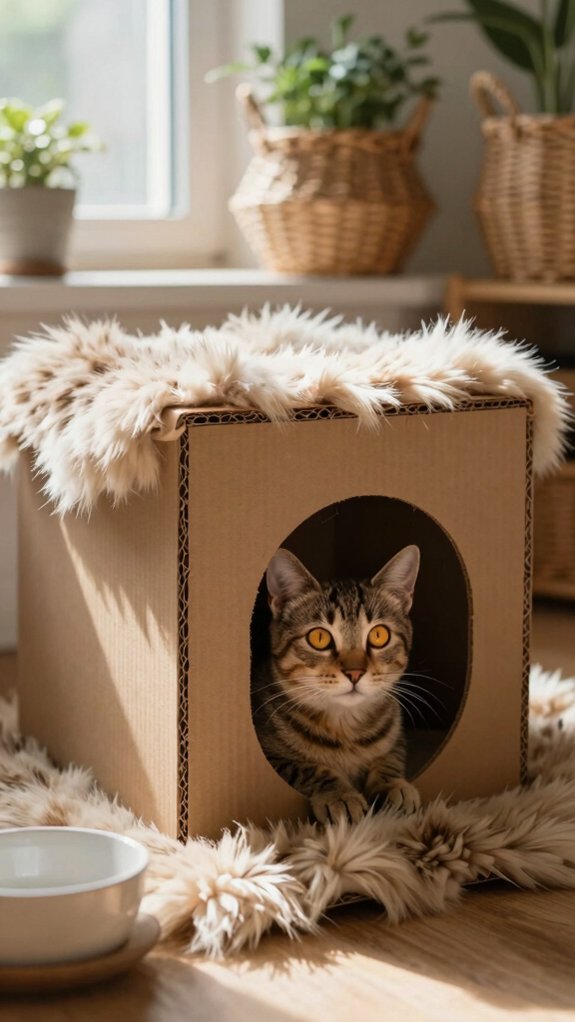
Start with a sturdy cardboard box and shape it into a clean, modern cat cottage by trimming the sides into straight facade lines, removing the longest flaps, and forming a simple roof peak with a center ridge.
Add straw insulation beneath a cardboard-sheet roof, folding it over the ridge and extending it a couple inches for shade and support.
Cut crisp door and window openings with a utility knife and metal ruler, then add washi-tape frames, doorway trim, and a tiny porch mailbox.
Include ventilation holes for fresh air.
Place your cat’s favorite food inside, and you’ll invite them into a welcoming little home.
Castle-Inspired Design
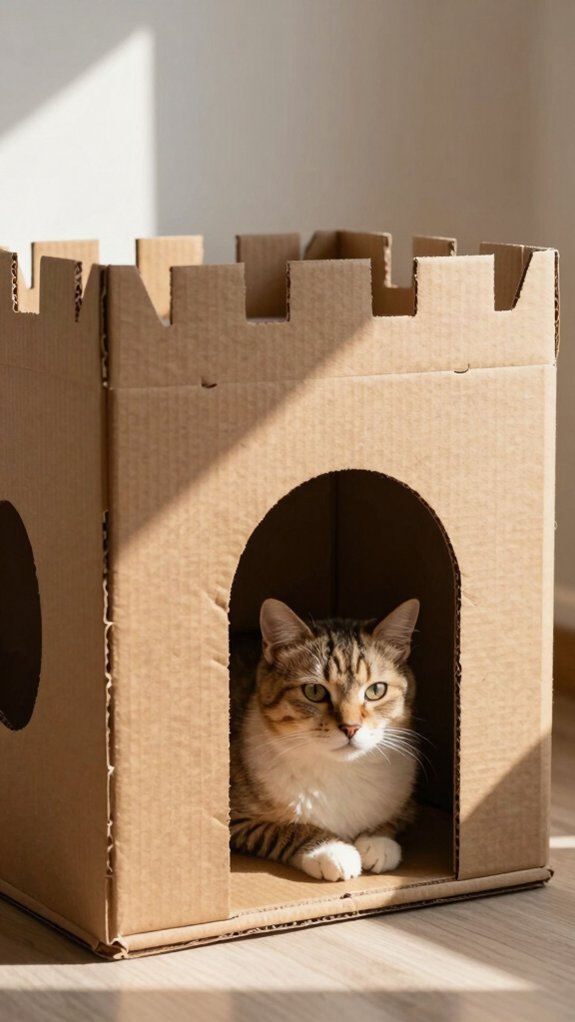
Turn a sturdy box into a friendly royal hideout by shaping its roof like a peaked tower. Fold a cardboard sheet down the center to create a ridge, then turn the long-side flaps into triangle peaks. Glue the roof in place with a couple-inch overhang on every side for a cozy turret look.
Cut arched or rectangular windows and a welcoming door. Use washi tape for window framing, battlements, and simple stone lines, so your cat’s home feels like part of the household.
Add a tiny porch light or cardboard mailbox near the entrance. Finish with cardboard paint and lace trim around the doorway.
Tunnel Playhouse
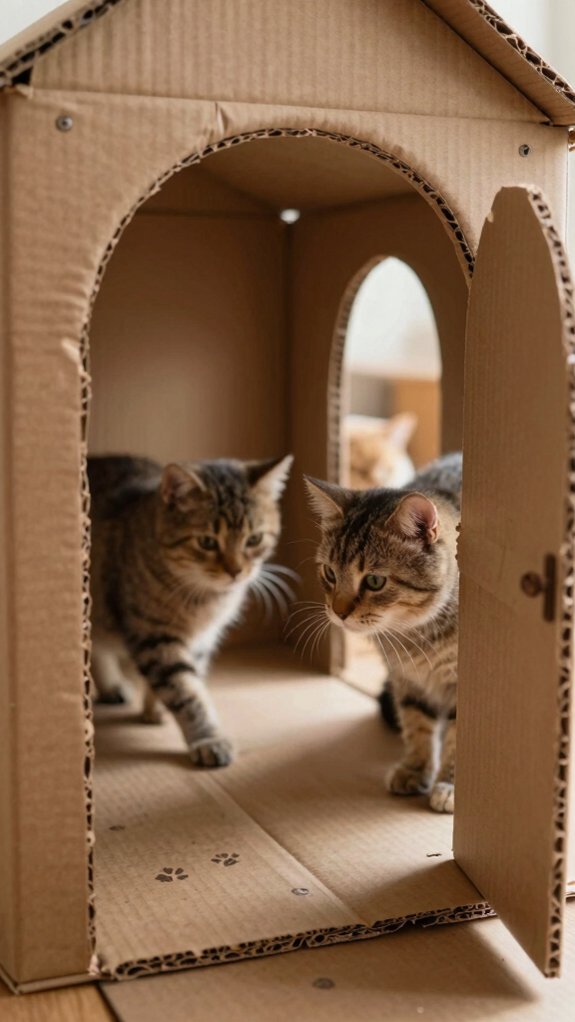
Build a tunnel playhouse by cutting matching arched or rectangular openings into opposite sides of a sturdy box, giving your cat a clear route to crawl through. Make each opening about your cat’s body width plus a little extra, then smooth every edge with tape.
Remove the flaps, shape triangle roof peaks, and fold cardboard into a roof ridge, while leaving a passage beneath or through the structure. Reinforce long spans with strips underneath so energetic cats won’t collapse them.
Add a doorway, simple inner perch, or food spot beyond the entrance. For tunnel safety, check daily, and place a scratching ramp nearby.
Multi-Level Cat Condo
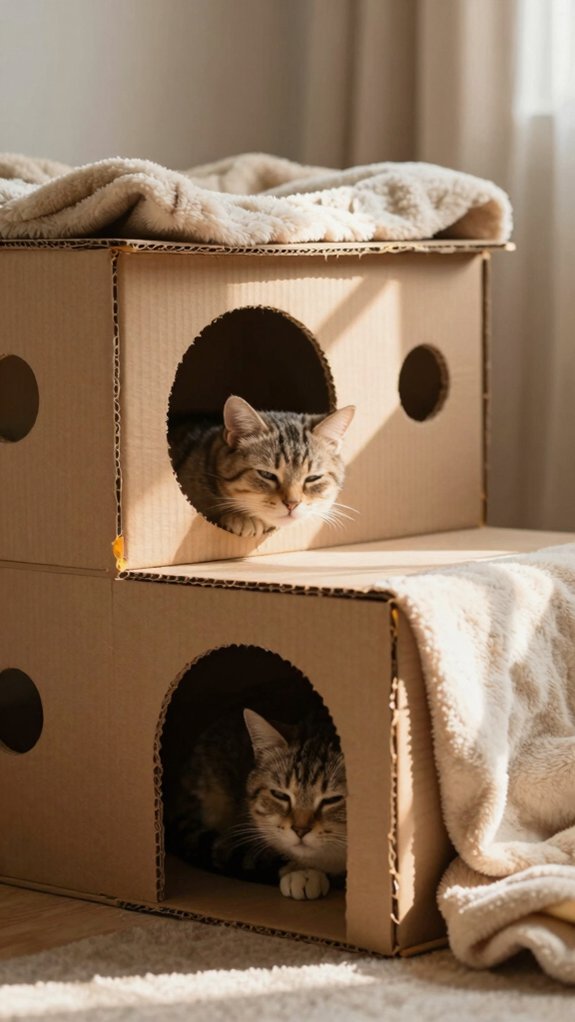
When your cat enjoys climbing and observing, a multi-level cardboard condo turns sturdy boxes into a small indoor tower. Stack two or three sturdy box rooms, then secure every seam with hot glue and extra braces. Test each level before inviting your cat inside.
Cut windows, doorways, and peek openings so your cat can choose a viewpoint. Add a Reinforced floor beneath busy landing areas, and connect levels with a cardboard ramp or ladder. Check ramp safety by adding corrugated grips and removing loose edges.
Give upper rooms slight roof overhangs for shade and stability. Finish with light decorations, keeping airflow and paths clear.
Hidden Cat Retreat
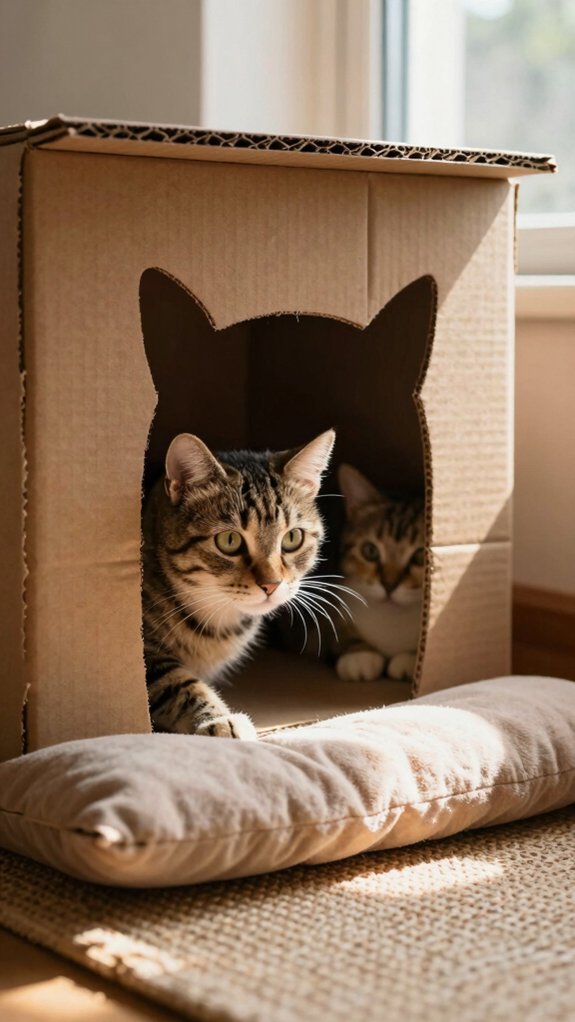
Create a tucked-away cardboard retreat by leaving one side more enclosed than the others, so your cat can relax without feeling exposed. Cut a hidden doorway with a utility knife and metal ruler, and smooth any sharp edges.
Add a folded cardboard roof that forms a center ridge, extending slightly past the walls for extra cover. Keep the safe enclosure away from busy household paths, then decorate the entrance lightly with washi tape or lace trim.
For friendly treat placement, set a favorite snack near the doorway. A calming scent from familiar bedding can encourage exploration, especially when your cat needs a quiet place to belong.
Window Hideaway
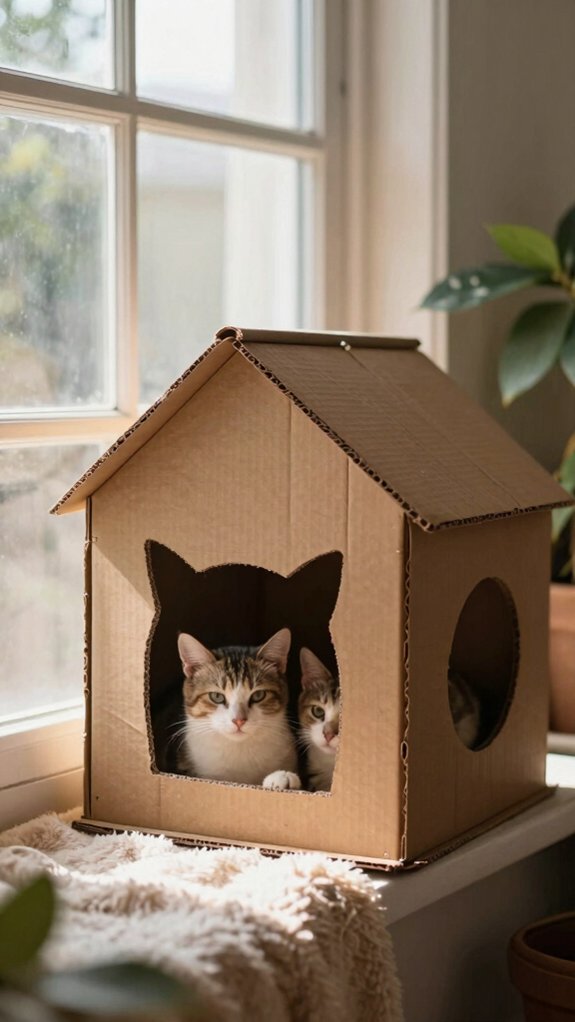
Give your cardboard house a window hideaway by cutting a few cat-sized openings into one side with a utility knife and metal ruler. Keep the window placement low enough for a relaxed peek, but clear of the floor.
Add wasp tape trim around each opening to soften edges and make the frames feel cozy. Cut one section wide enough for your cat to sit partly hidden while watching the room.
| Detail | Cozy result |
|---|---|
| Low windows | Easy peeking |
| Partial opening | Safe retreat |
| Tape trim | Softer edges |
Place your cat’s favorite bowl inside, then watch your housemate investigate the layout.
Scratch-and-Play House
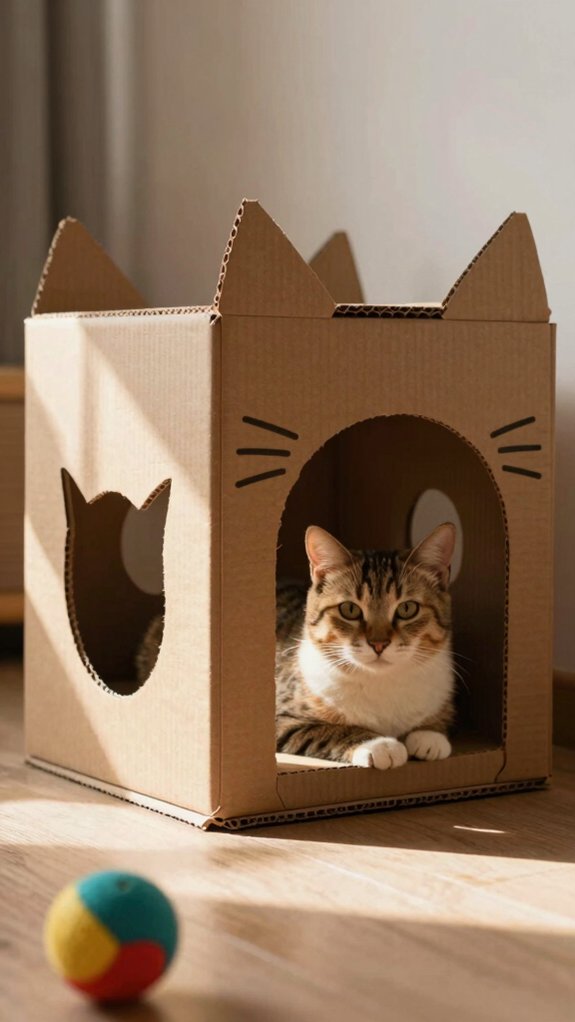
Turn the cardboard house into a scratch-and-play spot by cutting cat-sized windows and doors, then reinforcing the walls and roof so they stay solid during daily play.
Add durable corrugation panels where your cat tends to scratch, especially near the entrance.
Leave interior edges flat, and create card scratch zones with roughened cardboard patches for easy claw testing.
Extend the roof a few inches past each side, so your cat can lounge and scratch from different angles.
Fold another sheet in half to form a strong center ridge.
Place a small serving of Rachael Ray™ Nutrish® Indoor Complete near the doorway to invite curious first visits.
Minimal Scandinavian Style
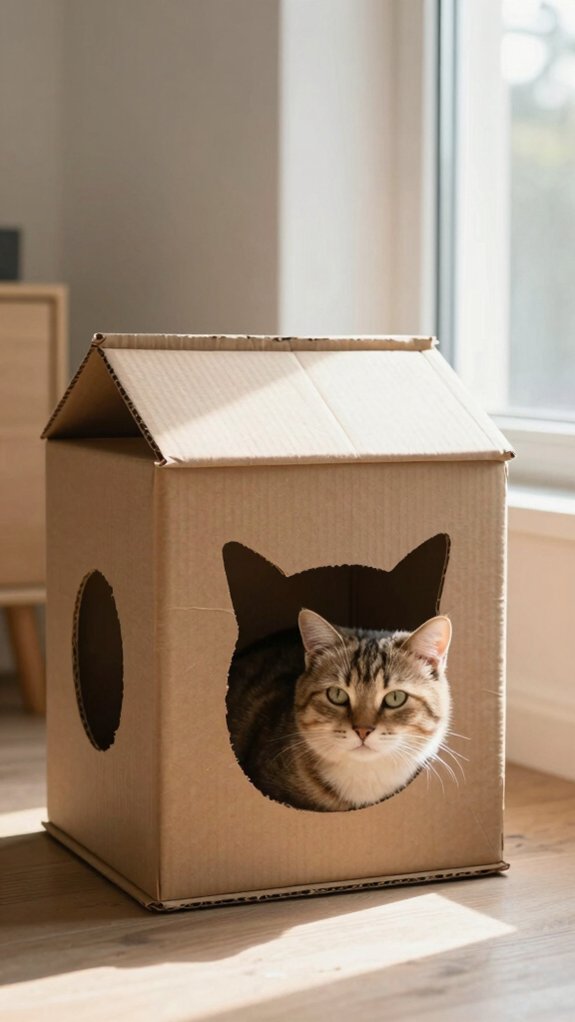
For a calm Scandinavian look, keep the cardboard house clean and geometric with simple box walls and one centered roof ridge. Choose Neutral colorways, such as unpainted kraft cardboard, white, or light gray, so the shelter fits comfortably into your home.
Use simple geometry and functional details, including a narrow doorway and one tidy window. Cut the roof from one sheet, fold it in half, and add a small overhang for a crisp outline.
Skip clutter and busy decorations. If you like, add thin washi tape trim or one understated porch-light shape.
Your cat gets a cozy retreat, and your shared space stays calm and welcoming.
Cat Café Design
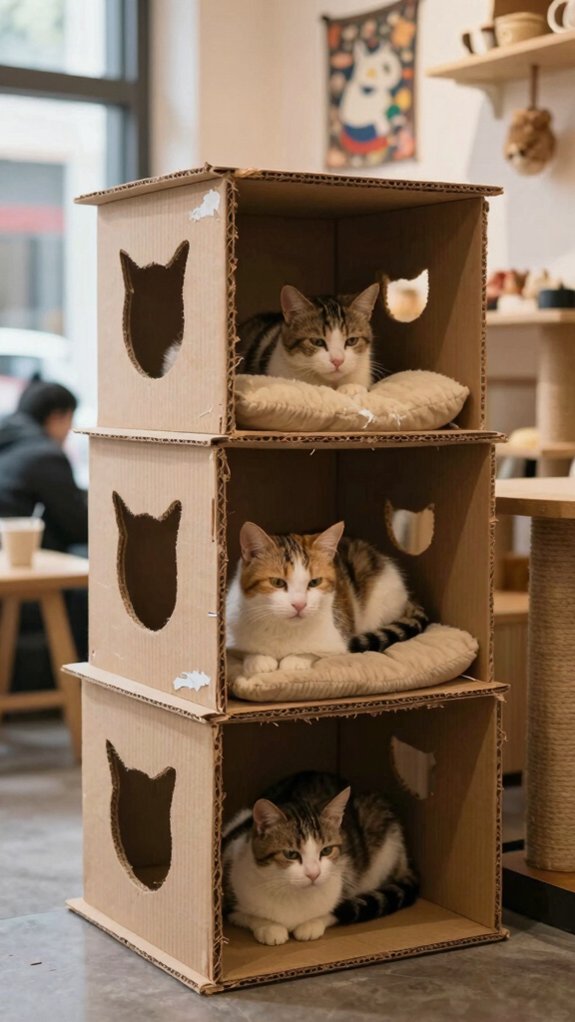
When you plan your cardboard cat café, place the houses along common hangout paths so your cats can rest while watching the room. Add flat cardboard platforms as seating zones, then use vertical perch ramps for gentle climbing.
Keep doors and windows open and visible on the box’s longest side, and frame them with washi tape. Test the layout with a bowl of favorite dry food near the entrance.
| Café feature | Purpose |
|---|---|
| Platforms | Elevated viewing |
| Open doors | Easy entry |
| Mailbox | Familiar detail |
| Paper grass | Cozy welcome |
Add scatter feeding stations nearby, and check every piece for sturdy, safe lounging.
Camper Van Cat House
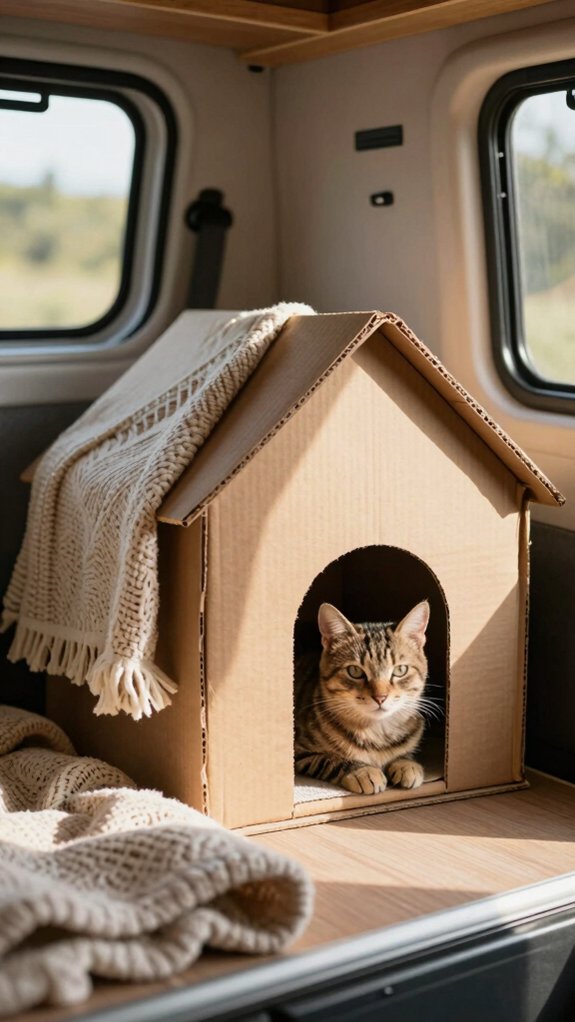
A camper van cat house gives your cat a cozy hideaway with a fun travel theme. Start with a large cardboard box, about 20–24 inches wide, or choose one big enough for your cat to stretch out.
Fold a sheet of weatherproof cardboard into a roof with a center ridge. Shape the front with peaked or curved pieces, then cut a door and window. Add a shallow porch ledge for lounging, and let roof panels overhang a few inches for shelter.
Finish with washi-tape trim, paper grass, and a tiny mailbox. Place favorite dry food inside to invite exploring, then add a catnip rollout nearby.
Space Rocket House
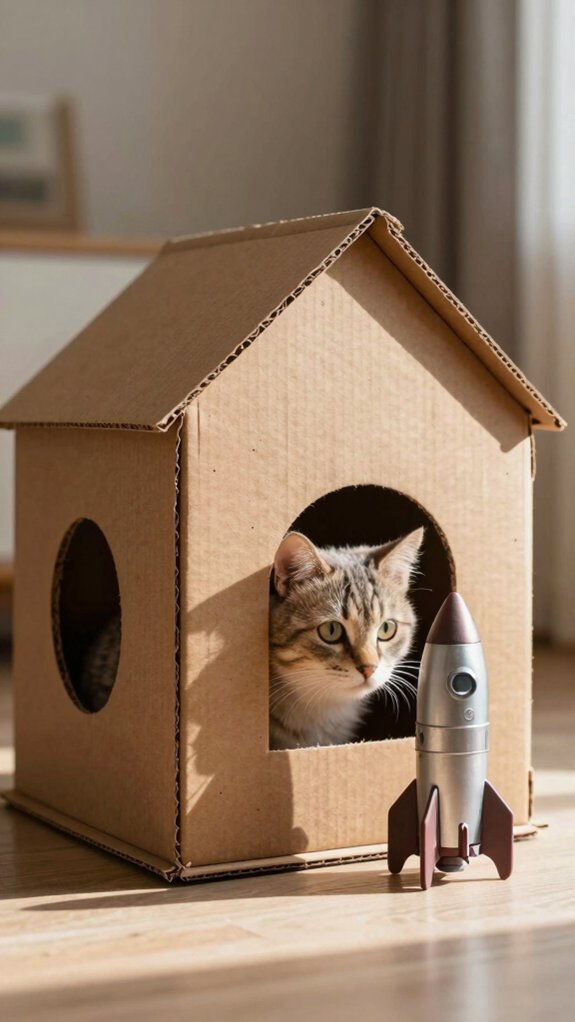
Turn a sturdy cardboard box into a space rocket house by shaping its shell and adding a peaked roof. Fold a cardboard sheet over a center ridge, then cut the remaining long flaps into triangles and glue them in place for a pointed nose.
Cut door and window portholes with a utility knife and metal ruler, then outline them with washi tape. Extend the roof a few inches on every side, giving your cat shade and covered lounging space.
Add a mini mailbox and light to create a welcoming station. Include Cardboard ventilation openings, and use safe paint finishes or paper decorations.
Mushroom Cottage
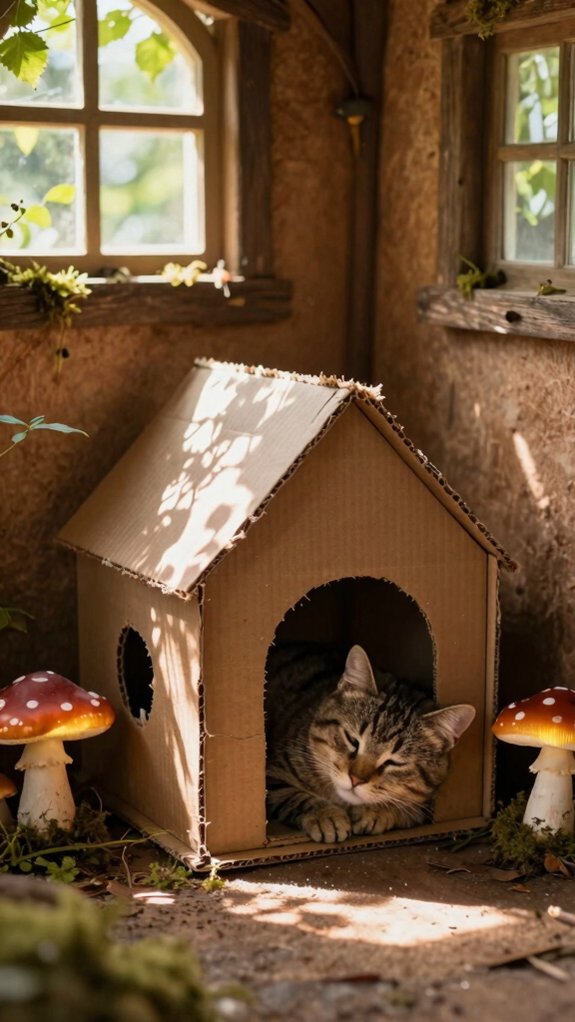
With a rounded cardboard silhouette and a peaked or scalloped cap, you can shape a Mushroom Cottage that feels cozy and inviting. Let the cap overhang several inches, creating shade and a snug retreat.
Build in cardboard durability with a folded center ridge and triangular peak pieces. Check every cut for safety edges before your cat ventures.
- Cut an arched doorway and simple windows.
- Frame openings with washi tape or trim.
- Paint cheerful polka dots on the cap.
- Draw gill-like lines underneath.
- Place favorite kibble inside to welcome your cat.
Add paper or foam shapes for texture, then watch your companion settle into this friendly little shelter.
Easy Beginner Build
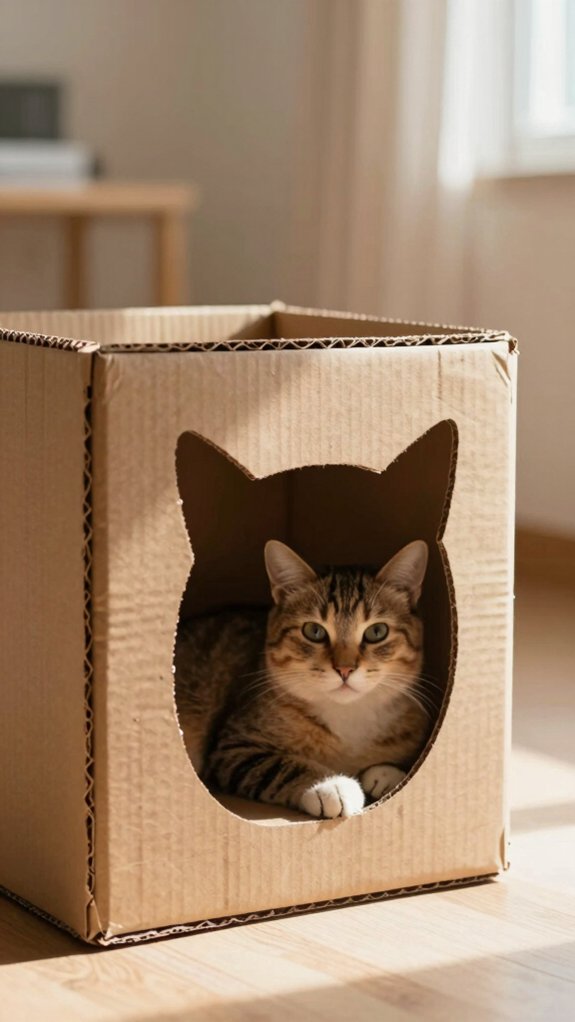
Start your first cat house with a sturdy cardboard box that gives your cat room to turn around, stretch, and settle comfortably, usually around a 20–24-inch cube.
Remove two long flaps, cut the others into triangles, then hot-glue a folded cardboard sheet into a peaked roof with a couple-inch overhang.
Use a utility knife and metal ruler to cut a neat door and windows.
Add washi tape frames, paper grass, lace trim, and cozy bedding.
Keep the cardboard scent familiar, and place favorite dry food inside for encouragement.
For outdoor use, follow Weatherproofing tips: apply spray seal paint, let it cure fully, and keep the house sheltered.