
You can turn a window, balcony, porch, or yard into a safe cat hangout with DIY catios! Try a window box, balcony enclosure, wooden frame, PVC build, freestanding run, screened porch, garden mesh setup, tunnel link, portable pen, or luxury glass panel. Use mesh, lumber, stakes, shelves, and weatherproof sealants, then add ramps, shade, and a litter nook. Most are beginner-friendly, cost-smart, and purr-fectly escape-proof—stick around, because the best twist comes next!
Disclosure: This post may contain Amazon affiliate links, at no extra cost to you. Content on Pawtangle is created with research support from AI tools and carefully reviewed, edited, and fact-checked by the lead author, Dr.Fahri Pat , to ensure accuracy and reliability. Learn more
Key Takeaways
- Window box catios give direct outdoor access through a secure, snug frame and sturdy mesh.
- Balcony and screened porch catios create apartment-friendly safe-air spaces with full mesh coverage and climbing shelves.
- DIY wooden or PVC catios are budget-friendly, customizable builds that use weatherproof materials and reinforced framing.
- Freestanding backyard catios provide larger roaming areas with roofs, shaded corners, and predator-proof screening.
- Tunnel and multi-zone catio systems connect indoor doors to outdoor spaces for continuous, secure exploration.
Window Box Catio
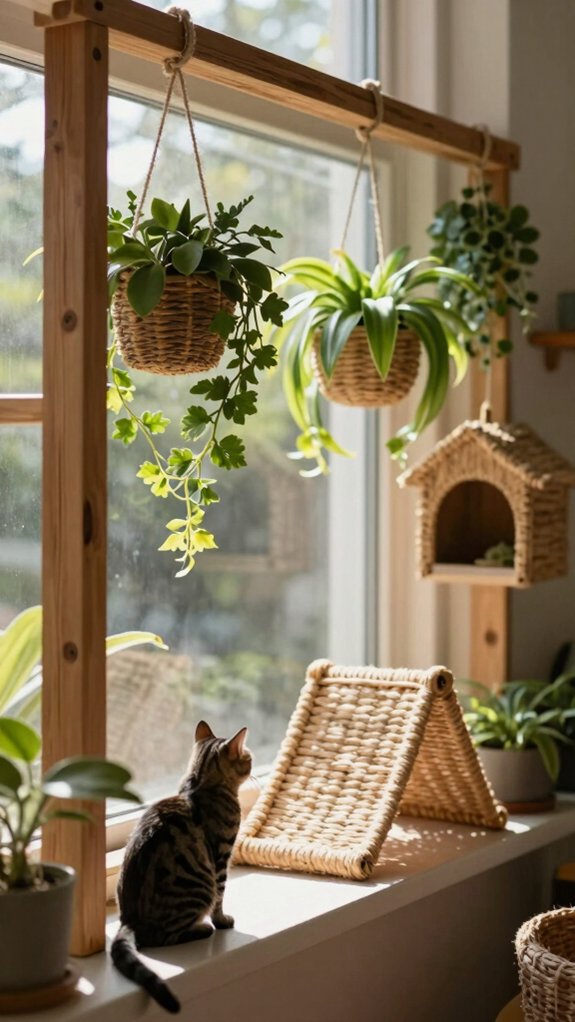
A window box catio gives you a simple direct-access setup, so your cat can step from the house into a safe little outdoor box without a big backyard build—pretty handy, right?
You’ll want it sized to fit your window opening, with sturdy mesh and a snug frame, because this tiny hangout still has to handle daily paws and the weather.
If you like flexibility, a removable design can make this mini escape even better, and yep, it can move with you!
Direct window access design
If you’re short on yard space, a window box catio can still give your cat a safe little slice of the outdoors—right from your window!
You’ll love how this direct window access design turns one opening into therapeutic enrichment fast.
Pick the right window placement, then match a slider or sash setup with escape proof sealing and a sturdy frame.
Add wire mesh on every side and roof, plus a windproof shelter and a perch inside.
The result?
Your cat gets fresh air, and you get peace of mind—no yard required, no drama, just happy purrs!
Small enclosed outdoor box
Tucked right off your window, a small enclosed outdoor box catio gives your cat a front-row seat to the yard without taking over your whole space!
You can match the box to your window size, then build a sturdy frame with weatherproof materials and secure window mounting for safety in snow or wind.
Add galvanized wire mesh or strong screening on the walls and roof, so your cat gets fresh air and big views, not a jailbreak.
Finish with a cozy perch, easy-clean footing, and a cat door from inside.
It’s simple, smart, and kind of brag-worthy!
Balcony Catio Enclosure
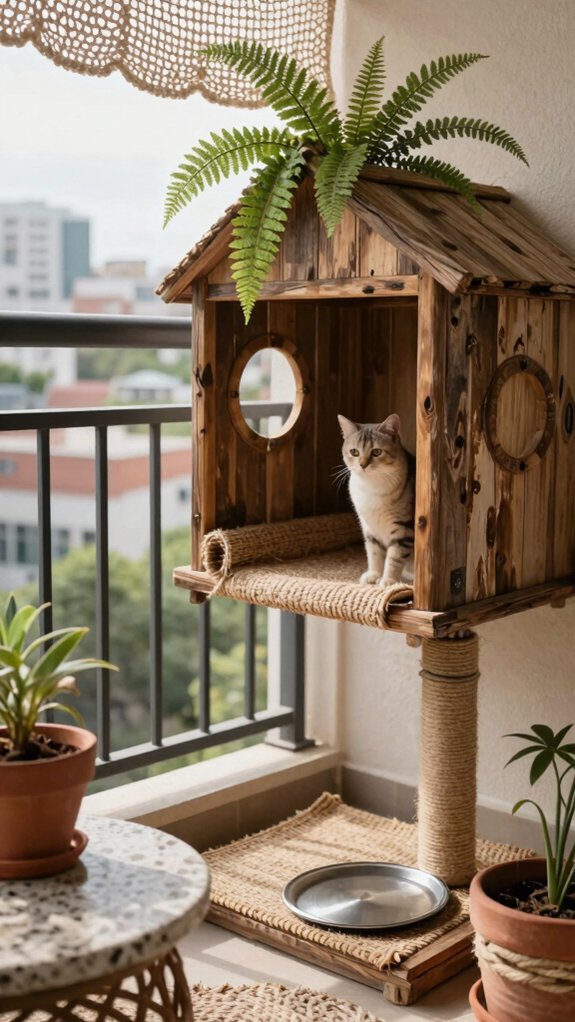
A balcony catio enclosure is a fun apartment-friendly way to give your cat fresh air without the drama of an escape artist sprinting past you!
You’ll want a full 3- to 4-sided mesh setup with secure top coverage, plus an easy cat-door entry so you can clean and feed without popping the whole thing open.
Add a few shelves or a ramp for climbing, and you’ve got a cozy little sky lounge that feels elegant, safe, and totally cat-approved.
Apartment-friendly setup
Start with the balcony itself, and turn that narrow outdoor strip into a real cat hangout!
Wrap it in secure wire mesh and a roof, then use treated lumber with outdoor paint or polyurethane so rain and sun don’t win.
Add weatherproof lighting and a simple pest control strategy, because nobody wants buggy guests.
Build deep shelves and sturdy perches for climbing fun, and keep the floor firm, cleanable, and easy to sweep.
Tuck in a weather-protected litter box, too.
For apartment access, a cat door into the enclosure feels elegant, yet it’s simple.
Double-check heights, gaps, and wall edges, and you’re set!
Full mesh safety enclosure
Your balcony catio can feel roomy and safe at the same time when you wrap every exposed side in full mesh, not just one “good enough” panel in the corner.
Use hardware cloth or pet-safe galvanized wire mesh with tiny openings, then screw and trim every edge so curious paws can’t wiggle free.
Add a solid floor base with turf or sealed wood, plus perches, little jumps, and a covered litter box.
Check the balcony’s weight limits, and paint outdoor-rated wood for weatherproofing tips.
That’s smart predator proofing, and it turns your space into a comfy club your cat’ll love!
DIY Wooden Frame Catio
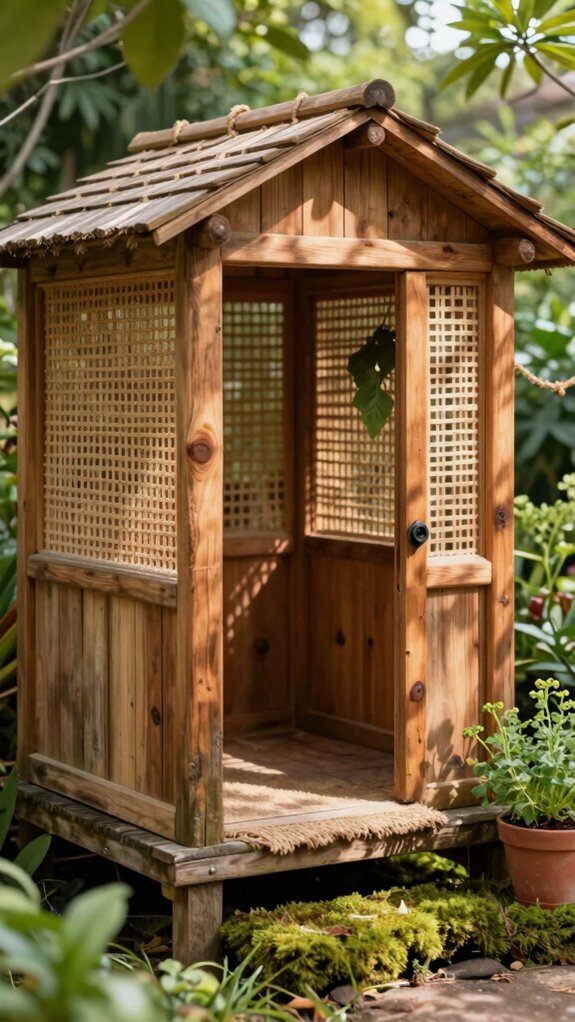
A DIY wooden frame catio gives you a simple lumber structure that’s easy to build, and you can shape it to fit a porch, patio, or that weird little corner by the fence—because cats somehow love odd spaces! You’ll usually start with sturdy framing lumber, then add mesh, a solid base, and a few shelves or perches, so your cat gets a safe, cozy spot instead of a flimsy backyard box.
Best of all, you can make it as small or as roomy as you want, which means you’re not stuck with one cookie-cutter setup.
Simple lumber structure
If you want a catio that feels sturdy, tidy, and actually lasts, a simple lumber frame is a great place to begin! You’ll need weatherproof lumber, corner reinforcement, and a few basic tools, nothing elaborate. Build a clean 3- or 4-sided frame, keep the lines straight, and treat every cut piece with outdoor paint or polyurethane so moisture doesn’t win the battle.
Next, anchor the bottom 2x4s to concrete with cement screws, then cover the walls with galvanized wire or pet screening.
Leave space for a cat door and a cozy shelf, and boom, your cat’s got a safe little kingdom!
Customizable size
For a DIY wooden frame catio, size really is the fun part, because you can make it fit your space instead of forcing your space to fit it!
Start with smart space planning: a window box, deck corner, or full three-sided Haven can all work, as long as you leave room for climbing shelves and cozy lounging spots.
Use treated lumber, paint or polyurethane before cutting, then add galvanized wire over every wall and a roof.
Leave enough climbing clearance for staggered ledges, and bolt the bottom rails into concrete for a sturdy feel.
Finish with a pet door, shade, and a sheltered snack zone!
PVC Pipe Catio Build
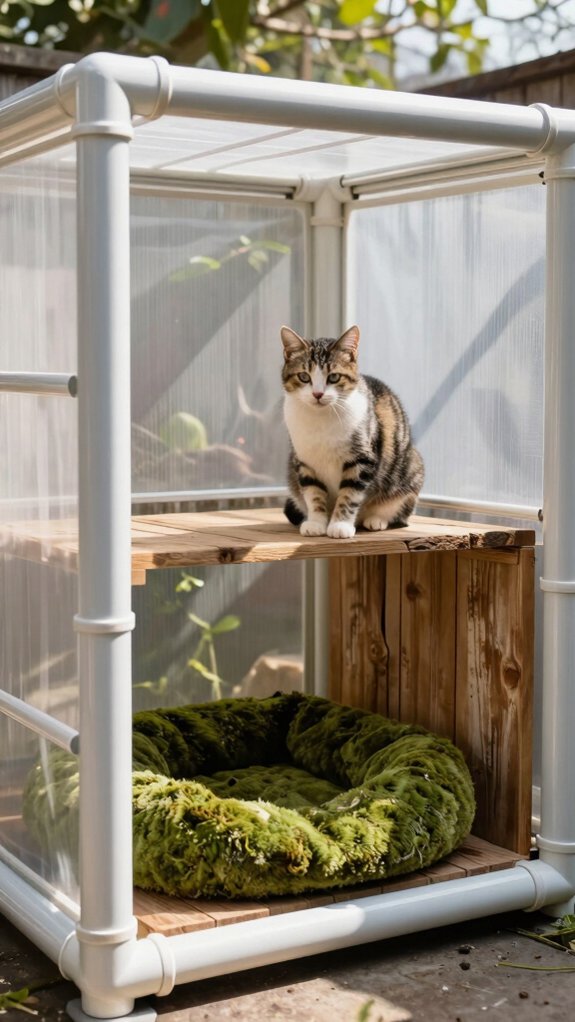
A PVC pipe catio is a budget-friendly win, and you can build it with simple elbows, tees, and a few basic fasteners without turning your weekend into a full-blown construction saga. You’ll get a lightweight frame that goes together fast, which is great if you want an easy setup and don’t want to wrestle heavy lumber around.
Just remember, the real magic comes when you add sturdy mesh and a few comfy extras, so your cats get a safe hangout that feels more like a tiny backyard resort!
Lightweight budget option
PVC pipe can make a catio frame that’s light, budget-friendly, and way less intimidating than heavy lumber, so you can get started without feeling like you need a full workshop!
You’ll fit right in with this easy build, and your cats will love the fresh-air vibes.
- Use PVC lengths, connectors, and outdoor-safe fasteners for a low-cost frame.
- Cover every side and the top with hardware cloth for predator deterrence and better ventilation tips.
- Set it on a firm base, then add tie-downs if wind likes to visit.
A few rope posts or tiny ledges turn plain pipe into a cozy hangout fast.
Easy assembly design
If you liked the low-cost, lightweight setup idea, this next build keeps that easy-going energy but makes assembly even simpler! You can cut PVC pipe fast, snap together a sturdy rectangle or corner frame, and feel like you’ve joined the DIY cat crew.
Use galvanized hardware cloth, not chicken wire, for secure mesh fastening all around the frame, then add weatherproof joints and clips.
Anchor the base with stakes or base plates so it won’t wobble during zoomies. Add a gentle PVC ramp with mesh grip, plus one removable side for cleaning, a sheltered litter spot, and covered food and water stations.
Nice and tidy!
Freestanding Backyard Catio
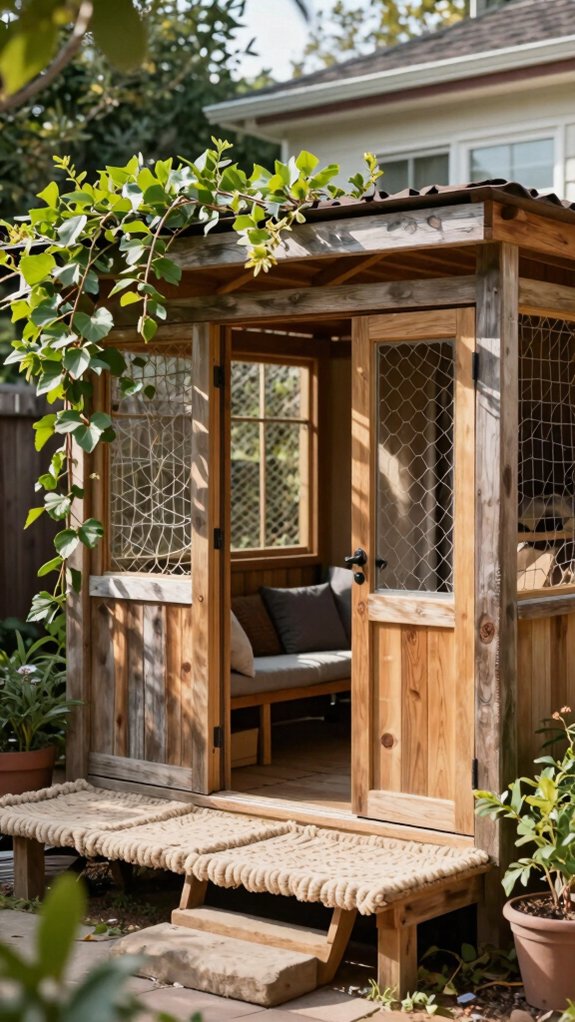
A freestanding backyard catio gives your cat a big, open play zone, so you can set up a full roaming space with sun, shade, and plenty of room to climb, leap, and lounge like a tiny backyard king.
Start with a sturdy enclosure and a solid base, then add shelves, ramps, and cozy hideouts, because cats love going high and pretending they own the place!
With a few weatherproof touches and outdoor-safe enrichment, you’ll build a fun little cat kingdom that feels roomy, secure, and just a bit elegant.
Large outdoor enclosure
In the backyard, a large freestanding catio can feel like a tiny cat kingdom—no window cutout, no door hack, just a sturdy enclosure that stands on its own and gives your cat a safe way to enjoy fresh air!
You’ll fit right in with your crew when you build one with predator proof screening and multi cat ventilation, so everyone stays cool and secure.
- Pick a sunny-shady spot and set a solid base.
- Add shelves, perches, and jump points for busy paws.
- Include a hooded litter box, sheltered bowls, and weatherproof finishes.
Finish with birdwatching views, and your cats’ll strut like royalty!
Full roaming space
When you want your cat to truly roam, a freestanding backyard catio gives them room to stretch, sprint, and snooze without feeling boxed in!
Build a sturdy 3-sided or 4-sided frame with a secure floor base and hardware cloth, then add a fully attached top with a weatherproof roofline.
Use simple lumber, screening, and fasteners, and expect about $300–$800 for a solid DIY build.
Next, add raised walkways, hidey nooks, and shady corners for birdwatching.
Include a weather-sheltered litter box and covered food and water stations.
That predator proof ventilation keeps air moving, and your cat feeling like royalty!
Tunnel Catio Connection System
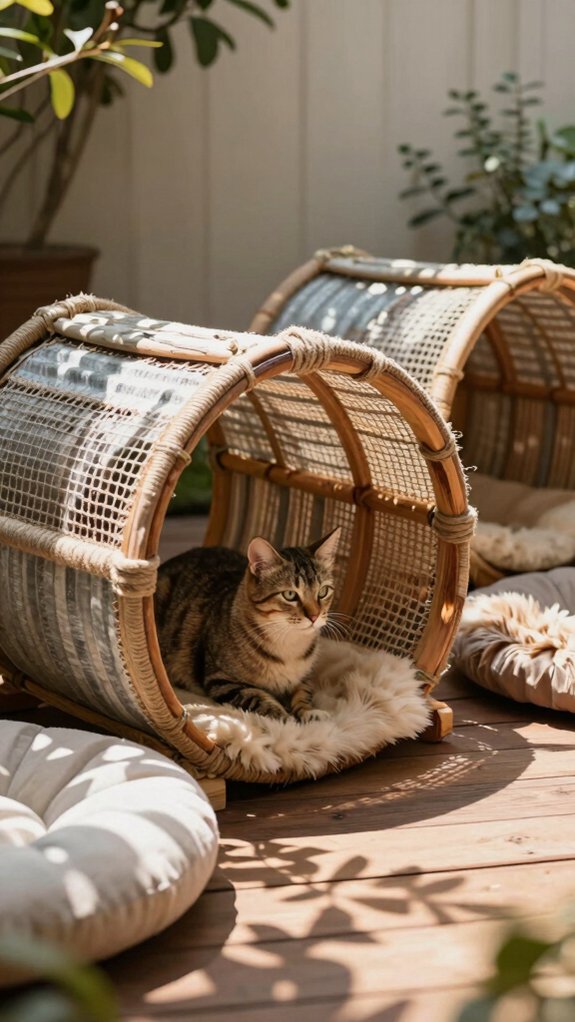
A tunnel catio connection system lets you link your indoor door to one or more outdoor enclosures, so your cat can wander through a safe, screened path without ever touching the great, mysterious backyard.
You can build it with tight mesh, solid framing, and a gentle ramp or walkway, which keeps paws protected and makes the trip feel more like a cat adventure than a clumsy stair workout.
Best of all, you can add extra turns, rest spots, and open lounging sections, so your cat gets a smooth, continuous exploration path that feels like a tiny safari!
Indoor-to-outdoor tunnels
Because your cat deserves a little adventure without any “oops, I’m outside now!” drama, an indoor-to-outdoor tunnel catio connection system can be a total game-changer. You can link a doorway catio to freestanding space, so your buddy walks a safe path, not an escape route.
- Build with mesh walls and a roof for breezy, secure fun.
- Add gentle ramps or ladder-style slats, especially near a vertical scratch post.
- Place the entry by morning feeding, and use motion lighting for easy, cozy trips.
That setup feels smart, simple, and very “our crew knows what’s up!” It keeps cats curious, comfy, and protected.
Continuous exploration path
If you want your cat to feel like they’ve got a secret adventure trail, a continuous exploration path can link two or more catios into one long, screened route, so they can wander from zone to zone without ever touching unsafe ground.
Try a tunnel catio connection system with wood frames, pet-screen, and gentle ramps.
Start by measuring your yard, then connect a window-box catio to a bigger haven-style space, keeping angles easy and adding ladder slats for grip.
Nice, right!
Include open viewing spots, pest proof ventilation, and weatherproof paint.
For rainy season planning, seal every joint tight.
Your cat gets a safe, thrilling route!
Multi-Level Vertical Catio
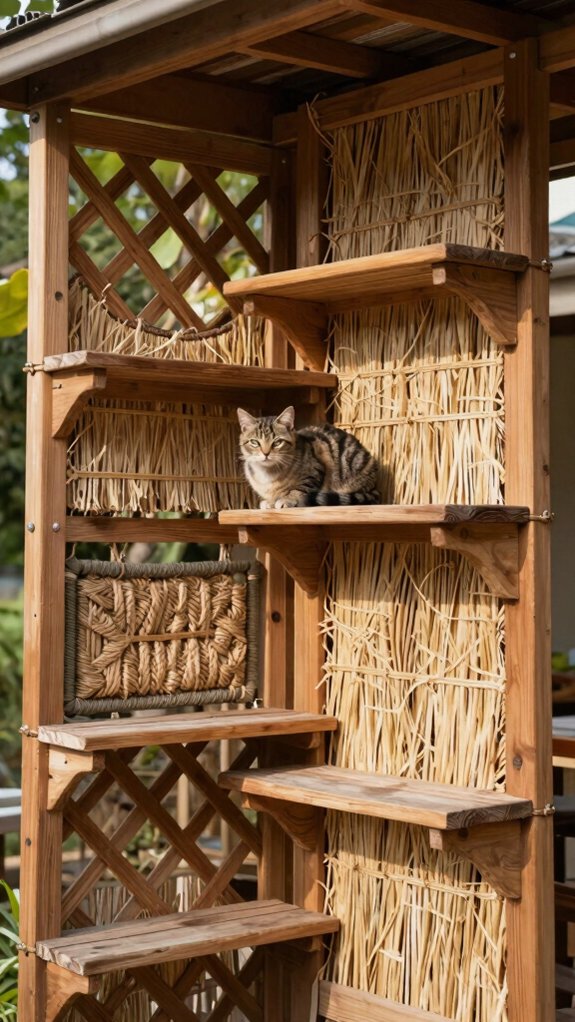
A multi-level vertical catio lets you stack climbing platforms, ledges, and cozy corners so your cat can bounce around, perch high, and still save floor space—pretty clever, right?
You can keep it beginner-friendly with sturdy 2×4 supports, simple shelves, and a gentle ramp or ladder-style slats, then seal the surfaces for grip so those zoomies stay safe.
And here’s the fun part: a top-to-bottom screen keeps every level predator-proof while your cat gets fresh air, bird-watching, and a few proud “I own this tower” moments.
Climbing platforms
For a catio that feels like a tiny jungle gym, start building upward with sturdy climbing shelves and ledges so your cat can take the “up-route” and perch safely while staying predator-proof—yes, the royal bird-watching throne is included!
Use weatherproof materials, anchor each bracket tightly, and add shelter hideaways below for cozy breaks.
- Pick gentle ramps or enclosed ladders for easy climbing.
- Paint shelves, then add a light sand sprinkle for grip.
- Leave open spots for jumping, viewing, and happy zooms.
When you plan top-to-bottom paths, your cat gets a fun, safe adventure, and you get peace of mind!
Space-efficient design
When floor space is tight, a multi-level vertical catio can turn one small corner into a full-on kitty condo!
You’ll love a multi level layout with cedar shelves, ledges, and gentle ramps that climb up, not out.
Build a 3-sided or fully enclosed frame, then seal the wood for rain, add sanded, non-slip tops, and use ladder-style slats so paws stay comfy.
Keep it safe with sturdy brackets and predator safe screening on every opening.
Want extra charm? Add tunnels and walkways with a pet door entry, so your crew gets more routes, less waiting, and way more zoomies!
Screened Porch Catio Conversion
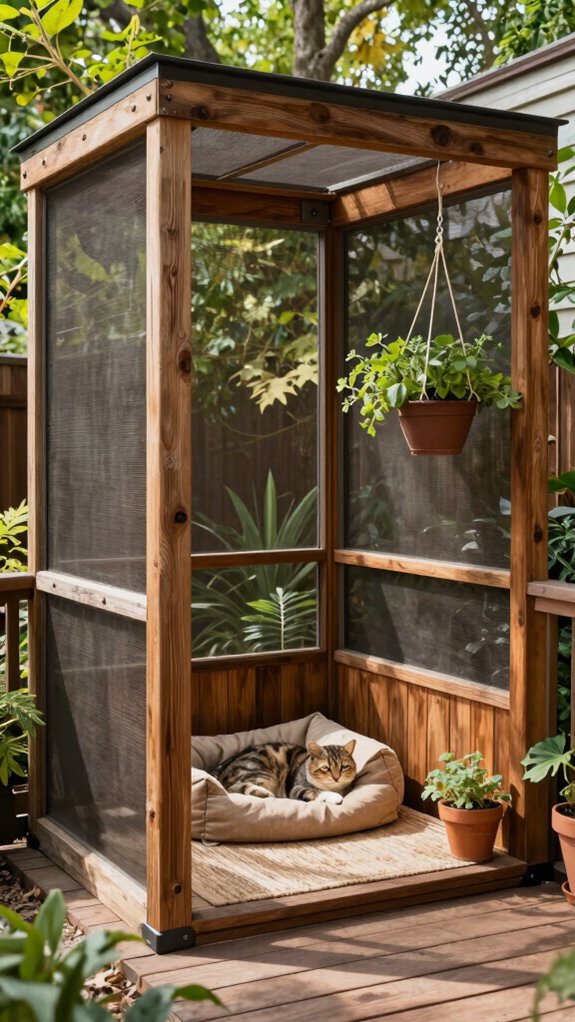
A screened porch can become a catio with way less work than building from scratch, and that’s great news if you’d rather spend your weekend with your cat than a pile of lumber!
You can use the porch framing you already have, then add secure hardware cloth and a cat-proof top so the space feels fresh, safe, and built for pouncing.
Best part? You’ll keep the cozy porch vibe while giving your cat a new lookout spot, and honestly, they’ll act like they own the place.
Convert existing porch
If you’ve already got a screened porch, you’re halfway to a catio jackpot!
Start by measuring the layout, then turn one section into a 3-sided haven with exterior-grade framing, galvanized mesh, and a solid roofline.
That’s smart predator exclusion methods, plus rainproof ventilation planning for breezy, dry comfort.
- Keep the porch roof, and seal every gap.
- Add weatherproof shelves, a cozy nook, and non-slip traction.
- Tuck in a sheltered litter box and covered food and water spots.
Paint wood with outdoor finish, then sprinkle sand on shelves for grip.
Your crew gets a safe hangout, and you get peace of mind—win-win!
Minimal construction needed
Since you’ve already got a screened porch, you can turn it into a cat-secure hangout with way less work than starting from scratch—nice, right?! You’re mostly upgrading, not building, so grab weatherproof fasteners, hardware cloth, outdoor paint, and corner gap sealing supplies.
Start by checking the floor, corners, and around posts for sneaky escape routes, then seal every gap. Next, add a strong roofline over any open spots above jump height, because your cat’s inner acrobat will test it.
Finish with shelves, a ramp, and a hooded litter box. Keep paths open, and you’ll get a cozy, safe kitty lounge!
Garden Mesh Catio Setup
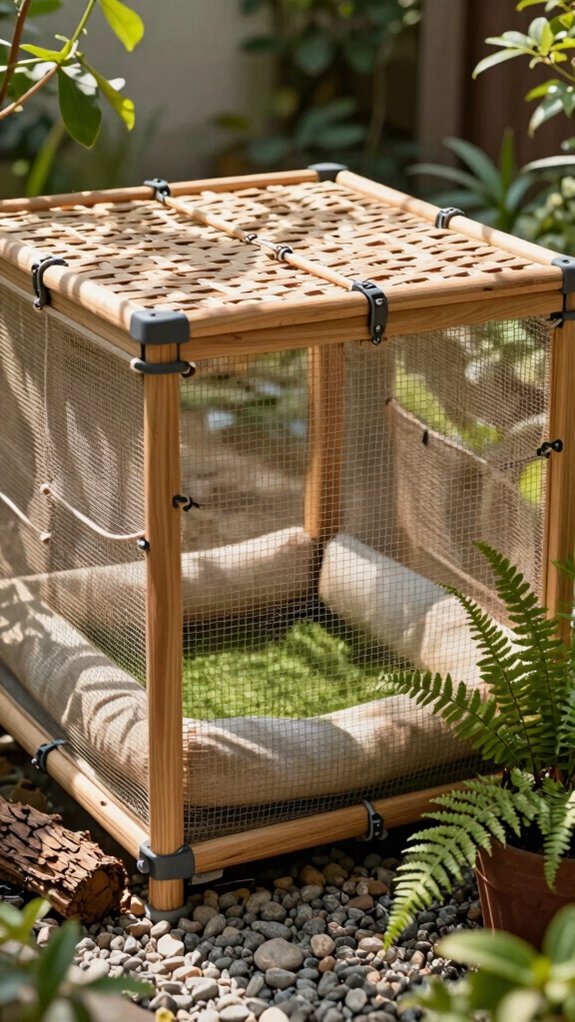
A garden mesh catio can blend right into your backyard, so it feels more like a cozy outdoor nook than a big cage—nice, right?
You can frame it with sturdy wood, stretch galvanized mesh tight, and tuck it near plants and pathways to keep that natural look.
Add shelves, a shady spot, and a little hiding nook, and your cat gets fresh-air fun while your yard still looks clean and calm!
Blends into backyard
For a catio that blends right into your yard, go for a garden-style setup with natural wood framing and green or earth-toned mesh, so it feels more like part of the yardscaping than a giant fence box. This natural camouflage gives you yardscaped integration without making your yard look busy or weird—nice, right!
- Use cedar shelves and trim, then seal the wood for weather.
- Stretch garden mesh tight on every side, with no gaps.
- Add shelves, branch-like perches, and shady spots near bushes.
Place it where sun and shade mix, and tuck in food, water, and a litter nook. Your cat gets comfort, you get charm!
Natural outdoor feel
To make it feel less like a cage and more like a tiny outdoor lounge, add simple cat shelves, a couple of perches, and even a few leafy, cat-safe plants around the edges. You’ll get that breezy garden-mesh charm fast!
Build the frame with weather-rated lumber, stretch the mesh tight, and check for gaps, because sneaky paws love a loophole.
Then mix sun and shade with one cozy nap spot, plus rain and wind coverage for mild weather.
Try privacy screen options on one side, and tuck a covered litter box behind a board so the whole space stays neat, dry, and cat-approved!
Portable Catio Pen
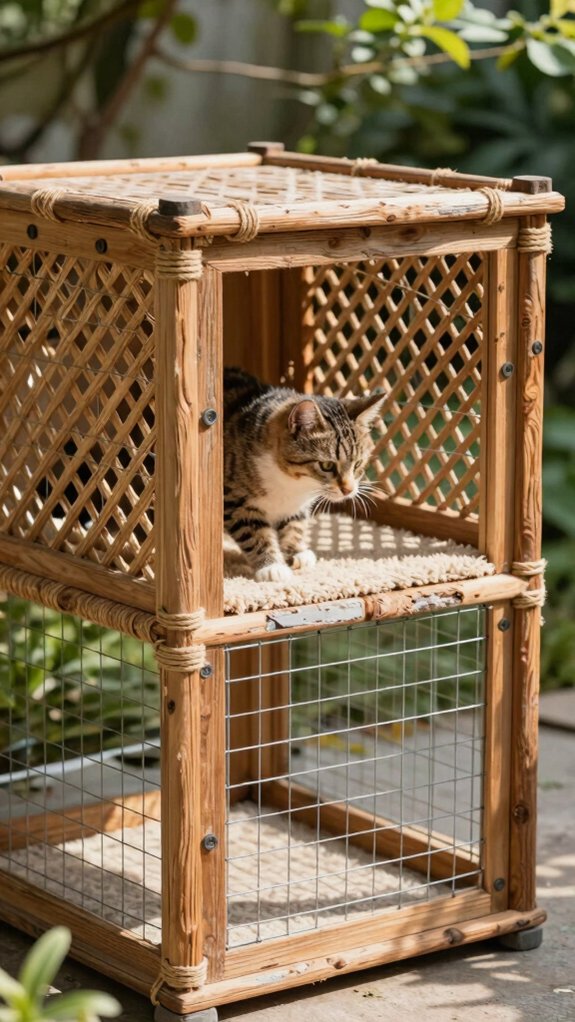
A portable catio pen gives you a moveable enclosure, so you can set up safe outdoor time on a patio, balcony, or even a sunny patch of yard—pretty handy, right?
You can shift it as needed, which makes flexible placement a breeze when you’re renting or just testing out a setup.
Add sturdy, escape-proof sides, and your cat gets a cozy little hangout that doesn’t act like a sneaky escape hatch!
Moveable enclosure
When you need your catio to move with you, or just shift from the patio to the yard on a sunny afternoon, a portable catio pen can be a total game-changer!
You’ll feel part of the cool cat crew, and your kitty gets a safe spot that’s easy to reset.
- Choose modular panels with a lockable frame and tight hardware cloth.
- Add weatherproofing basics: a covered litter box, shaded water, and escape proof sealing.
- Anchor it with weights or removable stakes, then add shelves, ramps, and roof screening.
This setup keeps your buddy comfy, secure, and ready for adventure—without the drama of a jailbreak!
Flexible placement
If you rent, like to test your cat’s favorite hangout spot, or just want the freedom to move things around as the seasons change, a portable catio pen can be a total win!
| What to check | Why it matters |
|---|---|
| Firm base | Stops tipping and slips |
| Sunshade positioning | Keeps naps comfy |
| Predator proof sealing | Blocks sneak-ins |
| Tight seams | Prevents escapes |
| Litter and water nook | Boosts daily comfort |
Set it on level ground, use sturdy screening, and keep the top fully covered. Then shift it from patio to deck to window, while your cat joins the neighborhood fun safely!
Luxury Glass Panel Catio
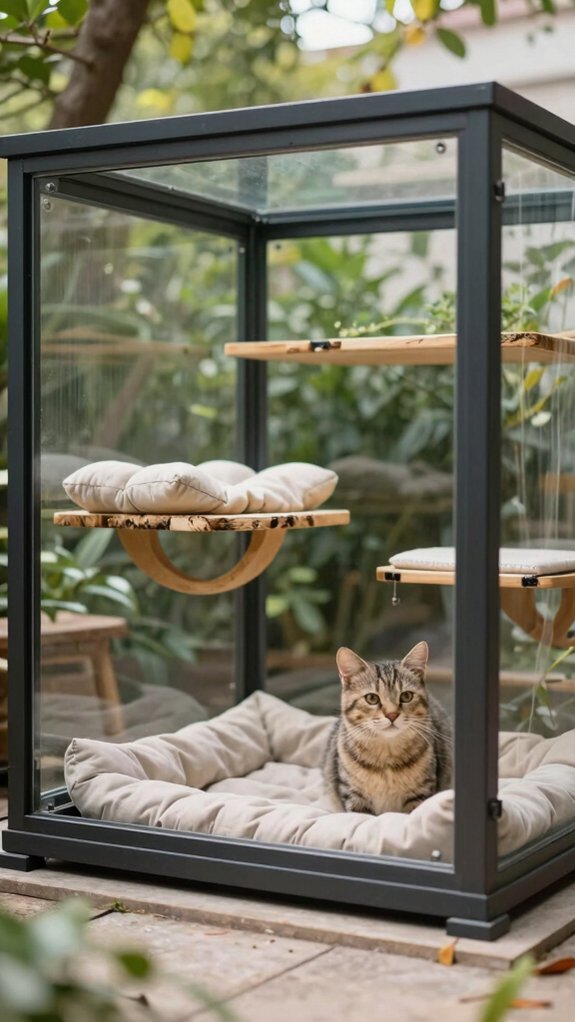
A luxury glass panel catio gives you a sleek, modern look that feels more like a tiny sunroom than a cage, and wow, it can really upgrade your backyard!
You’ll enjoy clear views of your cat without losing safety, since the right glass panels help block escapes while still letting light pour in.
Add smart placement and sturdy framing, and you’ve got a stylish setup that’s easy to admire and even easier to love.
Modern aesthetic design
For a catio that feels more like a stylish patio upgrade than a pet project, you can use clear glass panels or polycarbonate sheets to create a sleek “glass wall” look that still keeps your cat safely inside.
- Build on a sealed wood or aluminum frame, so the edges stay tight and neat.
- Add deep shelves and hidden nooks for vertical enrichment, and your cat’ll feel like royalty!
- Tuck in sheltered feeding stations and a hooded litter box, then finish with matching paint or stain for that polished, “wow, this fits here” vibe.
With clean lines and concealed fasteners, you’ll make your space feel luxe, cozy, and totally inviting.
Clear visibility and safety
Those sleek glass-panel catios look amazing, and they can give your cat a front-row seat to the birds, squirrels, and neighborhood action, but only when you build them with safety first.
Place the clear panels on your cat’s main sightline, use tempered or laminated glass, and keep a fully secure top with sealed seams so nobody slips through—cat or critter!
Build the panel into a solid frame, then lock in the edges with weatherproof sealants for rain, snow, and strong predator proofing.
Add easy-clean shelves and a cozy feeding nook nearby, and you’ll get sparkle, safety, and zero escape drama.