

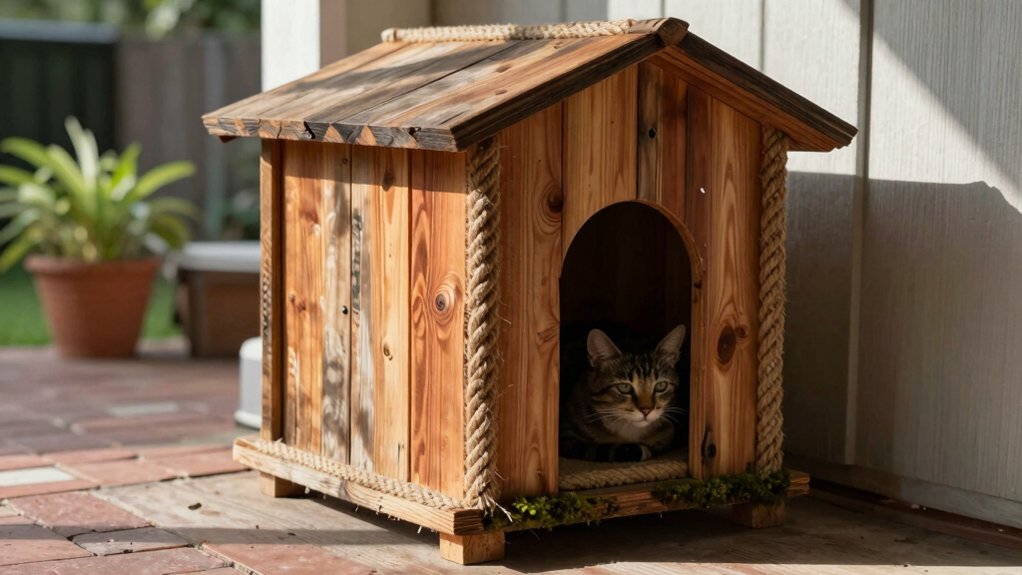
Build a lasting outdoor cat house from a UV-resistant plastic bin with a secure, slanted lid, sealed seams, and rustproof screws. Raise it on 2x4s, bricks, or a pallet, add drainage holes, and keep the rear slightly higher than the entrance. Line the compact interior with snug insulation and dry straw, replacing damp bedding immediately. Face the doorway away from prevailing winds, add a windbreak, and secure the shelter with bricks or tie-downs. Next, delve into entrance, cleaning, winter, and predator-safety details.
Disclosure: This post may contain Amazon affiliate links, at no extra cost to you. Content on Pawtangle is created with research support from AI tools and carefully reviewed, edited, and fact-checked by the lead author, Dr.Fahri Pat , to ensure accuracy and reliability. Learn more
Key Takeaways
- Choose a UV-resistant plastic bin with a secure lid to withstand rain, wind, temperature changes, and prolonged sunlight.
- Seal every cut edge and joint with waterproof caulking, sealed seams, or both to prevent moisture intrusion.
- Insulate snugly with dry straw, foam panels, or reflective insulation, replacing damp or soiled material promptly.
- Elevate and reinforce the floor on pallets, 2x4s, or bricks, with drainage holes and a slight rearward slope.
- Face the entrance away from prevailing winds, add a windbreak and overhang, and secure the shelter against gusts.
Choose Weatherproof Materials
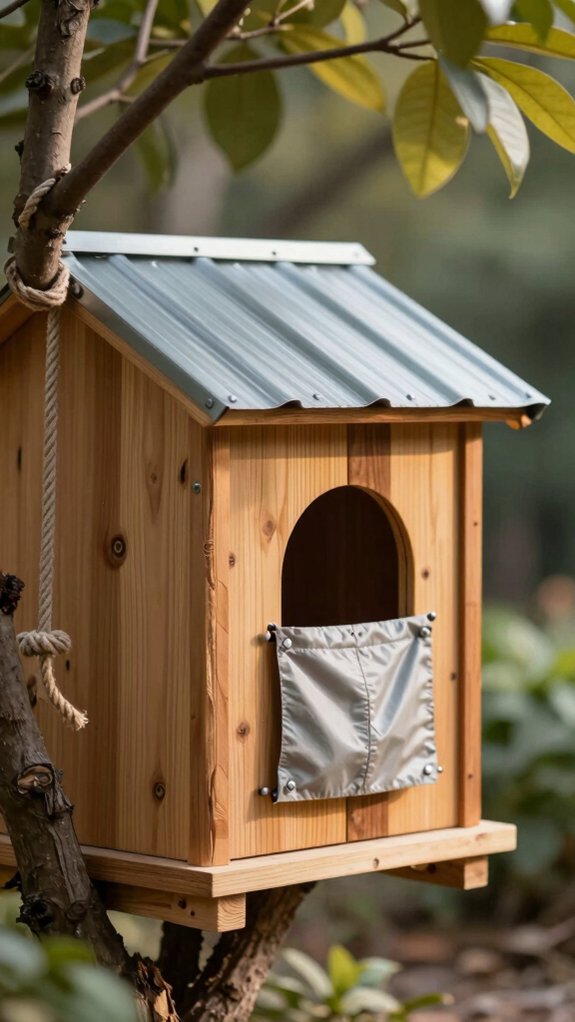
Choose materials that can handle rain, wind, and changing temperatures, such as a rigid plastic storage bin with a secure lid. UV resistant plastics won’t crack as quickly under strong sunlight, so your cat’s shelter can serve the neighborhood for years.
Seal every cut edge and joint with sealed seams, waterproof caulking, or both. This keeps rain from soaking through openings. Choose rustproof hardware, such as stainless-steel screws, to prevent weak spots and stains.
Add a snug awning and a slanted roof to guide water away. Raise the shelter on pallets or 2x4s, and drill small drainage holes so puddles can’t collect inside.
Add Proper Insulation
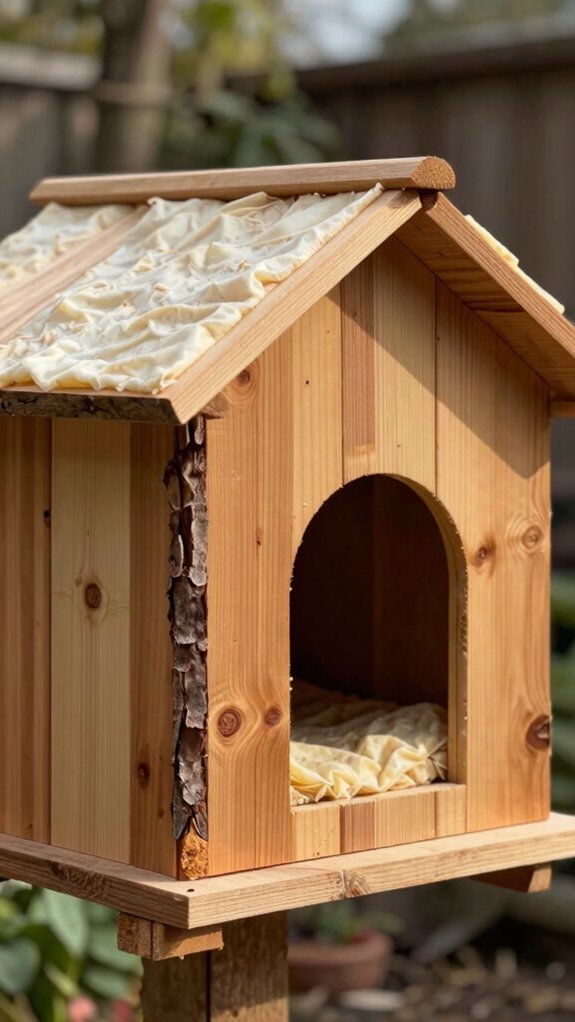
Keep the shelter warm by adding a layer of straw inside, since straw stays dry and insulates better than hay, blankets, or other materials that absorb moisture. Replace damp or dirty straw without delay, so your outdoor cat has a clean, cozy place to rest.
Line the walls and floor with a thin Styrofoam slab, an insulated outer bin, or Reflective insulation. Fit each layer snugly to limit extra air space, and add moisture barriers to protect insulation from condensation.
Keep the interior compact, because a smaller shelter holds body heat more efficiently. Check insulation regularly, and replace anything damp, damaged, or soiled.
Elevate the Floor
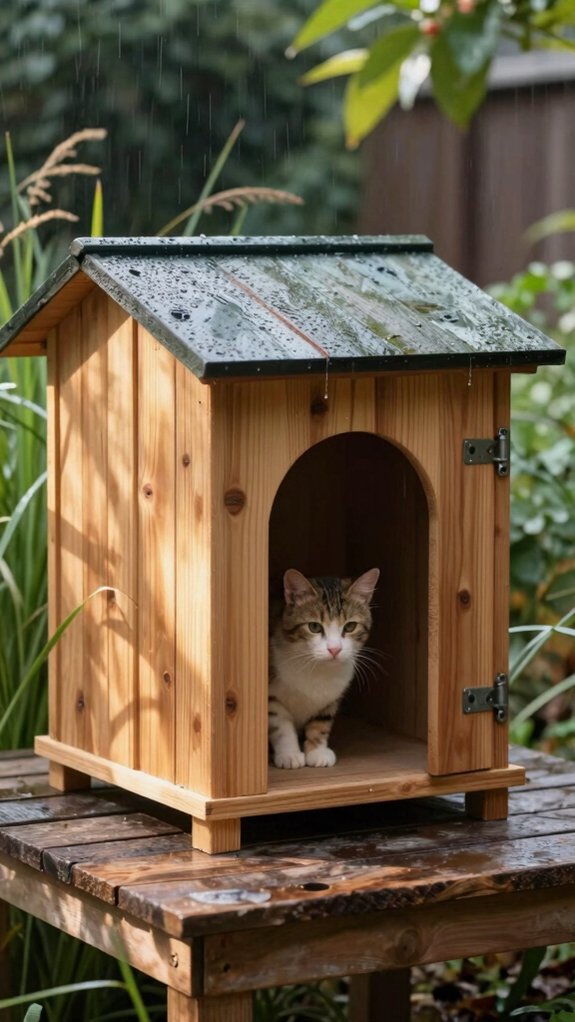
Raise the shelter off the cold ground with 2x4s, a pallet, or sturdy bricks, so the floor stays warmer and doesn’t draw in moisture from snow or rain. Keep the entrance and sleeping area slightly raised, creating a helpful weather barrier against dampness.
Build a reinforced base that sits firmly and won’t rock when cats enter, leave, or wind pushes against it. If possible, set the rear a little higher than the front.
- Picture a steady pallet under the shelter.
- Picture dry insulation above the ground.
- Picture a welcoming doorway, raised and secure.
Check the supports regularly so your cats have a dependable retreat.
Improve Drainage
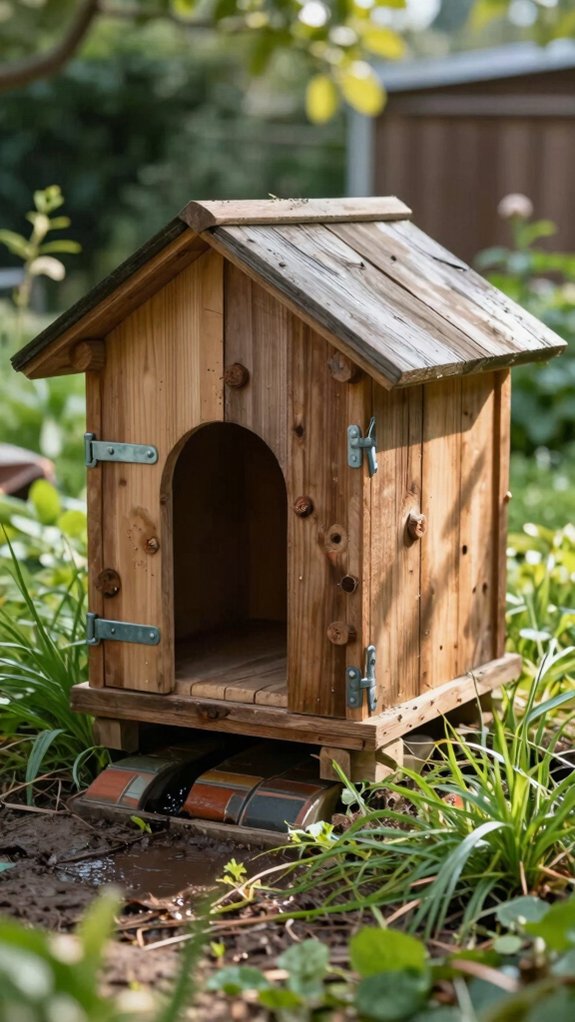
A dry shelter starts with a base that lets water escape instead of pooling beneath the sleeping area. Drill a few small holes in the outer tub’s bottom, giving melting snow and ground moisture a clear exit.
Keep the shelter raised on 2x4s, a pallet, or bricks, so runoff won’t soak the base. For better sloped runoff, make the rear slightly higher than the entrance, allowing water to move away from the doorway.
Add dry straw between the bins for moisture control, and replace it when damp. These simple steps help your outdoor cat stay comfortable while your shelter lasts through wet seasons.
Protect Against Wind
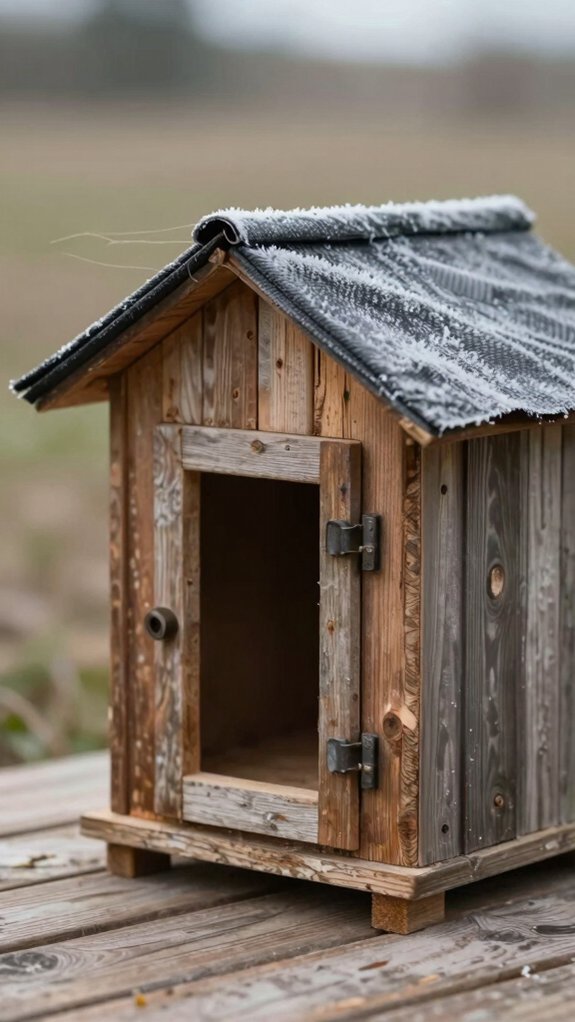
To protect against wind, place the shelter with its entrance facing away from prevailing winds and direct gusts. Check wind direction during a storm, then adjust the position if needed.
Add a windward draft break, such as a fence panel, outbuilding wall, or dense shrubs.
- Set heavy bricks on lightweight bins or lids, or use tie-downs, so gusts can’t flip the house.
- Keep inner and outer containers close together, limiting air gaps that drain warmth.
- Add an overhang to block wind-driven rain and snow.
Seal joints with durable, windproof seams, and inspect them each season.
These simple steps help your neighborhood cats stay warm, dry, and sheltered.
Design a Safe Entrance
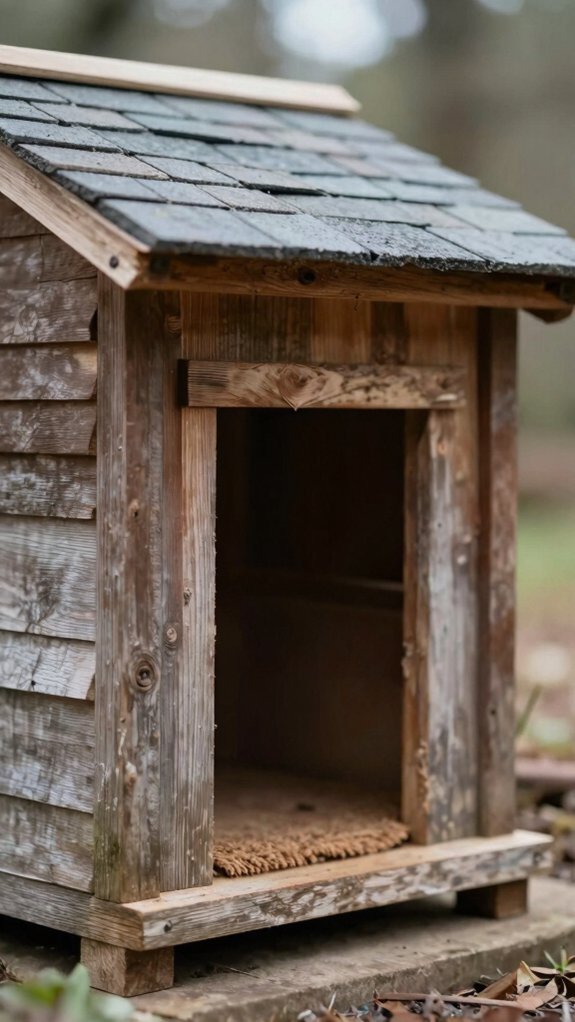
A well-placed entrance helps keep the shelter warm, dry, and safe. Cut a 5.5–6-inch opening, then raise it above ground level so rain and snow won’t block it. A Keyhole entry can discourage larger animals while giving cats a familiar way inside.
Face the doorway away from prevailing winds, and aim it toward a wall or fence when possible. Add a small overhang, and raise the shelter’s rear slightly so water drains away.
Don’t line up the entrance with the exit, because that can create drafts. Two openings also offer a predator escape if one becomes blocked. Hide the shelter behind cover, while keeping both routes quick and clear.
Make Cleaning Easy
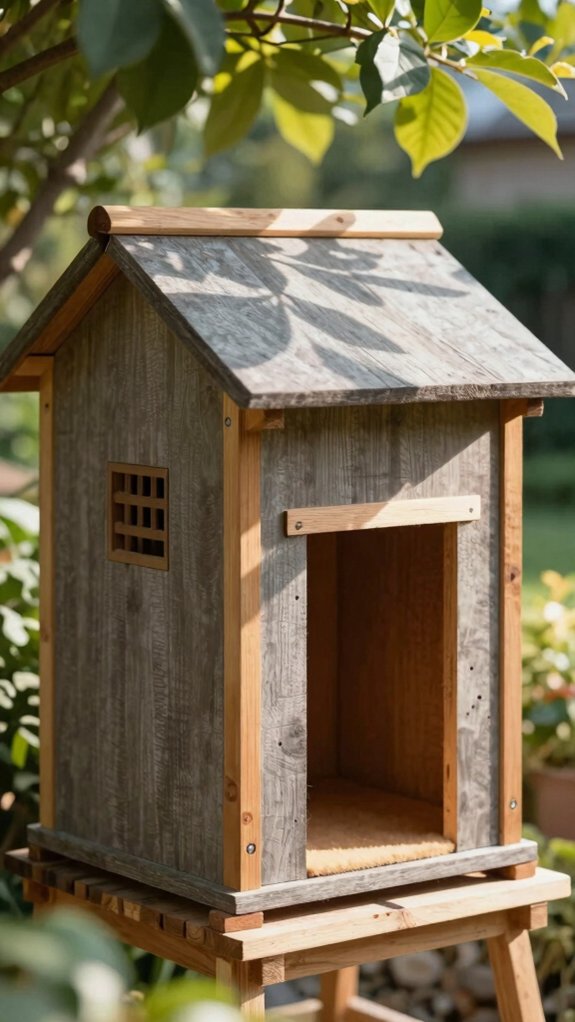
With removable lids on both the outer and inner tubs, you can scoop out damp straw and replace it quickly without taking the shelter apart. This quick access helps you keep your cat’s space fresh with less effort.
Choose a small inner tub for compact cleaning, then add drainage holes so moisture can escape. Use replaceable bedding made from straw, not hay or blankets, and inspect accessible Styrofoam panels whenever you lift the lids.
- Lift both removable lids for a clear view.
- Scoop damp straw and add fresh bedding.
- Check the floor, walls, and corners for moisture.
A simple routine keeps everyone comfortable.
Winter Protection Tips
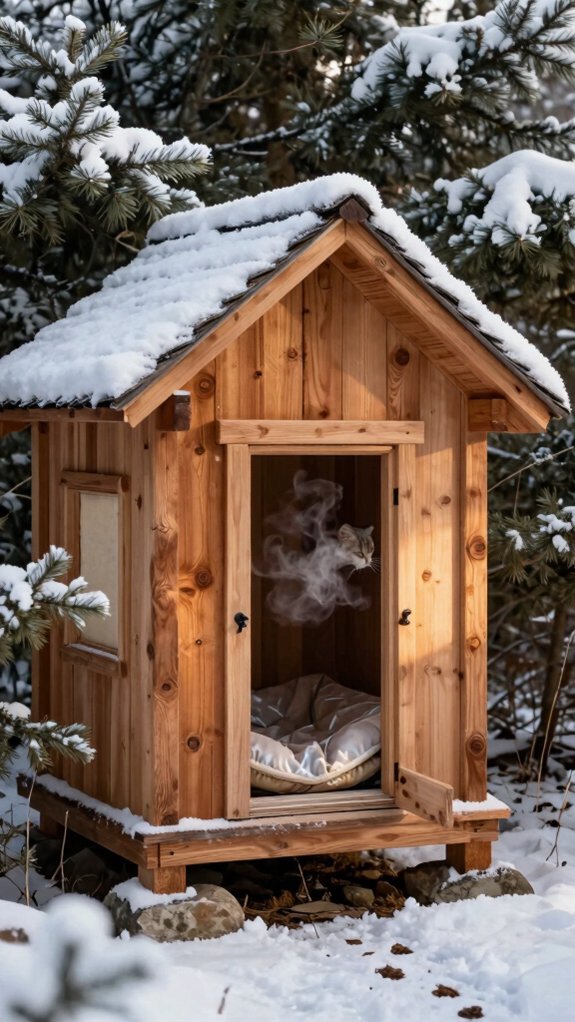
When winter arrives, a snug, well-insulated shelter helps your cat hold on to body heat. Make the inner space small, such as a tub inside a larger tub, so warmth doesn’t escape easily.
Fill the shelter with straw, not hay or blankets, because straw stays dry and resists mold.
Raise the house on 2x4s or a pallet, and add drainage holes to prevent freezing moisture.
Keep the entrance about 5.5–6 inches wide, above ground, and turned away from prevailing winds. Add an awning, and consider windbreak placement nearby.
Check damp straw often, replace it immediately, and maintain good Ventilation balance without creating drafts.
Predator Safety
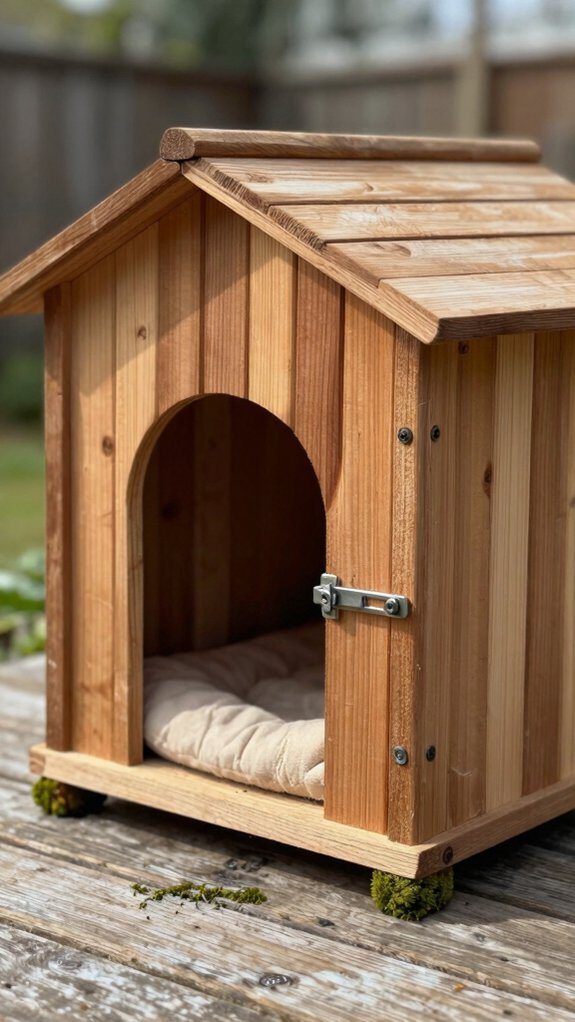
Place the shelter behind a fence, shrubs, or another sheltered corner so predators can’t easily spot it. Point the entrance toward a wall, not an open yard, and choose camouflage placement that blocks likely attack paths.
- Raise the house on 2x4s or a pallet, keeping it off cold ground and above rain or snow.
- Use a 5.5–6-inch doorway, add an awning, and keep larger animals from squeezing inside.
- Weigh down lightweight shelters, place them away from dogs, and use predator deterrents around the area.
These steps help your neighborhood cats feel secure while giving them a protected retreat they can return to each day.