

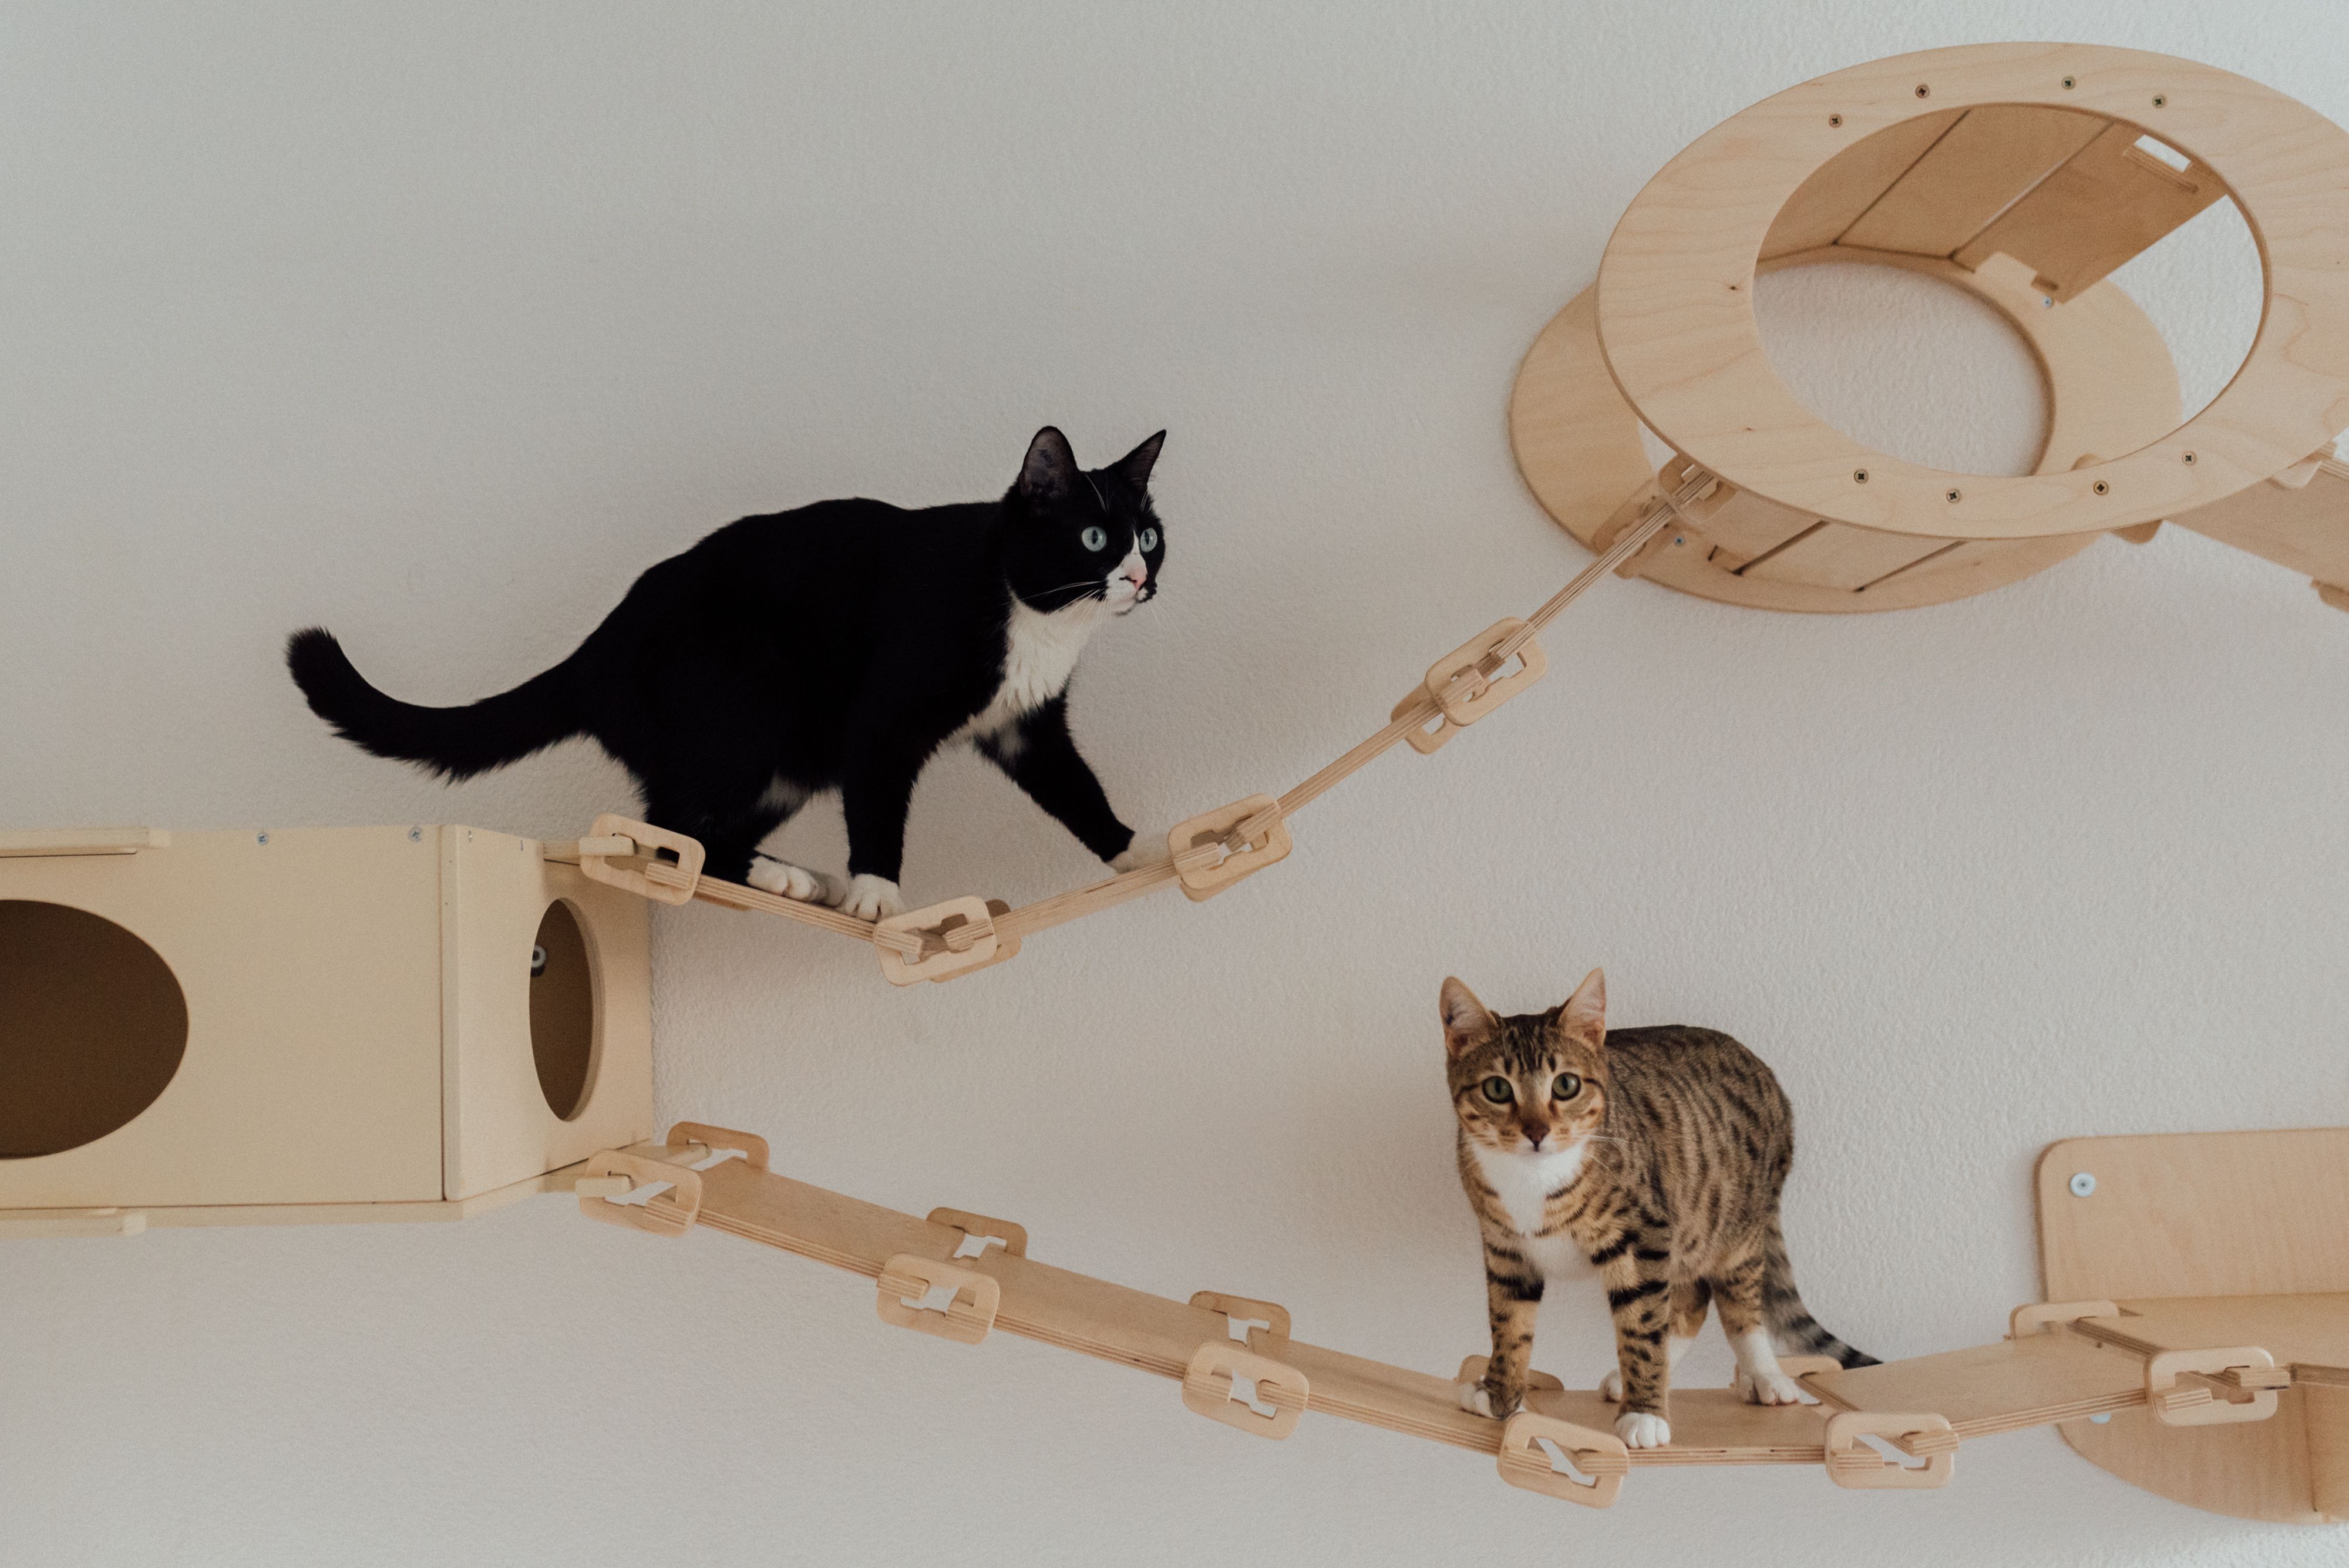
Turn a blank wall into a cat playground with floating shelves, sisal-covered steps, short bridges, and a cozy window perch. Start the first shelf 10–15 inches above the floor, then space landings 12–18 inches apart, shortening gaps for seniors. Stagger the route upward and downward so your cat won’t get stranded. Anchor supports into at least two studs, avoid slick surfaces, and add cork, fabric, or sisal for traction. You’ll find more layout ideas below.
Disclosure: This post may contain Amazon affiliate links, at no extra cost to you. Content on Pawtangle is created with research support from AI tools and carefully reviewed, edited, and fact-checked by the lead author, Dr.Fahri Pat , to ensure accuracy and reliability. Learn more
Key Takeaways
- Install staggered shelves 10–15 inches above the floor, spacing higher platforms 12–18 inches apart for manageable climbs.
- Cover shelves, steps, and ramps with sisal or cork to improve traction and create satisfying scratching surfaces.
- Build zigzag routes with short bridges and landings, offering both upward and downward paths so cats never get stranded.
- Add a stud-secured window perch, bridge, or hammock only where your cat already enjoys watching or napping.
- Mark wall studs with painter’s tape and fasten supports into at least two studs, avoiding drywall-only mounting and slick materials.
Floating Cat Shelves
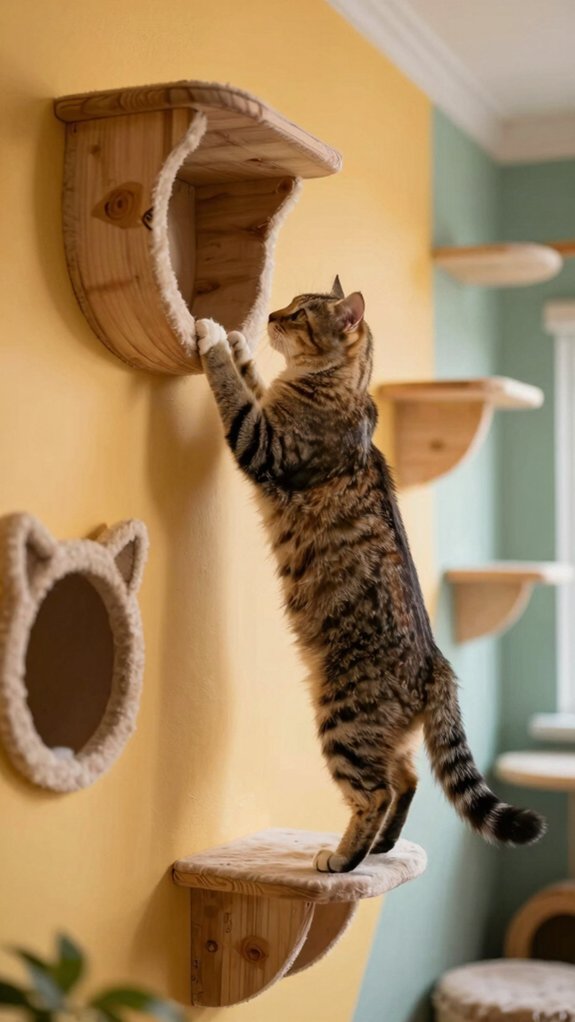
Floating cat shelves give your cat vertical rest and launch points without using floor space. Start the first shelf about 10–15 inches above the floor, so your cat can join the climb confidently.
Space later shelves about 12–18 inches apart for safe, repeatable jumps. If your cat’s senior or has mobility issues, keep levels closer together and add height gradually after each route feels easy.
Choose cork or sisal surfaces for sisal traction, helping claws grip and landings stay steady. For stud mounted safety, fasten supports into at least two wall studs, not drywall alone. You’ll create a welcoming climbing space your cat can trust.
Wall Bridges
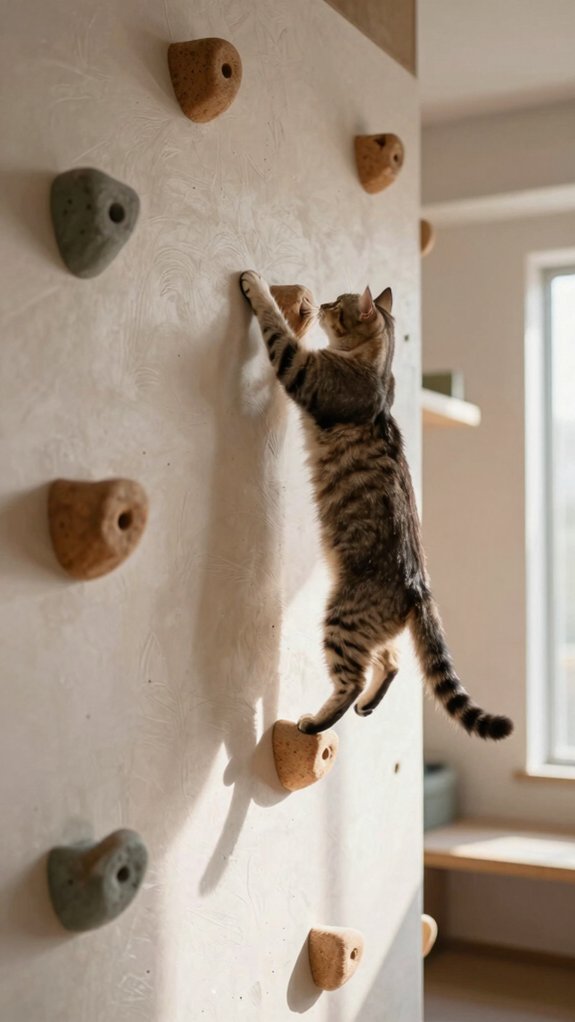
A wall bridge connects shelves or window-side perches, giving your cat a safe horizontal route without a long drop. Try a 34-inch span with an 18-inch hammock connection, or build a window highway near the sill for comfortable outdoor watching.
Cover the surface with rough, claw-friendly sisal for steady traction.
Plan an upward and downward route, such as bridge-to-nest or bridge-to-cubby, so your cat won’t get stranded at the top.
Keep gaps close for seniors and beginners, then widen them gradually.
Anchor shelf ends into studs, or use masonry anchors with a ⅛-inch bit.
Keep toy storage nearby, but place bridges away from heat lamps.
Climbing Steps
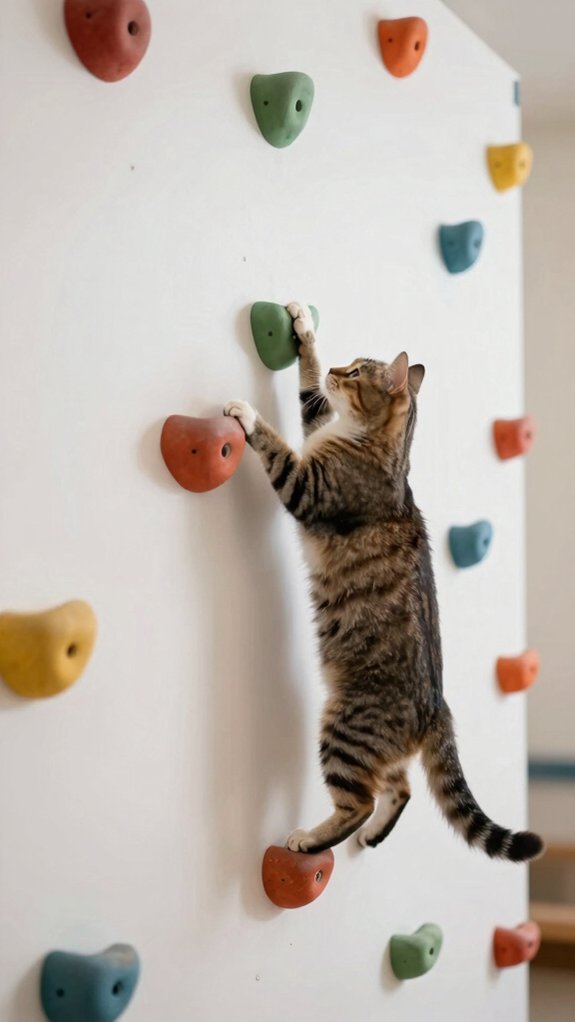
Climbing steps turn a bare wall into a staggered path, helping your cat move upward in manageable jumps. Space them 12–18 inches apart for most adult cats, or closer for seniors and cats with mobility needs.
Begin about 10–15 inches above the floor, then raise each step gradually as your cat gains confidence. Arrange steps in a zigzag with landings, creating a friendly maze instead of one demanding leap.
Choose sisal-covered, scratch resistant ramp surfaces for secure footing, and avoid polished tile or smooth metal.
As you modular perches install, connect steps to hiding spots and resting platforms, so your cat can climb up and descend comfortably.
Window Perches
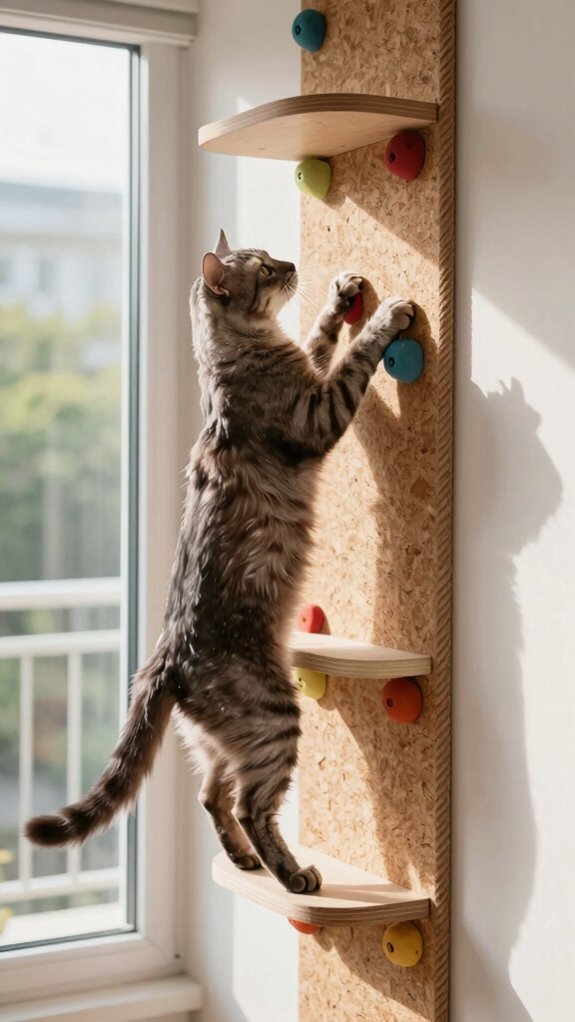
Where does your cat already nap or watch birds? Place a claw friendly perch there, then connect it to nearby shelves so your cat can reach the window without risky leaps.
- Use Safety anchoring by securing the perch and nearby shelves into wall studs, not drywall.
- Create multi height access with steps spaced about 12–18 inches apart, plus a bridge or hammock for comfortable transfers.
- Add a textured landing using sisal, fabric, or cork, so paws won’t slide during jumps.
Keep the route clear, sturdy, and inviting. Your cat gets a safe lookout, and your shared space becomes a welcoming little neighborhood.
Ceiling Walkways
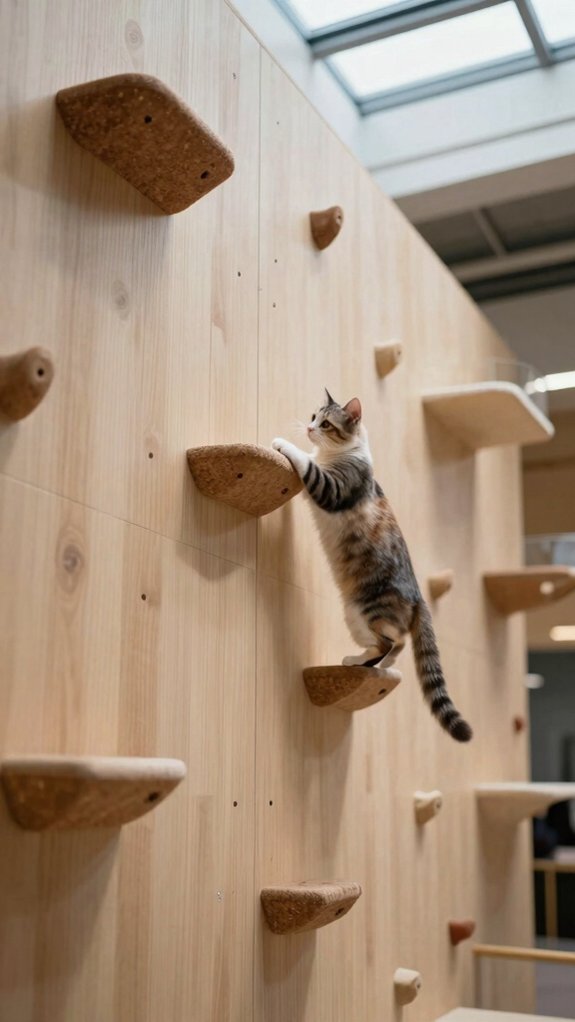
Build a ceiling walkway from sturdy wall-mounted shelves or tracks, connecting each section with short bridges so your cat can travel without risky jumps. Start with a low shelf, about 10–15 inches above the floor, then build upward as your cat gains confidence.
Keep landing spaces 12–18 inches apart for most adult cats, and shorten gaps for seniors or unsure climbers. During ceiling safety checks, anchor every support to wall studs, never drywall alone, and test for wobble.
Choose traction surface options such as sisal, cork, or rough carpet. Skip slick metal, glass, polished tile, and sticky tape, so everyone can venture comfortably.
Hammock Stations
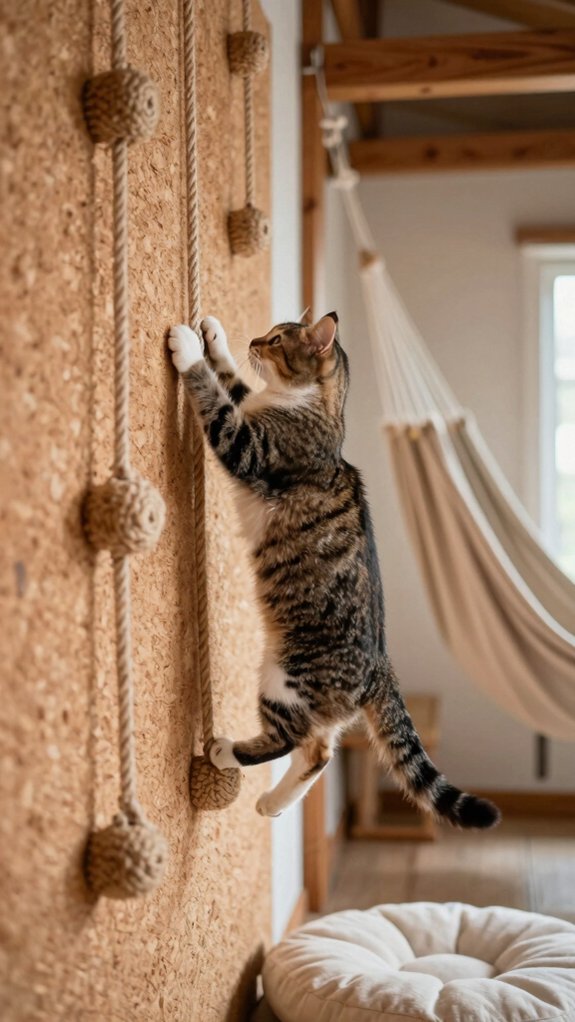
A hammock station gives your cat a comfortable rest stop between climbing routes, especially when you connect it to a nearby bridge or shelf.
A 34-inch bridge with an 18-inch hammock connection creates an easy walkway-to-recline pause.
Plan your station with these three checks:
- Start with a low entry platform, then raise the hammock as your cat gains confidence.
- Add sisal traction nearby, using clawable surfaces instead of slick landings.
- Install safety anchors into wall studs or masonry, and provide another perch or route below.
Your cat can lounge, climb, and retreat without feeling trapped. Together, you’re building a welcoming wall playground.
Rope Bridges
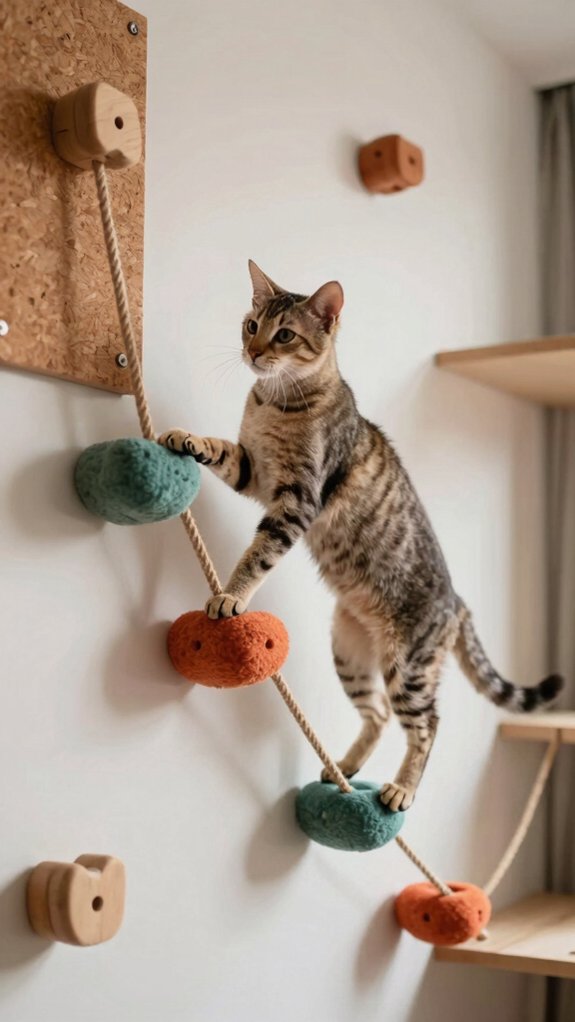
When you connect two sturdy perches, a sisal rope bridge gives your cat a claw-friendly path between levels. Choose rope with a rough sisal texture, which supports climbing, scratching, and steady footing better than slick rope.
Use secure anchoring at both ends, fastening into wall studs or suitable masonry anchors.
Keep perches about 12–18 inches apart at first, then widen the route after your cat crosses confidently.
Start the lowest bridge 10–15 inches above the floor to make practice easier and safer.
Add non-slip landing surfaces, and check for wobbling regularly.
With stable perches on each side, your cat can join the wall route comfortably.
Cat Wall Trees
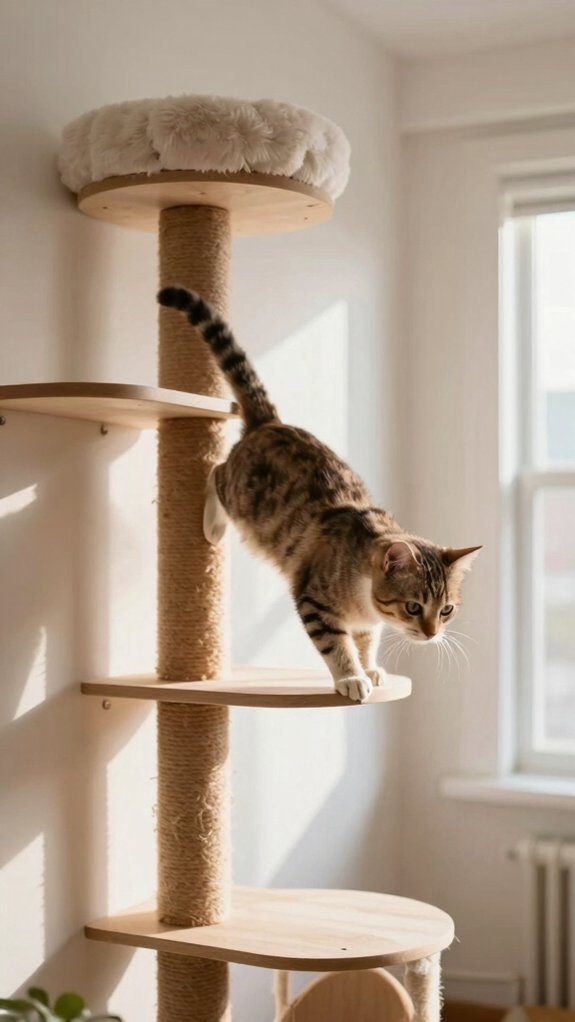
Turn separate perches and sisal poles into a cat wall tree, giving your cat one continuous route for climbing, scratching, and resting. These cat wall trees can make your shared space feel welcoming while adding useful vertical activity.
Plan your route with:
- A lowest perch 10–15 inches above the floor, then platforms spaced 12–18 inches apart.
- Sisal rope or fabric for a durable sisal scratching texture, not slick glass or tile.
- Stud-mounted hardware, or masonry anchors for brick and concrete, so every base stays steady.
Near a window, add a bridge over the sill for safe sunbathing. Let your cat investigate gradually before raising jumps.
Corner Climbing Systems
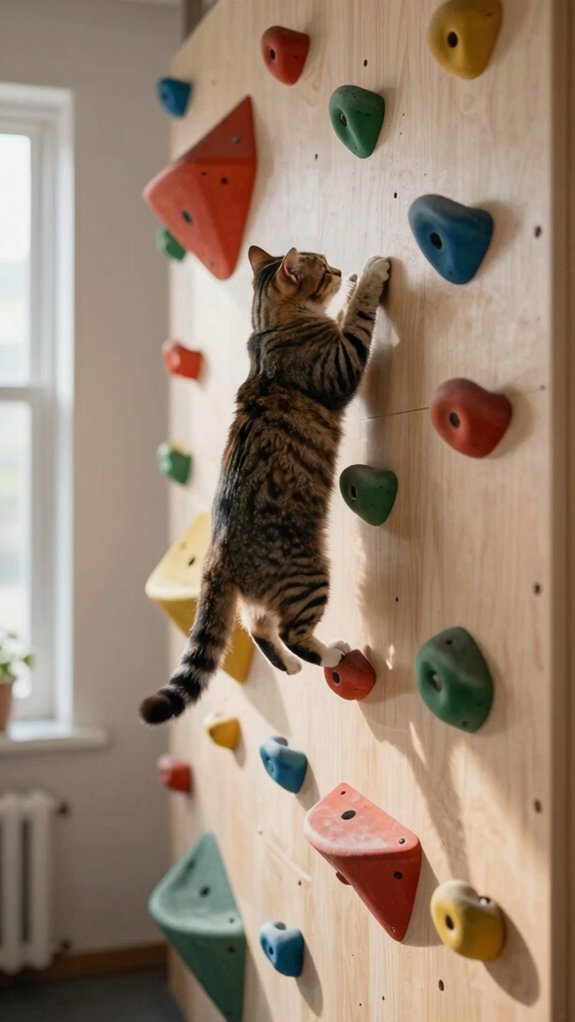
Corner climbing systems use two adjoining walls to create a zigzag route, so your cat can make several short, manageable jumps instead of crossing one risky gap.
Start the first platform 10–15 inches above the floor, then space most shelves 12–18 inches apart.
Anchor each shelf into at least two studs, or use masonry anchors for brick and cement, so the route stays steady.
Wrap vertical posts with sisal rope or fabric for durable claw traction, and choose scratch resistant materials.
Use Cat safe adhesives when needed, but don’t rely on them for structural support.
Include an up route and a lower return option.
Hidden Resting Spots
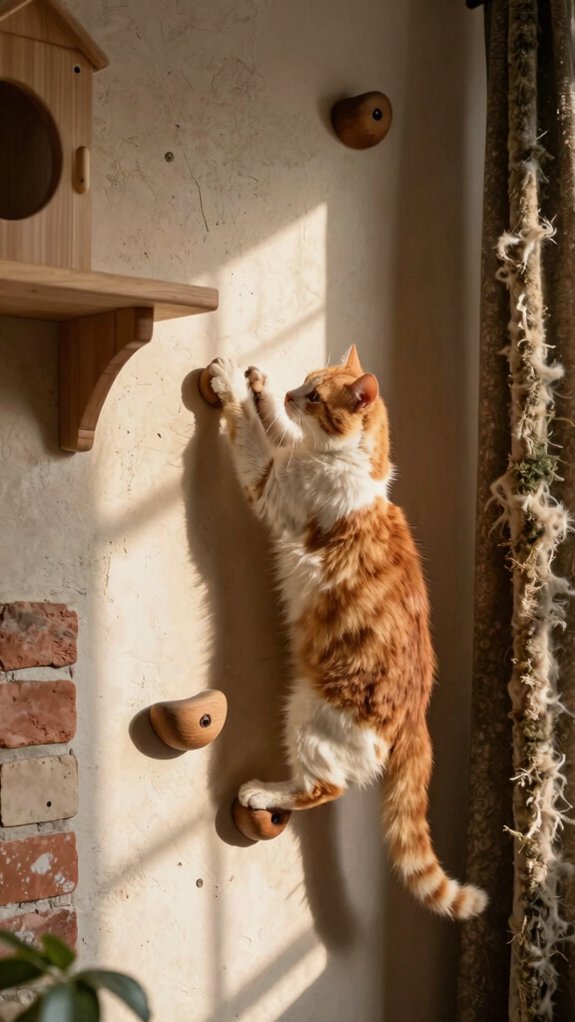
Hidden resting spots give your cat a quiet place to pause without leaving the climbing route. Create vertical retreats with a low entry, about 10–15 inches above the floor, leading to covered nooks or quiet cubbies.
- Place nest platforms above busy paths, so your cat can watch while staying private.
- Stagger shelves beside cubbies to form protected, easy-clean hiding spaces.
- Add multi level escapes in different areas, giving every cat a safe place.
Introduce each spot slowly, placing treats or toys inside. Let your cats learn the route at their own pace, then extend the wall higher as confidence grows.
Modern Minimal Layouts
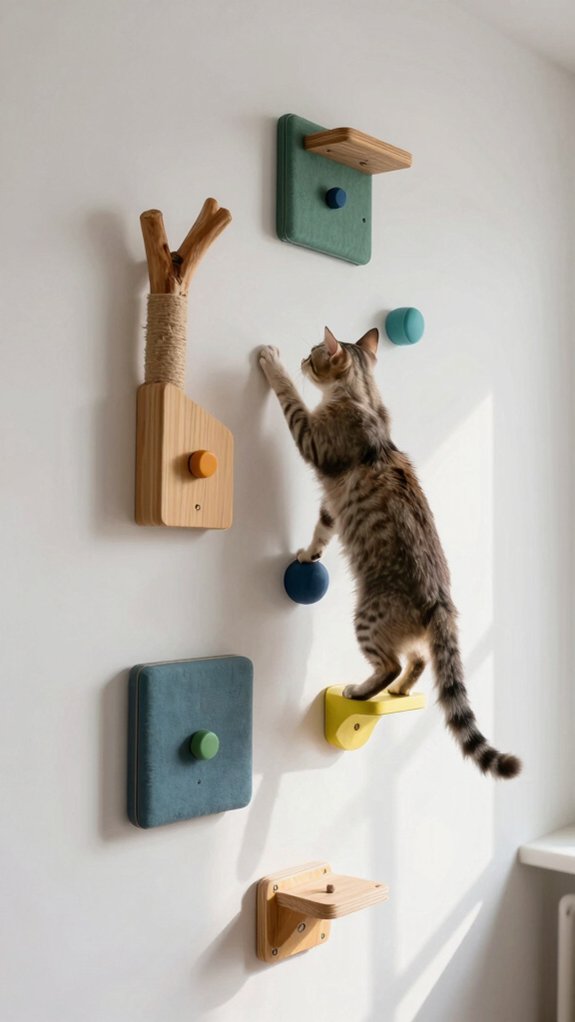
For a clean, modern cat climbing wall, use a simple vertical ladder layout with shelves spaced 12–18 inches apart.
Place the first perch 10–15 inches above the floor, then add two or three evenly sized shelves in a gentle zigzag.
Anchor every shelf to wall studs, and connect the route with one bridge or hammock for quiet rest.
Install from the lowest point upward, so your cat can follow a clear path.
Use sisal rope for grip and scratching, while keeping landing areas flat with non slip surfaces.
Finish with one top observation perch, creating a welcoming, uncluttered space your cat can enjoy.
Small Apartment Solutions
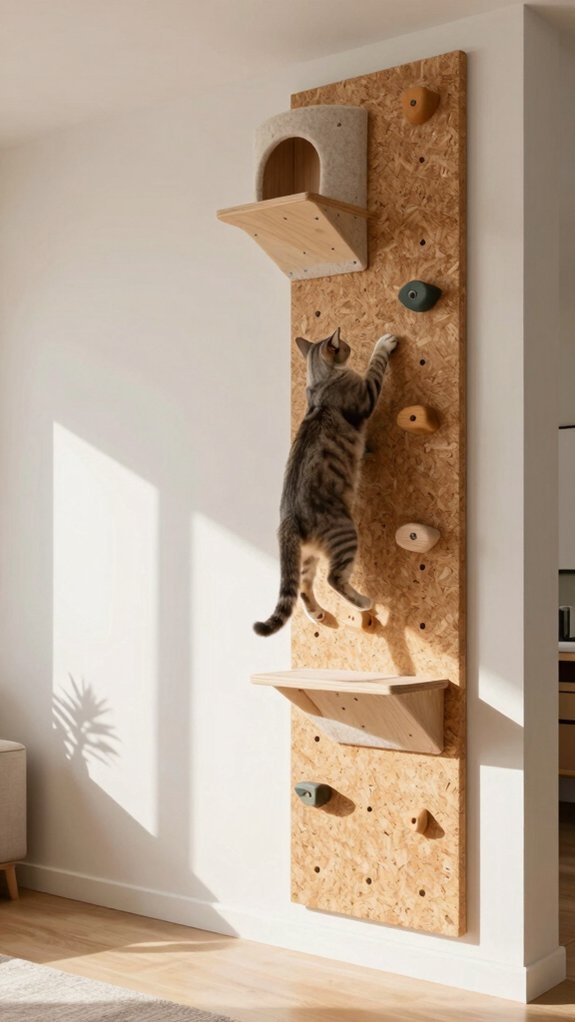
Small apartments can still support an engaging cat climbing wall when you build upward instead of outward. In a Small studio or Budget rental, use one 4–6-foot wall for shelves and scratching spots, creating cat enrichment without crowding your floor.
- Space platforms 12–18 inches apart, or closer for seniors and unsure climbers.
- Start the first perch 10–15 inches high, then rise gradually.
- Check wall safety by finding studs, marking them with painter’s tape, and securing shelves to at least two studs when needed.
Add a window highway only if your cat enjoys that area, linking a shelf to a bridge or hammock.