
You can make your coop way easier to manage with smart upgrades like upgraded 2×4 roosts, roll-away nest boxes, a curtain for privacy, and a walk-in layout, all built with simple lumber and hinges. Add a droppings board, raised flooring, a dry feed corner, and a rustic wood finish for comfort and cleanup. Best of all, easy-access doors and smart storage save time, and a few surprises near the end may spark your next big coop win!
Disclosure: This post may contain Amazon affiliate links, at no extra cost to you. Content on Pawtangle is created with research support from AI tools and carefully reviewed, edited, and fact-checked by the lead author, Dr.Fahri Pat , to ensure accuracy and reliability. Learn more
Key Takeaways
- Add walk-in access, so you can clean, refill, and collect eggs without crouching.
- Build ladder-style roosts at least 2 feet high with proper spacing for comfort and easy cleanup.
- Install roll-away or curtain-covered nesting boxes to keep eggs clean and hens private.
- Use droppings boards or slide-out trays under roosts for faster, less messy manure removal.
- Keep floors smooth, bedding dry, and water spill-proof to reduce odor, pests, and moisture.
Elevated Roosting Bar Setup
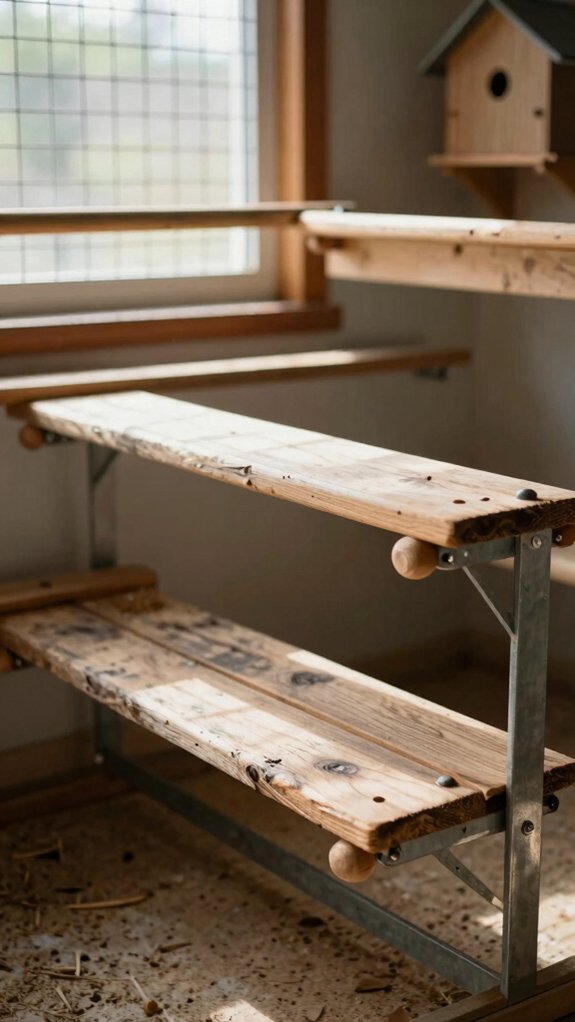
You’ll want your roosting bars high enough to feel safe, but not so high that your hens need a stunt double to get up there! Aim for 8–10 inches of space per bird, keep the bars about 18 inches from the wall and each other, and start the lowest one at least 2 feet off the floor for a comfy, cleaner setup.
A stair-step layout works like a little chicken ladder, and with the right wood—2x4s in colder spots or 2x2s in warmer ones—you’ll make perching easier for every breed, even the less-jumpy feathered crowd.
Proper height spacing
When it comes to roosting bars, height and spacing can make the whole coop feel calmer, cleaner, and way less like a chicken traffic jam! Start with a Ladder style arrangement, so hens climb safely, and give Multiple bird access with about 12 inches between steps.
Keep the lowest bar 24 inches off the floor, 18 inches from the wall, and 18 inches between parallel bars, so everyone gets room without side-eye drama.
Use simple lumber, mark your spacing, then screw everything in place.
Aim for 8 to 10 inches per bird, and you’ll get easier cleanup, smoother bedtime, and a happier flock!
Comfortable perching
A comfy roost isn’t just a nice-to-have, it’s what keeps bedtime from turning into a chicken pileup!
You’ll want about 8–10 inches per bird, with bars 18 inches from the wall and 18 inches apart, so everyone gets flock comfort without the midnight elbowing.
Start with simple 2x4s, flat side up, or 2x2s only if you live somewhere warm.
Add a stair-step layout, with each bar about 12 inches apart, and keep the lowest perch at least 2 feet high.
During breeding season, easy, reachable perches help your hens settle fast, stay safe, and keep the coop calm!
Roll-Away Nesting Boxes
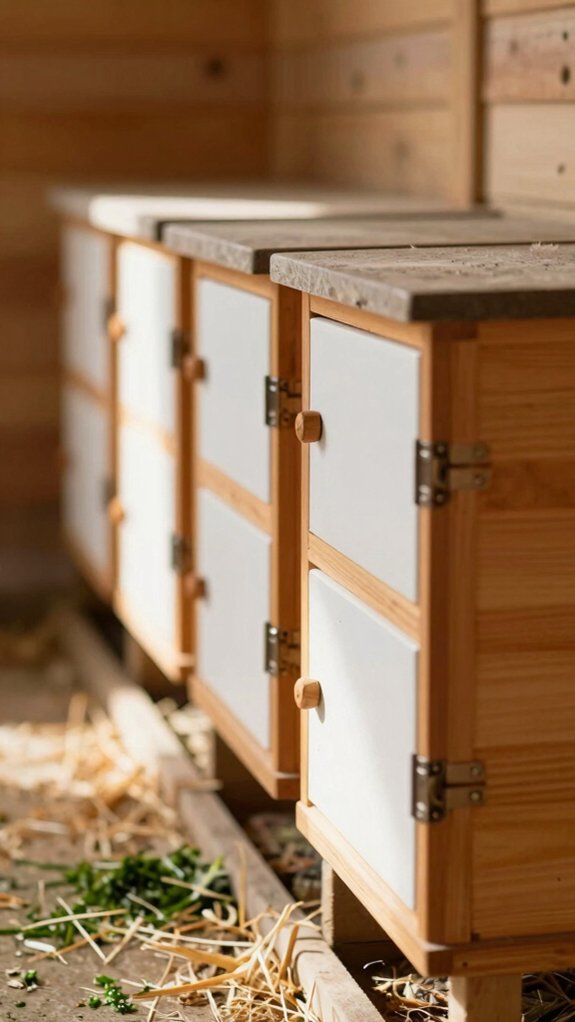
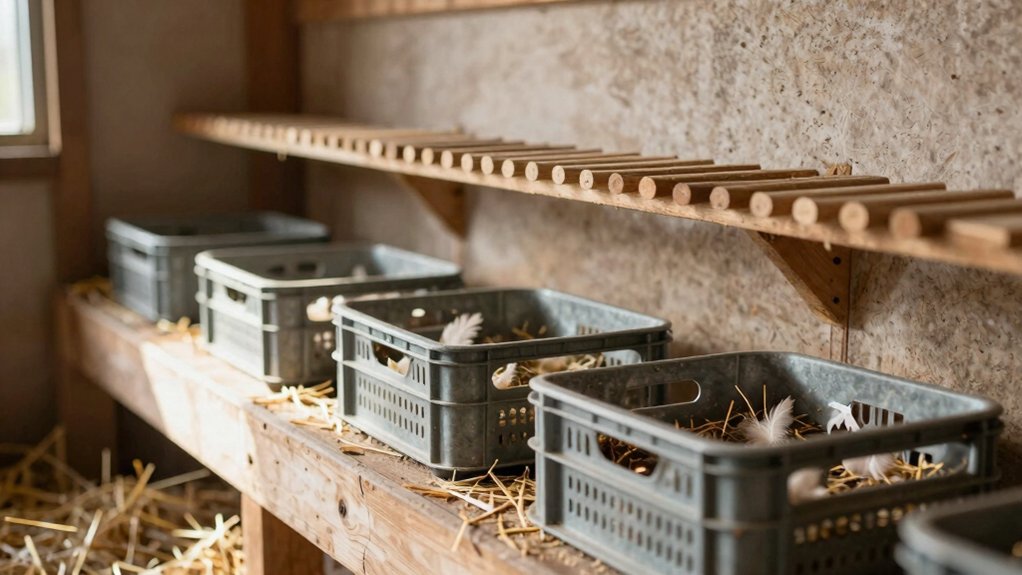
Roll-away nesting boxes are a smart little upgrade, because your hens lay eggs on a slanted floor and the eggs roll into a safe tray instead of sitting around like tiny chicken treasures.
That means cleaner eggs and way easier collection for you—no more sneaky pecks, cracks, or muddy surprises!
If you set them up in a quiet spot with soft bedding and enough space for your flock, you’ll get happier hens and a much smoother egg-gathering routine.
Cleaner eggs
If you’re tired of muddy, smudged eggs, roll-away nesting boxes can feel like a tiny chicken miracle! You fit them into a dark, cozy corner, and your flock usually settles in fast.
- Use a 12 x 12 inch nest for standard hens.
- Give one box per 4–5 hens, or at least two for a small flock.
- Add soft bedding and follow bedding refresh schedules for nest box cleanliness.
- Keep the tilted tray protected, so eggs roll away from droppings and busy feet.
That simple setup keeps your eggs cleaner, drier, and way less grubby—hooray!
Easy collection
When egg-collecting turns into a daily treasure hunt, roll-away nesting boxes can make life so much easier! You join the easy-collection club, and your hens stay calmer too.
| Feature | Why it helps |
|---|---|
| Tipped floor | Eggs roll away fast |
| Protected tray | Less breakage, better egg handling |
| Front rail | Hens step in safely |
| Dark nook | Encourages steady laying |
| Hinged cover | Quick grabs, less fuss |
Build each box about 12” x 12”, and plan one nest for every 4–5 hens. That keeps crowds down and supports brood prevention. Add a front lip, then collect often without disturbing anybody. Nice, right?
Curtain-Covered Nesting Area
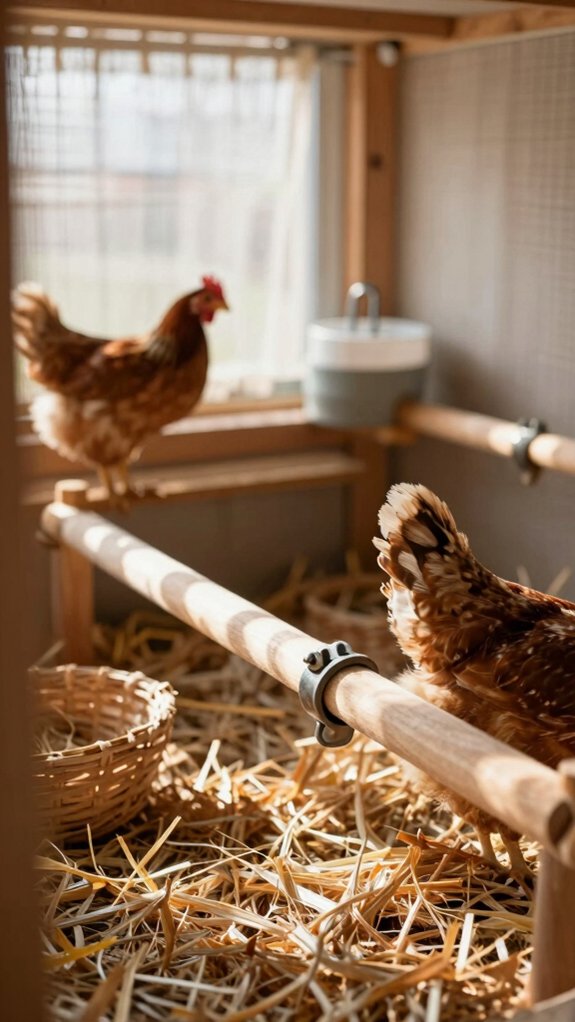
A curtain-covered nesting area gives your hens the privacy they crave, and that little bit of seclusion can make egg-laying feel way calmer—no audience, no drama, just business.
You’ll want dark, cozy boxes with easy-to-open curtains, so your birds can slip in and out without feeling exposed or rushed.
And here’s the fun part: when you keep the space quiet and tucked away, you’ll often see less fuss, fewer peeks, and happier hens doing their egg thing like pros!
Privacy for hens
- Hang a soft curtain.
- Keep box openings around 12 x 12 inches.
- Use one box for every 4–5 hens.
- Add dry bedding and clean it often.
Place boxes away from busy paths, and use hinged-top access so you’re not fussing with the curtain. Nice and easy, right?
Reduced stress
Chickens can be surprisingly picky little apartment hunters, and a curtain-covered nesting area helps them settle down fast!
You give your hens extra darkness and privacy, and that quiet room feel cuts interruptions from the open run.
Add soft bedding in 12″ x 12″ boxes, and you’ll see fewer dirty eggs and less fuss.
Keep access easy with a hinged top, so you can grab eggs without disturbing the flock.
Aim for one nest per 3–5 hens, ideally 1 per 4–5, and you’ll get calmer flocking, better noise reduction lighting, and way less drama.
Walk-In Coop Interior Layout
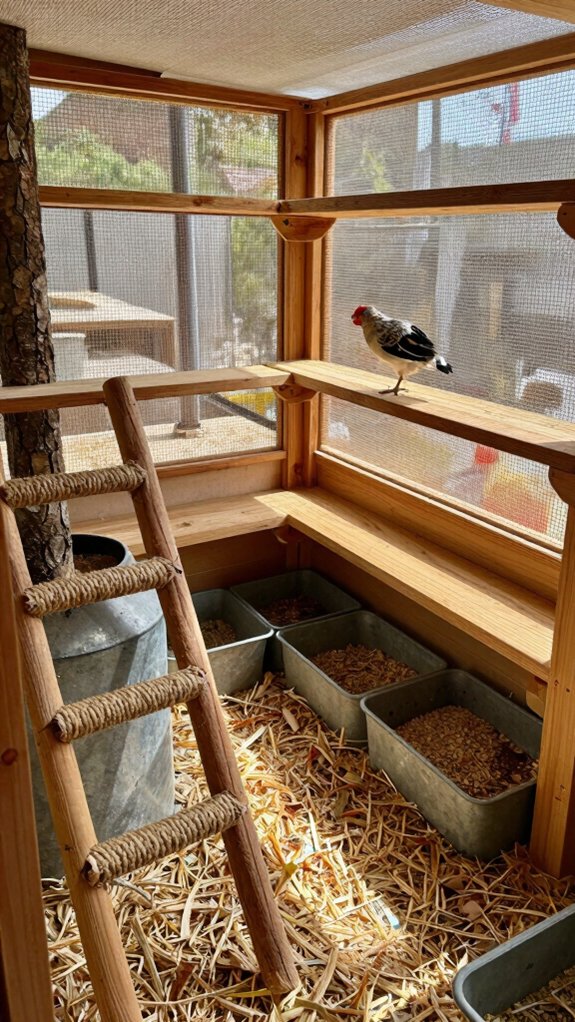
A walk-in coop layout makes chores feel way easier, since you can step right inside with a human-sized door and clean, refill, and gather eggs without playing chicken limbo!
Give yourself enough room to move around, with clear paths to the roosts, bedding, and nesting boxes, so everything stays simple and you’re not bumping elbows with a feeder.
And here’s the fun part: smart spacing can even make the coop feel calmer for your hens, which means less fuss for you and smoother daily care all around.
Easy cleaning access
Inside a walk-in coop, easy cleaning starts with a human-sized door that swings open without a wrestling match, so you can step in, refill the feeder and waterer, scoop bedding, and gather eggs without doing the awkward chicken-coop crouch. You’ll feel right at home, and your flock will too!
- Use linoleum or rubber mats over plywood for fast monthly clean-outs.
- Keep nesting boxes off the main floor with hinged lids.
- Add hardware-cloth airflow openings you can reach from inside.
- Try Windowed ventilation and Feeder height adjustment for comfort.
Small upgrades, big relief!
Better movement
When you can walk right into your coop without doing the chicken shuffle, everything feels easier, faster, and a lot less grumpy! A walk-in layout lets you reach the feeder, waterer, and egg area without squeezing through a tiny door.
Set the lowest roost about 2 feet up, then use a ladder-style climb so every hen can move with confidence. Keep bars 18 inches apart, with 18 inches from the wall, and give each bird 8 to 10 inches.
Low nesting boxes, slanted tops, and roomy paths help airflow, draft control, and calm, happy flock traffic.
Droppings Board System
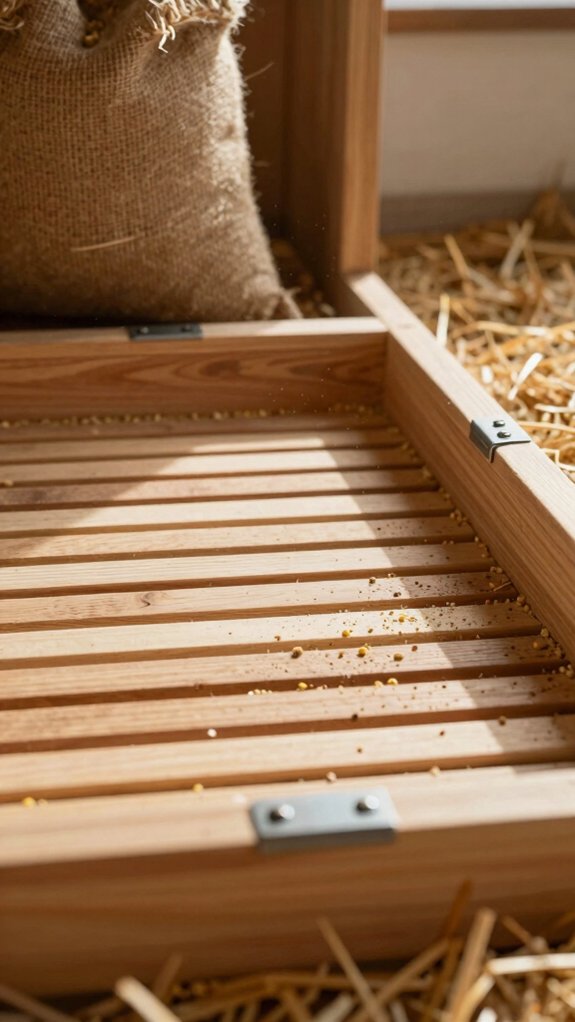
A droppings board under your roosts makes poop cleanup super simple, because it lands on one easy-to-remove surface instead of getting spread all over the coop.
You can line it with linoleum, metal, or another wipe-clean material, and that means less stink, less mess, and way fewer “ugh, not again” moments!
Set your roosts in a stair-step layout with a little space from the wall, and you’ll help keep the floor cleaner too.
Simple waste removal
You can sweep chicken chores off your to-do list faster with a droppings board system! If you want a coop that feels like a friendly hangout, this simple setup helps with odor control and weekly sanitation.
- Place a smooth board under the roosts.
- Use linoleum or sealed plywood, not rough wood.
- Scrape and wipe it daily.
- Keep water out, so things stay dry and easy.
That’s it! You’ll cut dampness, avoid ammonia stink, and make monthly reset days way less annoying. Your flock gets a cleaner home, and you get more time for treats and bragging rights!
Cleaner floor
Even the tidiest coop can get messy fast, so a droppings board under the roosts is a smart little game-changer! You’ll catch most poop on a removable panel, then scrape it off before it spreads. Use a smooth floor barrier like linoleum over plywood or concrete, so stray bits wipe up fast and don’t invite pests or stink.
Make the board easy to reach for monthly cleaning, no awkward yoga poses required. In winter, keep waterers outside the bedding zone and follow Winter ventilation planning, so moisture doesn’t freeze with droppings.
Pair this with dry bedding and Odor control materials, and your coop feels fresher fast!
Slide-Out Cleaning Tray
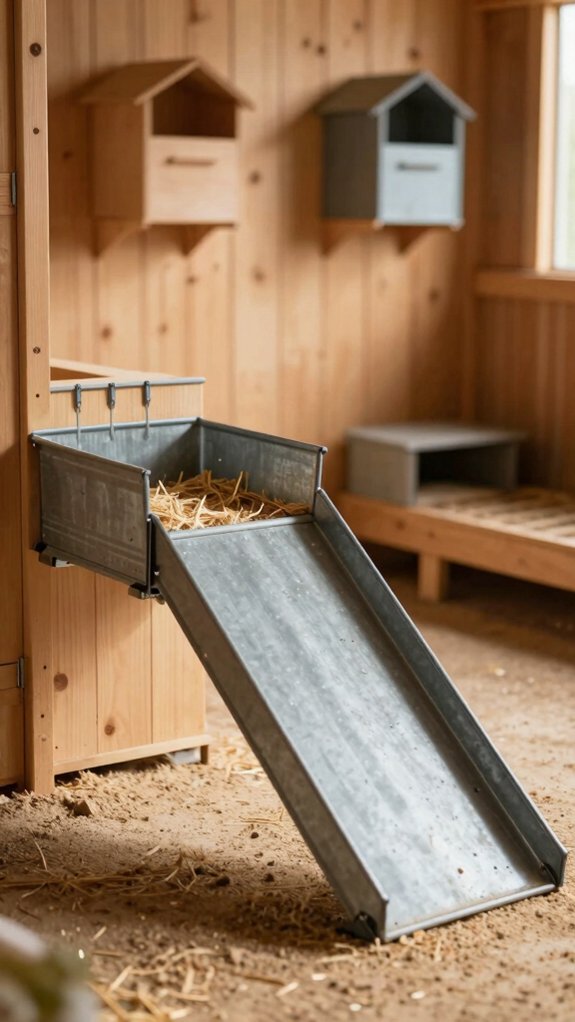
A slide-out cleaning tray can make coop chores feel almost too easy, because you can pull it out, dump the mess, and get back to your day fast!
Start with a smooth tray under the roosts, like metal or linoleum-covered plywood, and you’ll spend less time scraping and less time wrinkling your nose.
Best of all, if it slides out from outside the coop, you won’t have to bother the flock, which means less fuss for you and way less chicken drama.
Fast maintenance
For fast coop cleanup, a slide-out cleaning tray is a total sanity-saver! It keeps you in the flock club without the full coop shuffle.
- Place it under roosts, where droppings pile up fast.
- Use smooth linoleum over plywood, so it wipes clean and stays dry.
- Pair it with deep bedding for better odor control and drier litter.
- Pull it out fully each month, scrape, then slide it back for a snug night shelter.
That quick routine cuts ammonia, helps prevent soggy messes, and makes winter cleanup easier too.
Tiny chore, big win!
Less effort
Want cleanup to feel less like a chore and more like a quick win? Install a slide-out tray under the roosts, and you’ll pull waste out fast, no scooping, no boot-sinking drama!
Use moisture proof materials or a smooth liner so droppings don’t hide in cracks, and wipe-downs stay simple.
Place roost bars about 2 feet up with enough spacing, so mess falls where the tray can catch it.
Add odor control options, like dry bedding or a light sprinkle of coop-safe powder, and you’ll notice fresher air.
Aim for monthly clean-outs, more often in winter, and the whole coop feels easier to share!
Vertical Space Utilization
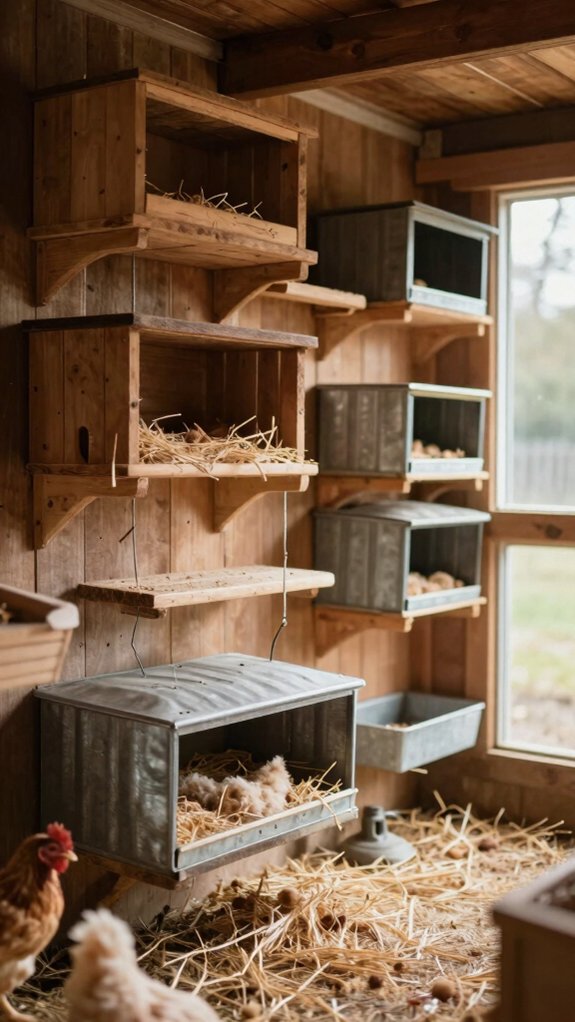
When your coop feels tight, going up instead of out is a smart move—you can fit more room for your hens without crowding the floor, and that’s a big win!
Try adding roosts in a stair-step layout with sturdy 2x4s or 2x2s, plus low, cozy nesting boxes, so everyone gets a safe spot and nobody has to play chicken ladder.
And here’s the fun part: you can even tuck a dusty bath under cover and use the space above it for perches, which keeps things neat, dry, and way more efficient.
More room in small coops
Up above the floor, a small coop can suddenly feel a whole lot bigger! You’ll boost floor footprint, keep easy access, and enjoy space efficiency with simple tweaks. Maintenance simplicity comes along too, so you won’t dread chores.
- Use stair-step roosts: wood bars, about 18″ from the wall, 12″ apart, and the lowest bar 2 feet up.
- Pick grip-friendly wood, like 2x4s, for comfy feet.
- Add nesting boxes up and out of the way, about one per 4–5 hens.
- Keep vents near the ceiling, covered with hardware cloth, for fresh, dry air.
Smart design
Smart design in a chicken coop often starts with looking straight up, because vertical space can do a lot of heavy lifting!
You can build stair-step roosts, giving each bird 8–10 inches of space, with bars about 18 inches apart and 18 inches from the wall.
Use 1.5–2 inch wood for comfy safe roosting, and keep the lowest bar 2 feet up for easier cleanup.
Add vents near the ceiling with hardware mesh for Natural light and airflow.
Tuck nesting boxes low, and leave floor room for a dust bath.
It’s simple predator proofing that feels like a cozy flock clubhouse!
Dedicated Dust Bath Corner
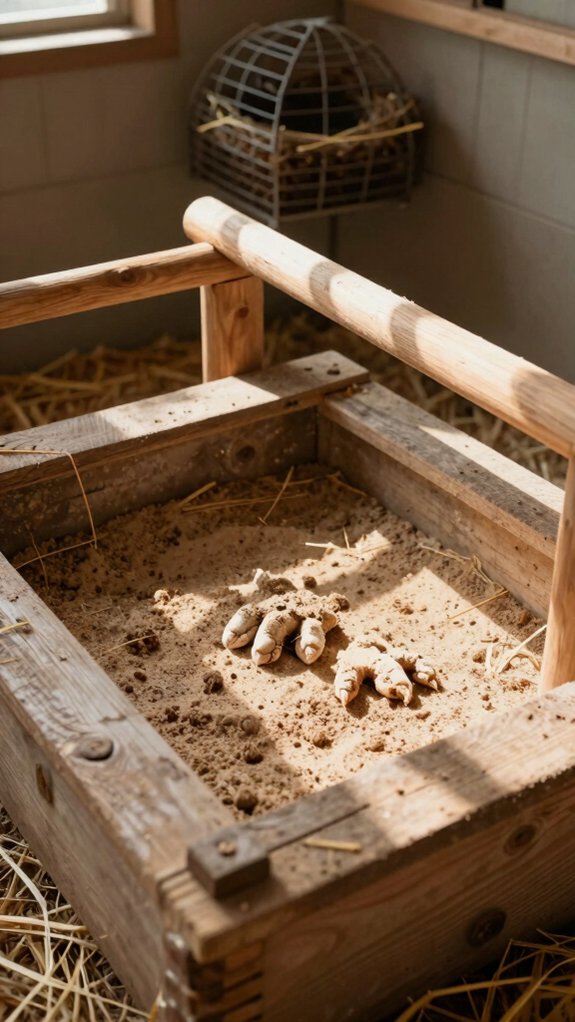
A dedicated dust bath corner lets your chickens do their own little spa routine, and you’ll see them scratch, flop, and fluff like tiny feathered comedians!
Use a dry mix like diatomaceous earth, wood ash, or both in a shaded, dry spot, and you’ll help keep mites and lice in check while their feathers stay cleaner.
Keep it outside the sleeping area, and if you can tuck it into a roofed run zone, you’ll make the bath stay dusty, not muddy, which is the real magic!
Natural cleaning behavior
Giving your hens a dedicated dust bath corner is one of those small coop moves that pays off big! You’ll help them follow natural cleaning behavior without turning the coop into a dusty snow globe.
For Seasonal molt support and feather care tips, try this simple setup:
- Pick a dry, covered run spot.
- Add diatomaceous earth, wood ash, or a mix.
- Keep it away from feeders, waterers, and bedding.
- Refresh it when it clumps or gets damp.
It’s cheap, easy, and your flock will strut in like they own the spa.
Best part? A tidy corner keeps their favorite habit where it belongs!
Health benefits
Tuck a dedicated dust bath corner into your coop or covered run, and you’ll give your flock a simple, natural way to fight mites and lice while keeping their feathers fresh!
| Benefit | Why it helps | Tip |
|---|---|---|
| Mite control | Birds dust bathe to shake off pests | Keep it dry |
| Coop hygiene | Less mess spreads through bedding | Use a roof |
| Feather care | Dust cleans and dries feathers | Add ash or DE |
| Easy access | Chickens use it often | Place it nearby |
| Happy flock | Routine bathing lowers stress | Make it feel cozy |
Set it in a dirt-ready spot, and your coop stays cleaner, drier, and way easier to love!
Hanging Feeder System

A hanging feeder is a smart coop upgrade, because you can keep a big one full for about a week and cut way down on those “oops, I forgot the feed” moments!
Use sturdy hardware so it stays put, and you’ll waste less food while keeping the floor neater, too.
For an extra win, hang it near head height and pair it with clean water outside the splash zone, since that helps keep bedding out of the feed and the coop much fresher.
Less food waste
Hang feed up, and you’ll notice the mess drop fast! You’ll waste less feed when you use a big hanging feeder, even one that holds about 200 lb. Keep it in predator proof fencing and pair it with pest proof storage so pests can’t raid your flock’s buffet.
- Hang it high enough for easy pecks.
- Keep it steady so birds can’t kick it.
- Add separate grit and oyster-shell cups.
- Check it often, and scrape off caked feed.
That’s it, friend—less spill, less spoilage, and more grain where it belongs: in your flock’s beaks, not the coop floor.
Cleaner setup
A cleaner coop starts with getting that feed up off the floor, and a hanging feeder does the heavy lifting like a tiny barn chandelier!
| Tip | Why it helps | Quick check |
|---|---|---|
| Hang high | Less bedding mess | Hens still reach it |
| Use 200 lb bin | Fewer refills | Lasts a week |
| Keep dry | Stops mold | No soggy grain |
| Check gaps | Blocks scratching | Tight, steady setup |
| Place smart | Good light flow | Fits ventilation design |
You’ll cut rodent interest, protect grain, and keep your flock comfy. Mount it near roosts, but never in front of boxes, and inspect it often—your coop crew will thank you!
Spill-Proof Water Station
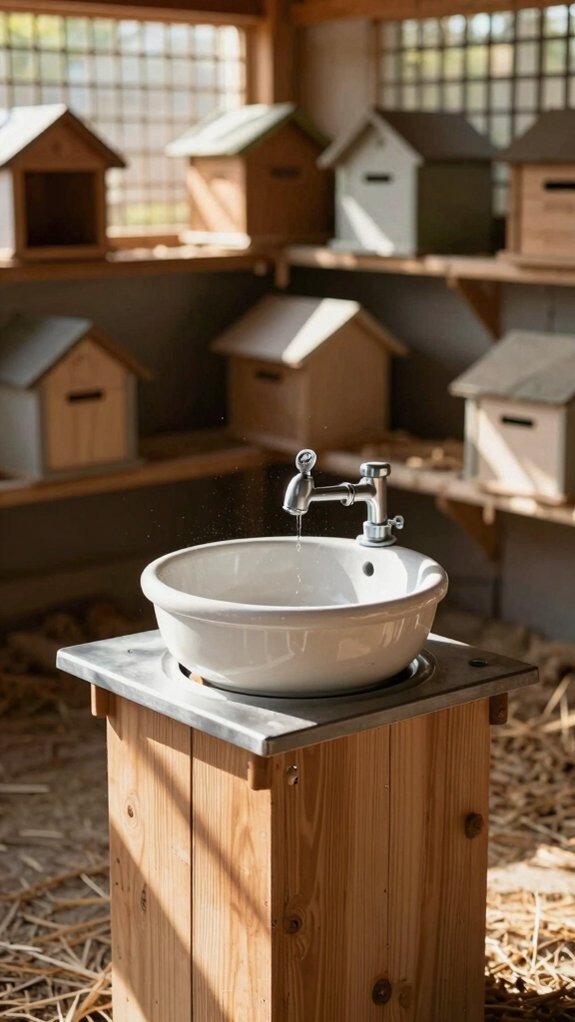
A spill-proof water station keeps your coop dry, which means less soggy bedding, fewer muddy messes, and a happier flock—nice!
Start with an easy-to-refill automatic waterer that holds enough for your hens, then place it on a stable spot where it can’t get knocked over.
And don’t forget a quick daily check, because even the best setup can get a little gunky, and nobody wants a chicken spa with a science project vibe.
Dry environment
To keep your coop floor dry and comfy, start with a spill-proof water station that won’t turn your bedding into soggy soup! For winter bedding basics, dry shavings help your flock stay cozy, and coop moisture control keeps frostbite risks down.
- Use an automatic waterer.
- Mount it securely inside.
- Check water levels daily.
- Clean it often.
Place it where you can reach it fast, but not where it can tip or leak into corners. A tidy setup means less mold, less mess, and happier hens. Little changes like this make your coop feel like home, with dry feet all around!
Easy refill
When you want easy refills without the daily water-spill drama, an automatic, refillable chicken waterer can be a total coop win!
You’ll love automatic watering because it keeps fresh water ready while you handle chores, errands, or that surprise “just one more egg basket” moment.
Choose a spill-proof placement with a sturdy base, a level spot, and a nearby hook or shelf for your refill routine.
That keeps bedding dry, cuts moldy messes, and helps prevent winter frostbite risks.
If your climate freezes, add a heated bowl only as needed.
Keep water outside the coop when you can, and your flock will thank you!
Natural Light Optimization
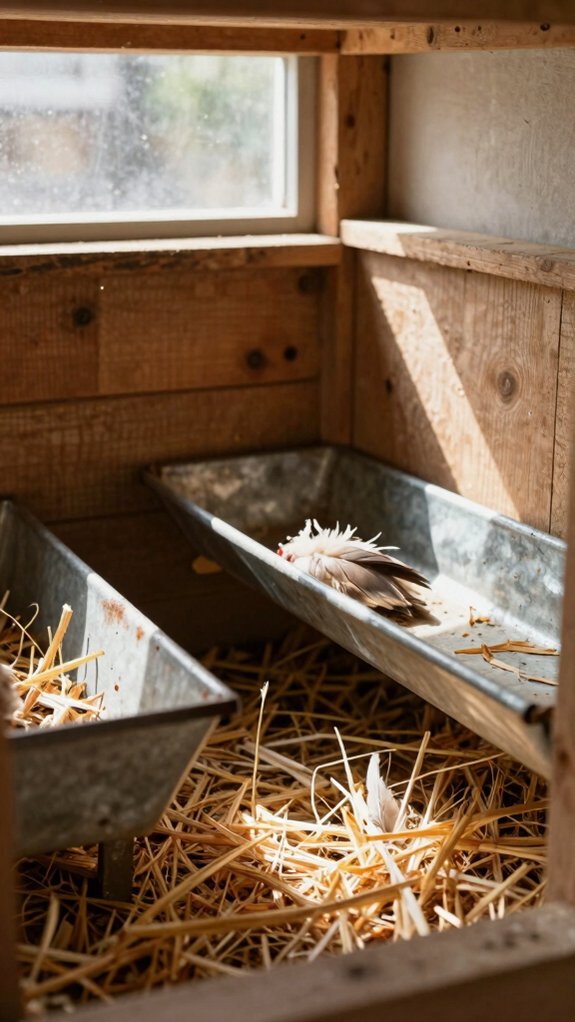
Natural light can do a lot of heavy lifting in your coop, from making chores easier to helping your hens settle into better laying rhythms—pretty handy, right?
You’ll want bright daytime light without turning the coop into a sauna, so use windows and ceiling vents for fresh airflow, and close them up when it gets chilly.
If winter slows things down, a simple timer on safe outdoor lighting can help keep your flock on a steady schedule and support healthier, happier chickens!
Better laying cycles
Most hens settle into a better rhythm when their day feels steady, and in winter that often means giving them about 14 hours of daylight so their laying cycle stays on track. Great news—you can help your flock feel right at home!
- Use low noise timers with a 7-day solar programmable switch.
- Keep lights in draft free placement near nesting spots.
- Add light in the morning, not all day.
- Pair it with ventilation and a weather-proof extension cord.
That’s it! You’re aiming for steady, cozy mornings, not a disco coop. Keep the glow gentle, and your hens may reward you with more regular eggs.
Healthier chickens
Brighten the coop, and you’ll likely brighten your hens’ whole routine! You can aim for about 14 hours of light, then use a simple solar timer to keep winter days steady.
Add ceiling vents on the south side, about 3–4 inches wide and covered with hardware mesh, so fresh air slips in without turning the coop into a wind tunnel.
For summer, open windows for cross-breezes, then shut them when it drops below 40°F for better draft control.
Smart seasonal insulation helps, too.
Keep lights handy for chores, skip water inside, and you’ll help your flock stay drier, calmer, and healthier!
Ventilation-Focused Design
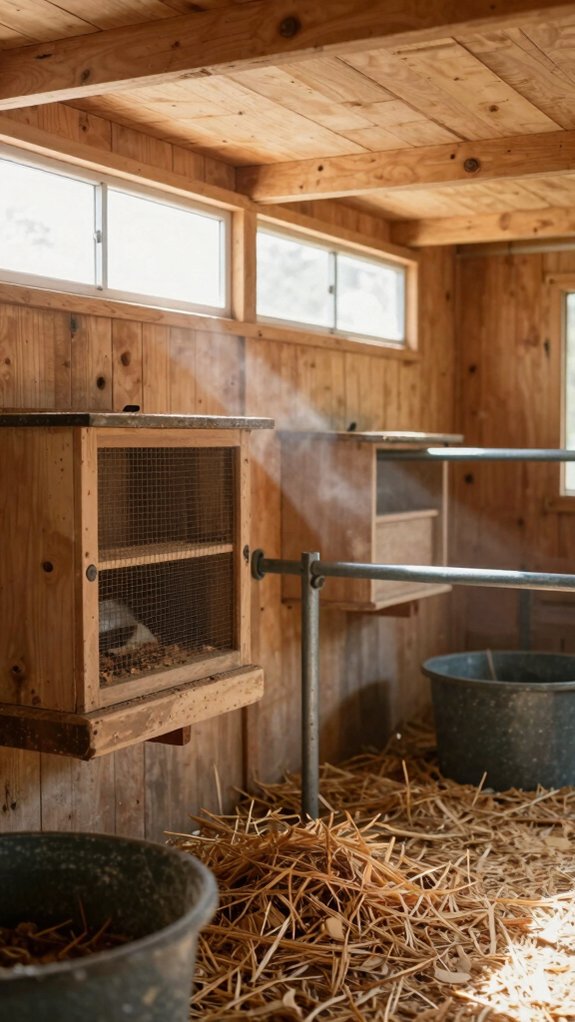
Fresh airflow can make your coop feel way less stuffy, and that’s a big win for your flock!
You’ll want openable vents lined with hardware cloth so you can swap between breezy summer comfort and snug winter protection without trapping damp air.
Place vents near the ceiling, add a little cross-ventilation where it fits, and you’ll help cut moisture, odors, and those sneaky ammonia fumes before they cause trouble.
Fresh airflow
Up near the roofline, your coop can quietly do a lot of heavy lifting! You’ll help the flock breathe easy with fresh airflow, winter insulation, and smart draft prevention.
- Drill 3–4″ holes high up, then cover them with hardware mesh.
- Add a window on one side for summer cross-breezes.
- Use openings you can open or close as the weather shifts.
- Seal every gap tighter than 1/2″, because sneaky predators love shortcuts.
When warmth drops below 40°F, close vents that chill the girls, but keep top air moving so stale air slips out. Nice and cozy, right?
Moisture control
When moisture starts hanging around in the coop, you’ll notice it fast—damp bedding, a whiff of ammonia, and chickens acting less than thrilled!
Start with ceiling vents on the south side, about 3–4 inches wide, and cover them with hardware mesh.
That keeps airflow steady and predators out, nice and easy.
In summer, open windows for cross-ventilation, then shut them when temps dip below 40°F.
Add one vent you can open or close, so you can fine-tune moisture control without losing winter draftproofing.
Place openings high, where warm, wet air escapes, while natural insulation keeps roosts comfy.
Compact Nesting Box Stack
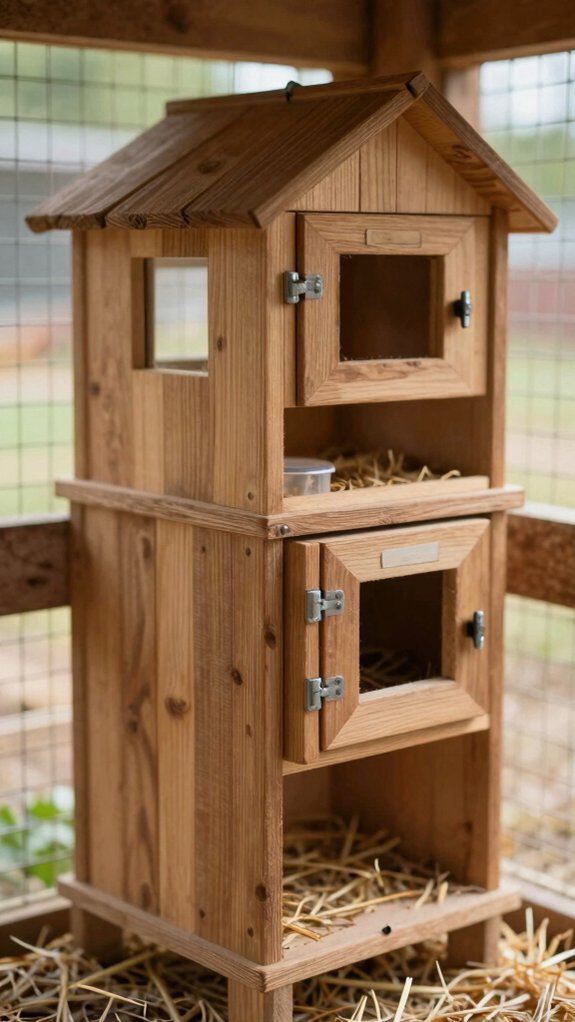
A compact nesting box stack is a smart way to save space in your coop, and it keeps everything neat, easy to reach, and a whole lot less chaotic—nice!
You can build it with simple wood, hinged tops, and a small landing rail, then tuck it off the main run so the hens get a darker, quieter spot that feels more private.
If you’re short on room, a stacked layout can still stay organized, and a rollaway tray at the end is a sneaky little bonus for cleaner eggs and less fuss.
Space saving
To save precious floor space, build your nesting boxes in a compact vertical stack, and your coop will feel a lot less cramped—pretty handy when your hens seem to multiply overnight!
You’ll love the compact storage and vertical organization, because they keep your flock’s favorite spot neat and easy to reach.
- Use simple plywood and screws.
- Size each opening about 12″ x 12″.
- Add a dark, private front with a slanted top.
- Finish with low steps or a rollaway tray for cleaner eggs.
You’ll fit more nests without crowding, and your hens will settle in like they belong there!
Organized layout
Even in a small coop, you can keep things neat by building a compact nesting-box stack off the main enclosed area, so the hens don’t turn the whole place into a traffic jam!
You’ll feel right at home when you give each box the right nesting box size, about 12″ x 12″, or 14″ x 14″ for bigger girls, and follow the 1 nest per 4–5 hens rule.
Keep at least two boxes, dark and private, so nobody gets boxed out.
Add slanted tops, check perch matching, and use a hinged cover for fast egg grabs.
Soft bedding, regular cleaning, and voilà, tidy eggs!
Raised Flooring Section
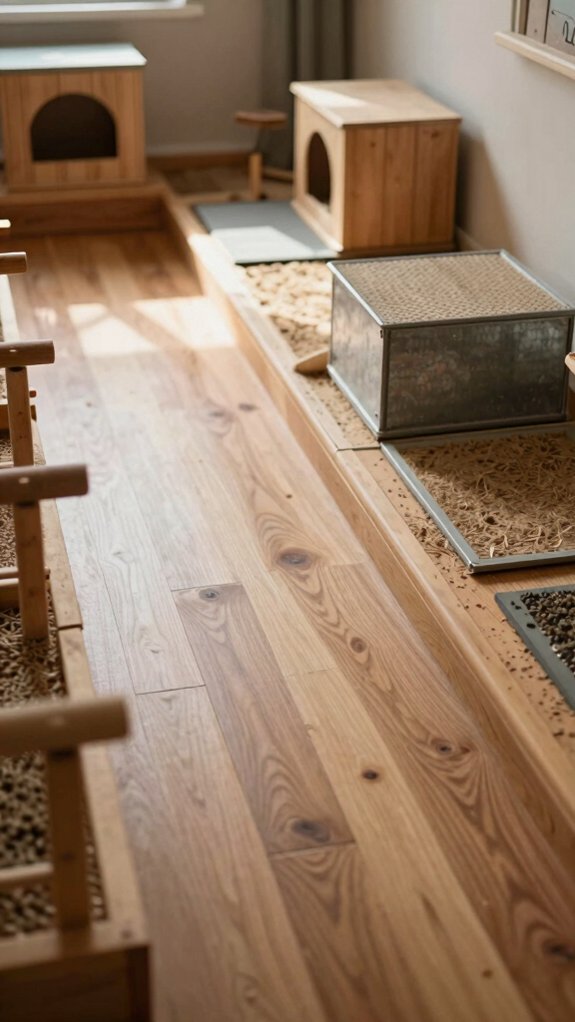
A raised flooring section can be a real coop helper, because it keeps moisture off the floor and helps your hens stay cozy, dry, and happier overall—nice!
If you use plywood with linoleum or rubber mats, you’ll get a smoother surface that wipes clean fast, so poop and bugs don’t get comfy in little cracks.
Best of all, that protective layer makes your cleanup routine easier and gives you a simple boost in hygiene without a ton of extra work.
Keeps coop dry
When you raise the coop floor off the cold ground, you give your flock a much drier, cozier home, and that’s a big win in winter! You’ll love how it supports a smart drier bedding plan, too.
- Start with linoleum over plywood, or concrete, for a tough, easy-clean base.
- If you like wood, choose tight boards, then add rubber mats for warmth.
- Keep water outside the coop, so spills don’t turn bedding soggy.
- On raised floor upkeep, fluff bedding often, begin at 4″ for chicks, build to 8″, and clean monthly.
That’s coop teamwork, friend—simple, dry, and comfy!
Improves hygiene
Raised floors do more than keep your coop cozy, they also make cleanup feel a whole lot less like a chore and more like a quick victory lap!
You can line plywood with linoleum for a smooth, wipeable surface, or use rubber mats if you want a budget-friendly upgrade that still fights grime.
Skip bare wood, since cracks trap poop and bugs, hurting odor control and inviting trouble.
Keep bedding moisture low by moving water outside or onto a tray, and you’ll boost ventilation airflow too.
These pest proofing tips help your flock stay cleaner, drier, and happier, with fewer germs underfoot.
Feed Storage Corner
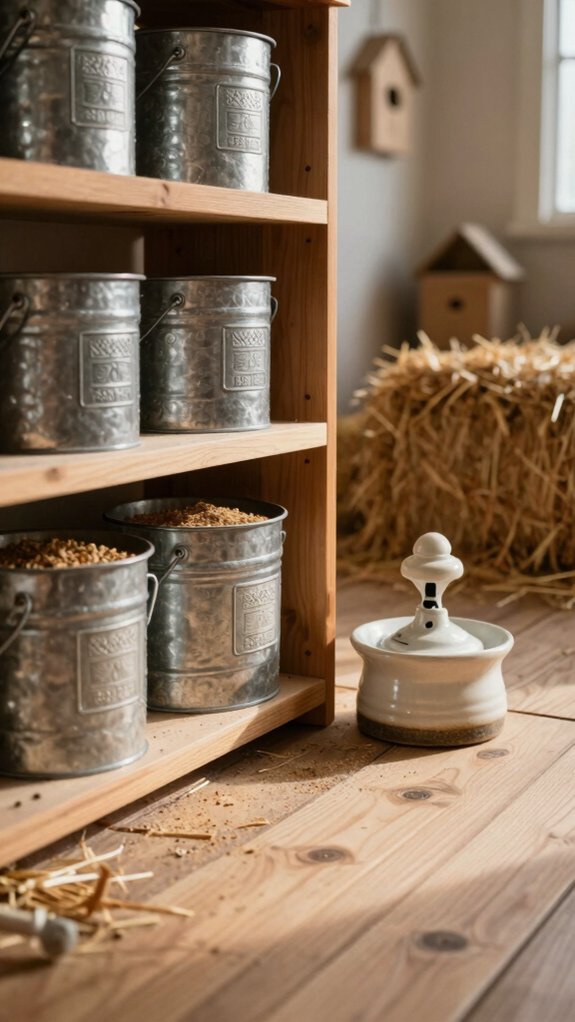
A smart feed storage corner keeps your coop neat, so you can grab feed fast without tripping over bags or chasing loose scoops—nice, right?
You’ll want a sealed bin or covered feeder setup in a dry spot, because it keeps the feed clean, cuts waste, and helps you stay one step ahead of sneaky rodents.
Add a separate container for grit and oyster shell, and you’ve got an organized little hub that makes chicken chores feel way less like a daily scavenger hunt!
Organized supplies
One smart little upgrade can make coop chores feel way easier: a feed storage corner! You’ll feel like part of a tidy little flock when everything has its place.
- Place feed storage outside the coop, if you can, to cut rodents and wasted feed.
- Use a dry bin, lid, and shelf, and practice moisture control so feed stays fresh.
- If feed must stay nearby, choose a big feeder that holds a week’s worth or more.
- Leave room to clean and refill without bumping other gear, because chaos isn’t cute, friend! Keep it simple, clean, and coop-happy.
Quick access
If your supplies are already neat and sorted, the next big win is making them fast to reach, because nobody wants to lug feed through straw and scratching hens every single day!
Set up a feed storage corner right by the coop door you use most, with Rodent proof storage in a lidded bin or cabinet. Keep it raised, dry, and tidy, so feed stays fresh and off the floor.
Add separate jars for grit and oyster shell, and choose a feeder big enough for Weekly feed loading.
Nice! That way, you’ll refill once, glide out, and leave the coop calm and cozy.
Rustic Wooden Interior Style
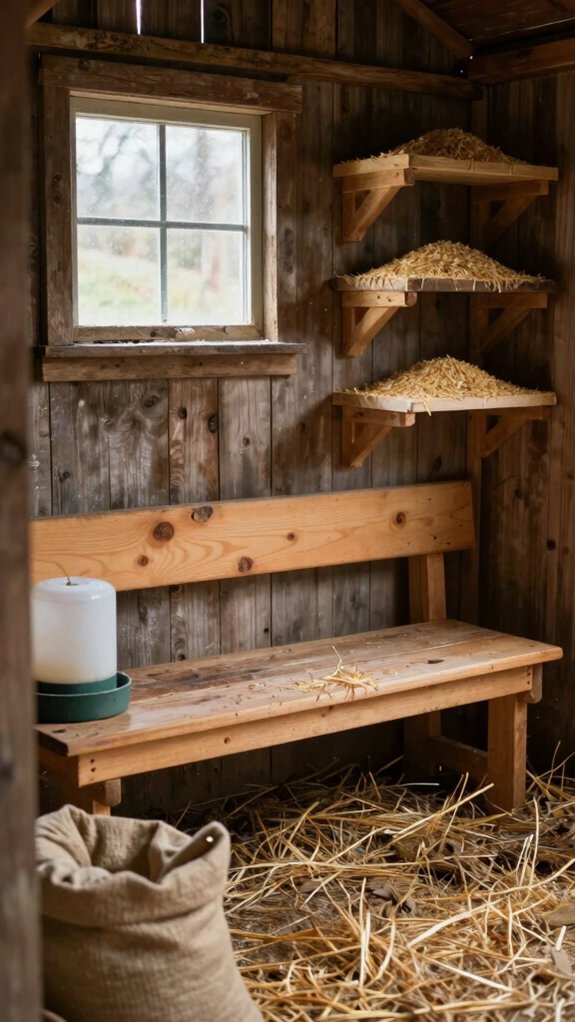
A rustic wooden coop interior gives you that cozy, farmhouse feel right away, and it’s a smart way to keep things sturdy too! You can use 2×4 roost bars, simple trim, and snug nest boxes to build a warm look that still holds up to daily scratching, pecking, and the occasional “I own this place” strut.
Just make sure the wood stays smooth, tight, and protected, so your coop looks charming without turning into a drafty little troublemaker.
Warm aesthetic
For a chicken coop that feels warm and welcoming, you can lean into a rustic wooden look without making it fussy—just use untreated, chicken-safe wood for the inside walls, then add simple 2×4 roosting bars with the flat side up so your hens can grip them comfortably.
A rustic color scheme and safe wood finishes can keep things cozy, not kitschy. Try this:
- Add wood shavings.
- Build dark nesting boxes.
- Space roosts like stairs.
- Line vents with hardware cloth.
That setup feels homey, smells better, and helps your flock settle in like they belong!
Durable material
Under that rustic wooden look, the real trick is choosing lumber that can handle chicken life without turning into a soggy science project!
You’ll fit right in with solid, non-toxic wood, then seal it against moisture so it lasts.
Build roosting bars from 1.5–2 inch boards, set them stair-step style, and keep about 12 inches between levels, with the lowest bar two feet up.
Next, guard busy areas with linoleum over plywood, so dampness and poop don’t chew through your pretty wood.
Add removable liners, compost bedding, and wooden nesting landings with a small lip.
That keeps cleanup easy, and your flock happier!
Easy-Access Coop Doors
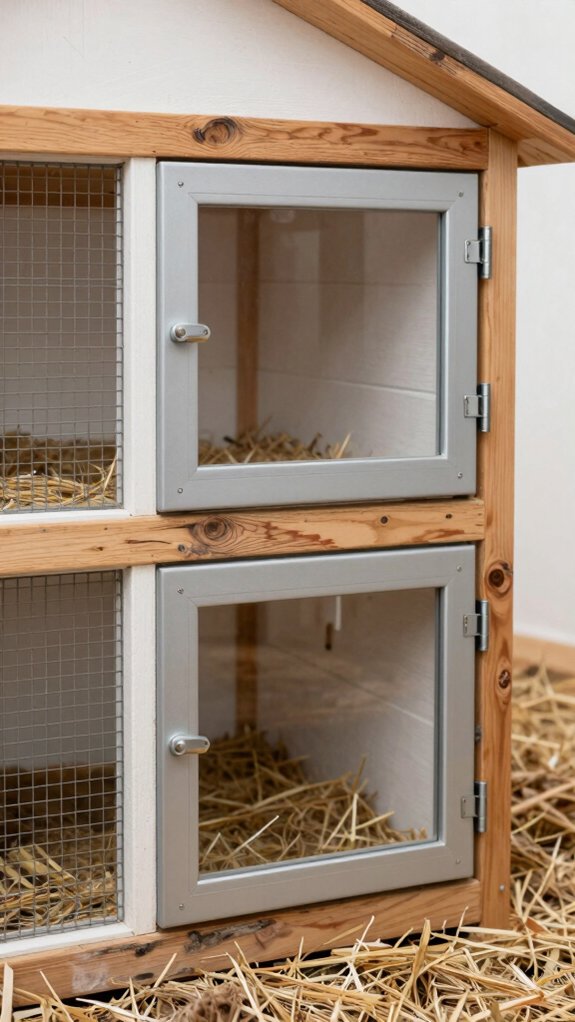
Easy-access coop doors can make your chores feel way less like a chicken-shaped obstacle course, especially when you can walk right up, open the door, and get to work fast!
A human-sized door or cabinet-style entry helps you refill feeders, clean, and grab eggs without stooping, squeezing, or muttering under your breath.
If you add sturdy latches and a smart nesting setup, you’ll get quicker cleaning, better access, and a coop that’s a whole lot easier to use every day.
Faster cleaning
A smart coop door can turn cleaning day from a backache into a quick little chore! You’ll feel like part of the flock when your coop opens wide, and that means less squeezing, less mess, and more time for smiles.
- Use a walk-in door for easy sweeping and bedding pulls.
- Pick hinged access with predator proof latches, so night safety stays strong.
- Add a lockable egg door near the boxes for fast grabs.
- Keep the floor path clear for automatic feeder refills and faster cleanouts.
With smart door placement, you’ll finish quicker and keep your coop feeling tidy, friendly, and easy to love.
Better usability
When you make the coop easier to get into, chores stop feeling like a wrestling match with a tiny door! You’ll fit a walk-in door, and a cabinet-style entry, so you can reach nests, feed, and bedding fast.
| Idea | Materials | Result |
|---|---|---|
| Wide door | Hinges, lumber | Easy entry |
| Nest access | Box opening | Faster eggs |
| Spot clean door | Small panel | Less mess |
Easy grab latches keep things simple, while weatherproof sealing blocks drafts and rain. Keep gaps under 1/2″, and lock it tight at night. That way, your flock feels safe, and you feel like a coop pro!