

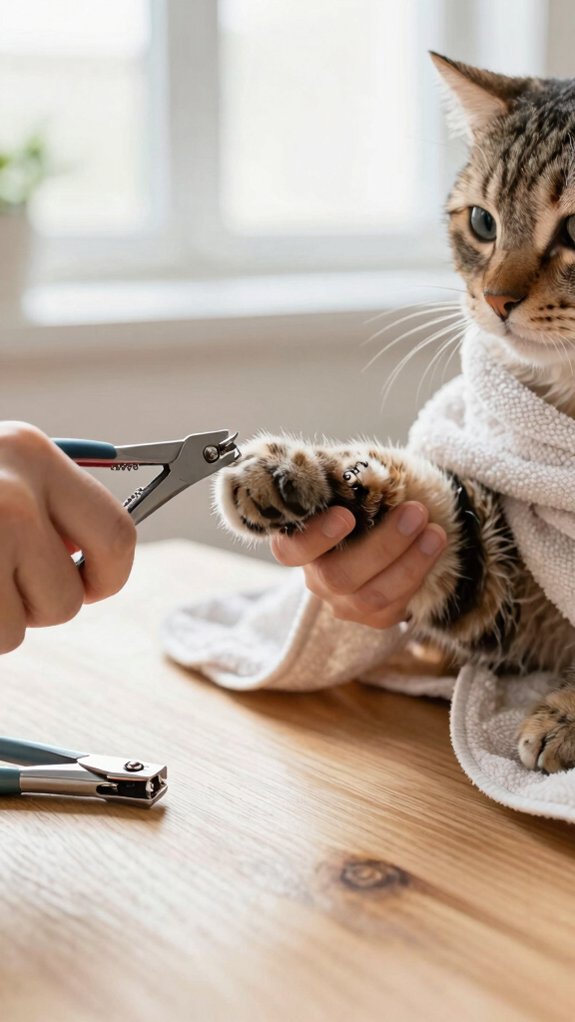
Midnight zoomies and shredded couch corners usually mean it is nail-trim time. Dr. Fahri PAT says how to cut cat nails in 7 simple steps starts with the right clippers, treats, and a bright, quiet spot. First, get your cat used to paw handling and sniffing the clippers. Next, press each pad to extend the claw, then trim only the clear tip, one nail at a time. Stop for stress, reward often, and save the quick-nick fix for last—there is one more trick ahead.
Disclosure: This post may contain Amazon affiliate links, at no extra cost to you. Content on Pawtangle is created with research support from AI tools and carefully reviewed, edited, and fact-checked by the lead author, Dr.Fahri Pat , to ensure accuracy and reliability. Learn more
Key Takeaways
- Gather cat nail clippers, treats, a towel, and styptic powder before starting in a bright, quiet space.
- Desensitize your cat first by touching paws gently and showing clippers with treats over several short sessions.
- Hold one paw, press the pad to extend the claw, and inspect the clear tip to avoid the quick.
- Cut only the tip with one swift, perpendicular snip, trimming a few nails at a time and rewarding after each.
- Stop immediately if stress appears, treat any nick with styptic powder, and end the session on a calm note.
Gather the Right Tools and Supplies
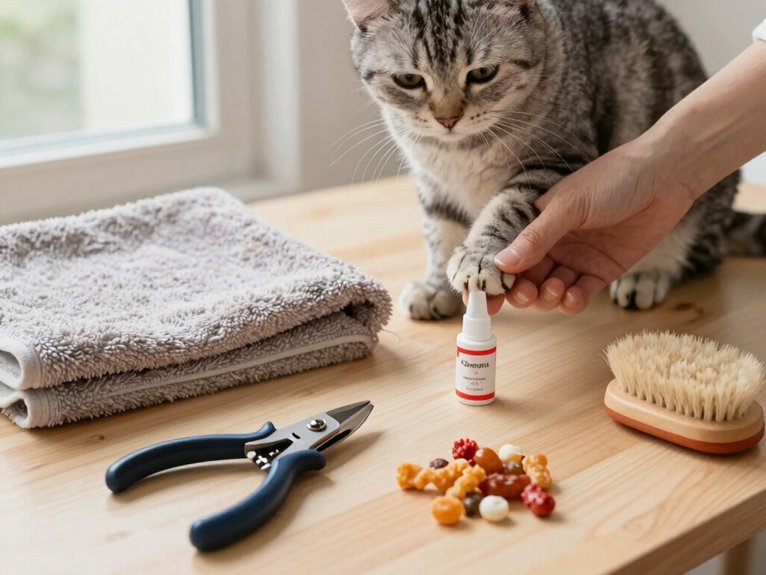
Before you even think about approaching your cat’s claws, you’ll need to set yourself up for success—and honestly, most people skip this step and then wonder why their cat turns into a furry tornado mid-clip.
Grab cat-safe scissors or guillotine-style clippers designed specifically for feline nails. Regular human clippers crush the nail instead of cleanly cutting it, which hurts and stresses your cat out.
Keep a nail file nearby for smoothing any rough edges afterward. Have high-value treats ready to reward calm behavior. Position a towel or non-slip pad to prevent slipping. Stock styptic powder or cornstarch to manage accidental bleeding. Work in bright, quiet spaces where you can plainly see the nail and quick.
Build Your Cat’s Tolerance for Paw Handling
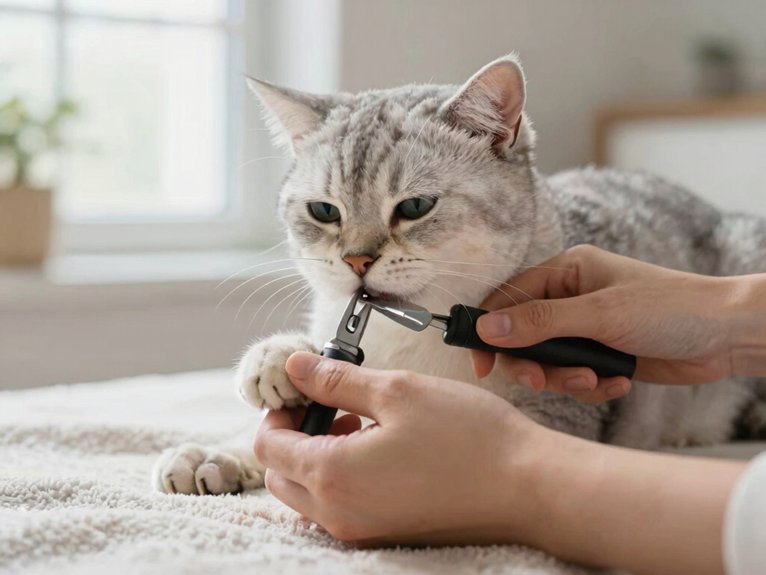
Your cat treats their paws like you treat your phone—they don’t want anyone touching them, period.
Building tolerance starts with a gentle massage approach. Pet your cat’s head and cheeks for several minutes, then gradually move down to shoulders, arms, and finally paws. Reward each step with treats.
Through desensitization games over short 2–3 minute sessions (twice daily), gently press each paw pad until nails extend. Reward immediately.
Next, introduce the clippers during handling time. Let your cat sniff them, offering treats for acceptance before any actual trimming.
If fear appears, slow down and touch only the paw. Different clippers sometimes work better. Patience wins every time here.
Introduce Your Cat to Nail Clippers
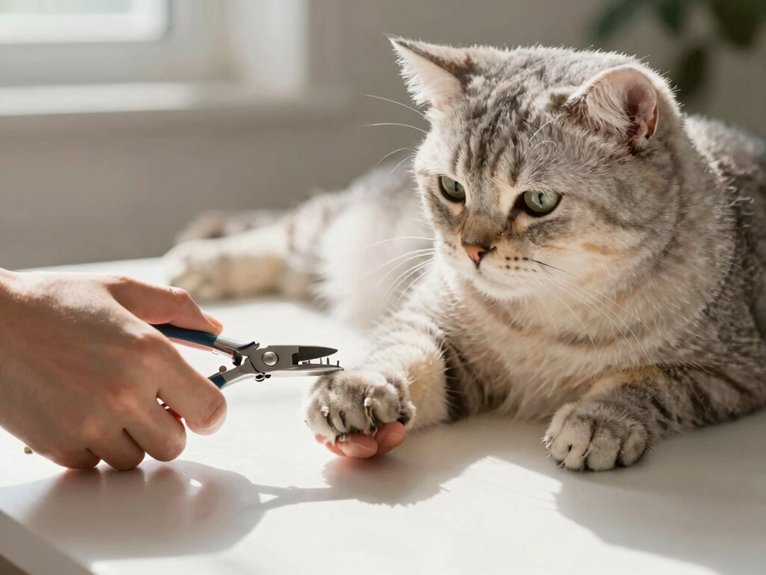
Once your cat’s paw tolerance is solid, it’s time to introduce the actual tool—and this is where most people jump the gun.
Here’s my tried-and-true approach: show the clippers, then immediately give a treat. Repeat this short session several times daily. Your cat learns the clippers mean good things happen.
| Step | Action | Result |
|---|---|---|
| Day 1-2 | Show clippers, reward | Positive association forms |
| Day 3-4 | Present near extended nail | Desensitization begins |
| Day 5+ | Gentle mock-trimming motions | Confidence builds |
Keep sessions brief and calm. If your cat shows fear, stop and regroup with a different clipper style. Slow introductions prevent negative associations that stick around forever.
Extend the Claws Without Cutting
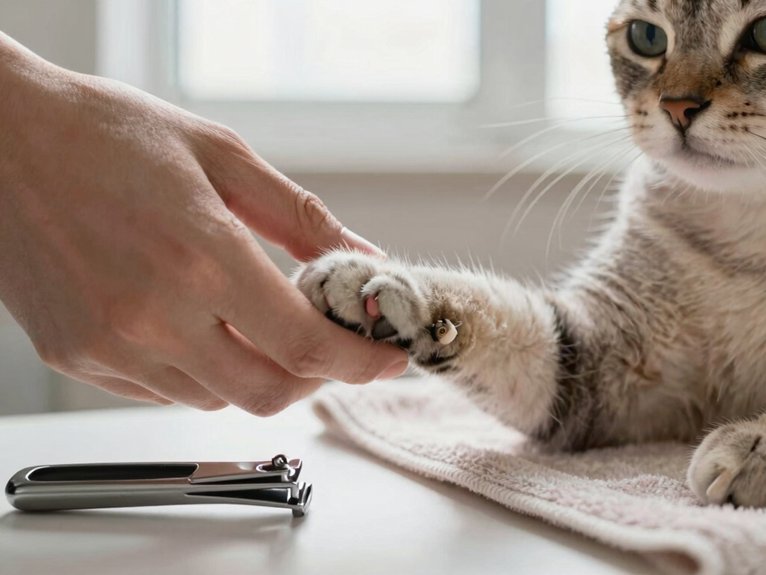
Pressing your cat’s paw pads just right is honestly the secret move that separates a smooth nail trim from a wrestling match. I recommend slow introductions—gently extend each claw by pressing the top and bottom of the paw between your thumb and forefinger while your cat relaxes and gets treats. Think of it like a paw massage that gets them comfortable with the motion.
Practice this repeatedly before any clipping happens. Support their paw with steady, gentle pressure—no jerky movements that trigger claw retraction. When your cat accepts this handling without resistance, you’re ready for actual trimming.
Work Through One Nail at a Time
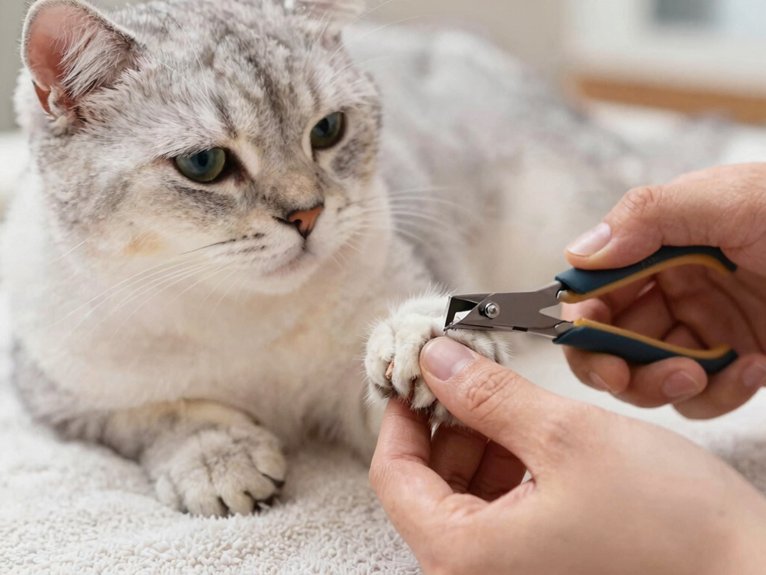
Working through one nail at a time might seem slow, but it’s honestly the secret to keeping both you and your cat calm—I’ve seen too many nail-trimming sessions turn into wrestling matches when owners try to rush through all four paws at once. The key is positioning your cat properly so you’ve got a steady grip on that paw, spotting the quick safely so you know exactly where to stop, and rewarding like crazy after each successful clip to build positive vibes for the next one. Trust me, a cat who associates nail trims with treats is a cat who’ll actually sit still next time around.
Positioning Your Cat Properly
The moment you grab your cat’s paw, you’ve got maybe thirty seconds before they decide you’re the enemy—so getting the setup right from the start actually changes everything.
Start with lap positioning. Sit comfortably with your cat situated on your lap or a stable surface where they feel supported, not trapped. This matters because cats panic when they’re unstable.
Use a towel restraint gently around their body, leaving one paw exposed. Think of it like a cozy burrito—snug but not suffocating. Your calm energy settles them faster than anything else.
Press the paw pad gently between your thumb and forefinger to extend one claw evidently. One nail. One moment. That’s the rhythm that keeps trust intact.
Identifying The Quick Safely
Inside every cat nail lies a tiny trap door—and that’s the quick, the pinkish or darker crescent-shaped tissue packed with blood vessels and nerves that’ll make your cat yowl if you accidentally clip it.
Understanding nail anatomy saves your cat from pain. Gently press the paw pad to extend each nail, then inspect underneath and the tip. You’re hunting for that junction point where hard nail meets softer quick tissue.
| Nail Type | Quick Detection |
|---|---|
| Light/translucent | Visible pink crescent |
| Dark nails | Inspect underside only |
| Curved tip | Stop before fleshy area |
| Successive snips | Safer approach |
| Each nail | Inspect individually |
Work one nail at a time. This approach prevents overwhelming your cat and lets you practice quick detection safely.
Rewarding After Each Clip
After the treat, provide tactile comfort by gently stroking the clipped paw for five to ten seconds while using a soft, reassuring voice. Every three to four nails, upgrade to a favorite treat or quick playtime.
Stressed? Pause thirty to sixty seconds, soothe with strokes and treats, then continue. Your cat learns nail trimming means rewards—not dread.
Trim the Nail Tip While Avoiding the Quick
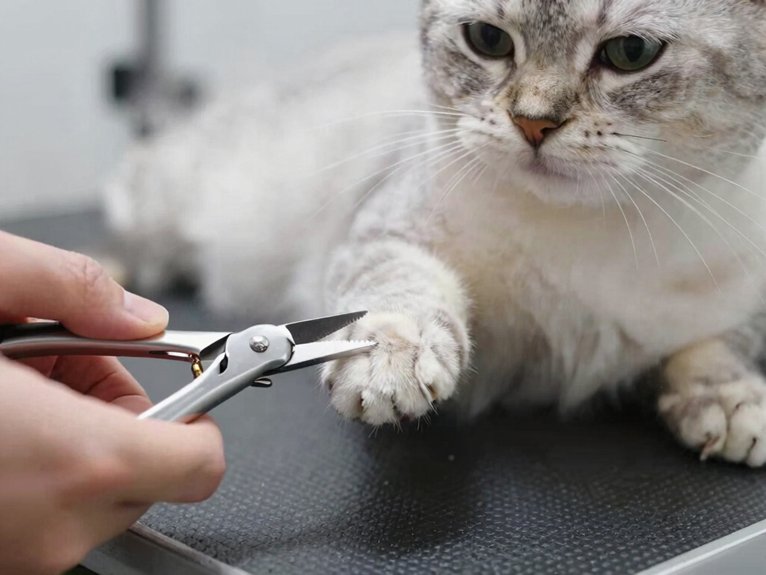
Gently press your cat’s toe pad and watch the claw extend—that moment is when you’ll spot the two zones you’re working with: the clear, curved tip on the outside and the darker quick (basically a tiny blood vessel highway) hiding inside. Here’s the golden rule: trim only 2–3 mm of that clear, curved section. For dark nails where the quick’s invisible, go tiny—1–2 mm at a time—and stop when you spot a dark oval forming. Position your clipper perpendicular to the nail, then make one swift cut straight toward the tip. This safety precaution prevents crushing and splintering. After trimming, check your cat’s paw and reward immediately.
Reward Your Cat and Recognize When to Wrap Up
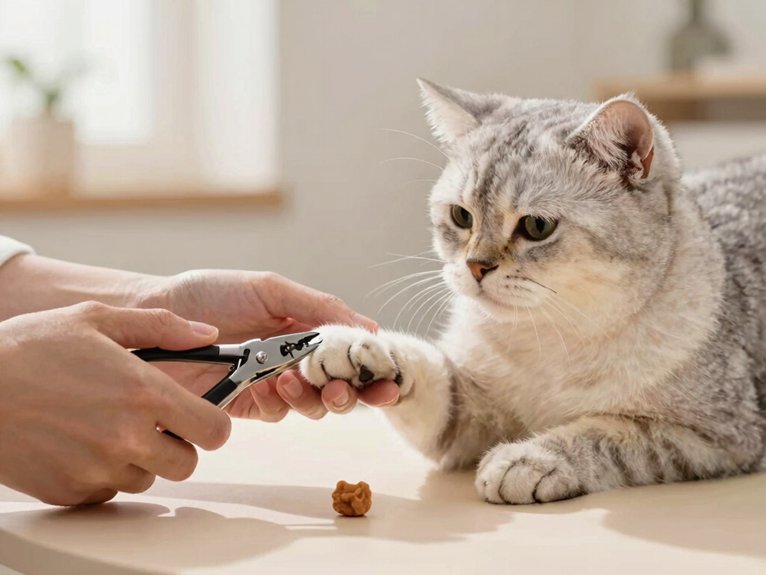
Honestly, the treats are your secret weapon—I’ve seen cats go from scratching and hissing to practically purring through nail trims once they realize good things happen right after each clip. The tricky part is watching your cat’s body language like a hawk, because tail flicking, excessive meowing, or that “I’m outta here” wiggle means it’s time to call it quits before things spiral. End on a good note, even if you only got three nails done, because a calm, happy cat next week beats a stressed-out, nail-trimming-phobic cat for the next six months.
Treat-Based Positive Reinforcement
The trick is to keep the whole thing short—about 5 to 10 minutes—because once the ears flatten, the hissing starts, or the cat tries to launch itself off the table like it heard midnight zoomies called early, it’s time to stop, give a final reward, and try again later. I’m Dr. Fahri PAT, and I keep soft treats ready like lint rollers near chewed-up toys.
| Step | Treat | Result |
|---|---|---|
| show clippers | tiny bite | calm start |
| touch paw | bigger bite | trust grows |
| clean clip | jackpot | repeat wins |
A positive clicker helps. Small wins, plus environmental enrichment, build belonging.
Reading Your Cat’s Stress Signals
Cats are experts at giving tiny warning signs right before a nail trim goes sideways, and Dr. Fahri PAT has learned to read the room. I watch body language: rapid tail flicking, flattened ears, wide eyes, hissing, or a stiff pose mean stress signals are building. If I see lip licking, yawning, or a paw pull-away, I pause, offer a treat, and use calm praise—like when a cat sniffs chewed-up toys before midnight zoomies. Short sessions work best; a few nails, then rest. If breathing speeds up or aggression appears, I stop and try again another day.
When to Stop and Rest
When a cat starts acting like it just remembered an urgent appointment in another room, that is the moment to slow down during cutting cat nails. Dr. Fahri PAT uses a mid session timer and pauses after 2–4 nails if tension rises. A 5–10 minute rest, plus a special treat or gentle massage, helps the cat feel safe instead of trapped. If vocalizing, pulling away, or a quick nick happens, stop at once, use styptic powder or cornstarch, and return later. End while calm; that small win makes next time easier, like finding the good kibble before midnight zoomies.
Frequently Asked Questions
What Is the Easiest Way to Cut a Cat’s Nails?
The easiest way is gentle acclimation, then short, reward-filled sessions with cat clippers. It supports stress reduction, while clipping alternatives like scratching posts help. One nail at a time, only the clear tip.
Do You Cut Cat Nails Sideways or Straight?
Straight across, not sideways. A lateral trim risks splitting the nail; the better angle technique is perpendicular to the claw. With careful, small snips, the cat stays safer and more included in the process.
How to Cut Your Cat’s Nails When They Won’t Let You?
Gradual behavioral training and calming aids help when a cat resists nail trims: acclimate paw handling, reward calm moments, use a towel wrap if needed, and clip one tiny tip at a time, stopping before stress grows.
How to Tell Where the Quick Is on a Cat?
The quick is found by observing nail anatomy: on light nails, a pink visible vein shows it; on dark nails, only the clear tip should be trimmed. Gentle pressure and small cuts help keep everyone safe.