

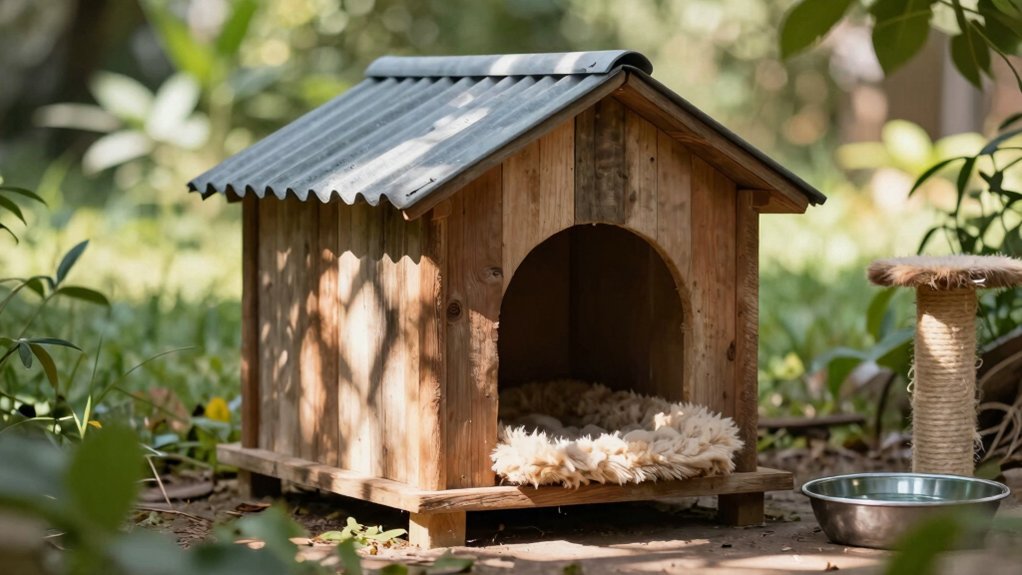
Outdoor cat house ideas that keep cats safe year-round include raised wooden boxes, insulated totes, porch shelters, and covered feeding stations. Choose a snug, weatherproof design, raise it on bricks or pallets, and turn the doorway away from prevailing winds. Line the inside with Reflectix or dry straw, add ventilation and drainage holes, and skip towels that hold moisture. Use a five-inch entrance and a second exit when possible. Keep exploring these options for practical setup tips.
Disclosure: This post may contain Amazon affiliate links, at no extra cost to you. Content on Pawtangle is created with research support from AI tools and carefully reviewed, edited, and fact-checked by the lead author, Dr.Fahri Pat , to ensure accuracy and reliability. Learn more
Key Takeaways
- Raise weather-resistant shelters on bricks or pallets to prevent dampness, pooling water, and ground-level cold.
- Use snug, insulated interiors with dry straw bedding, avoiding towels and blankets that retain moisture and draw away heat.
- Cut a five-inch doorway above the floor, and add a second offset exit to reduce drafts, crowding, and trapped-cat risks.
- Provide ventilation near the roof, drainage underneath, and sealed rain protection to control condensation and keep bedding dry.
- Position entrances away from prevailing winds, anchor shelters securely, and use heating elements only with proper insulation and cord protection.
Elevated Wooden Shelters
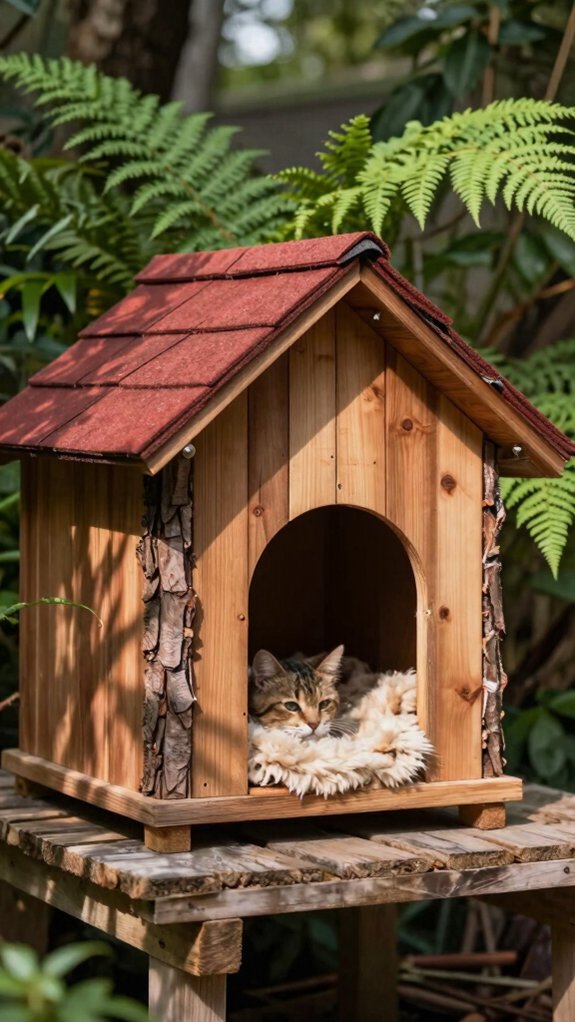
When you build an raised wooden shelter, start with a sturdy, weather-resistant floor made from treated lumber or exterior plywood, then place it on pallets or concrete blocks to let air circulate underneath. Raise it several inches to reduce dampness, and anchor the shelter with exterior screws or bolts so it won’t tip in strong winds.
Keep the box compact, add ventilation gaps, and position wind protected doors away from prevailing gusts. Include a second exit when possible, so cats can escape safely.
Cover roof seams with flashing or shingles, then add dry straw bedding. Refresh it regularly, helping your neighborhood cats stay comfortable.
Insulated Winter Cat Houses
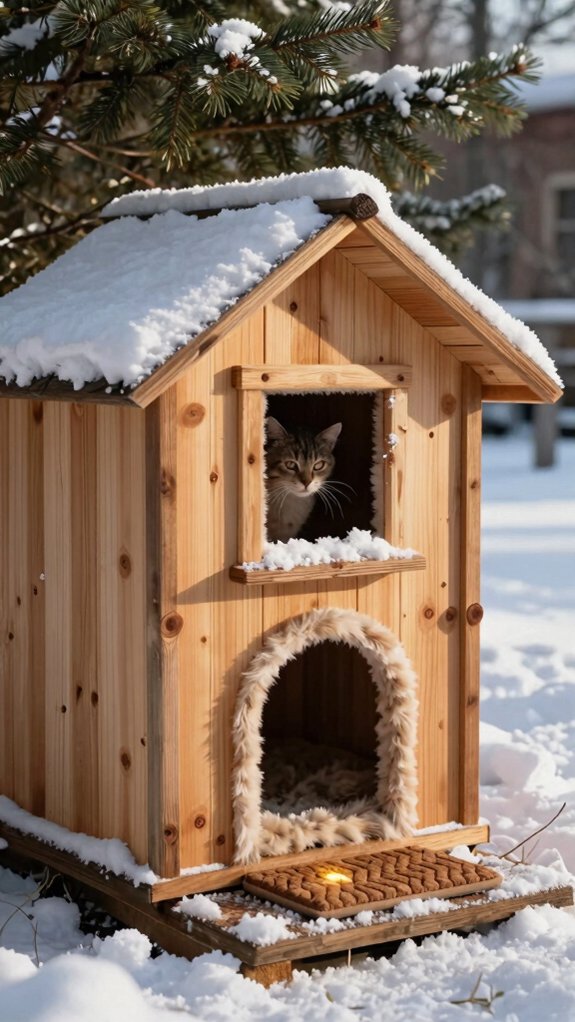
An insulated winter cat house should be small, well sealed, and covered tightly against rain, so it holds body heat instead of letting warmth escape. Line the inside with reflective insulation, such as bubble insulation, and secure it with durable tape.
Cut a five-inch entrance at least three inches above the floor, then add a second offset opening if possible to limit drafts and provide an escape route.
Raise the shelter on bricks or pallets, and face the doorway away from prevailing winds.
Add winter ventilation holes near the top, drainage holes below, and dry straw bedding.
Replace damp straw regularly so your neighborhood cats stay warm.
Modern Minimal Designs
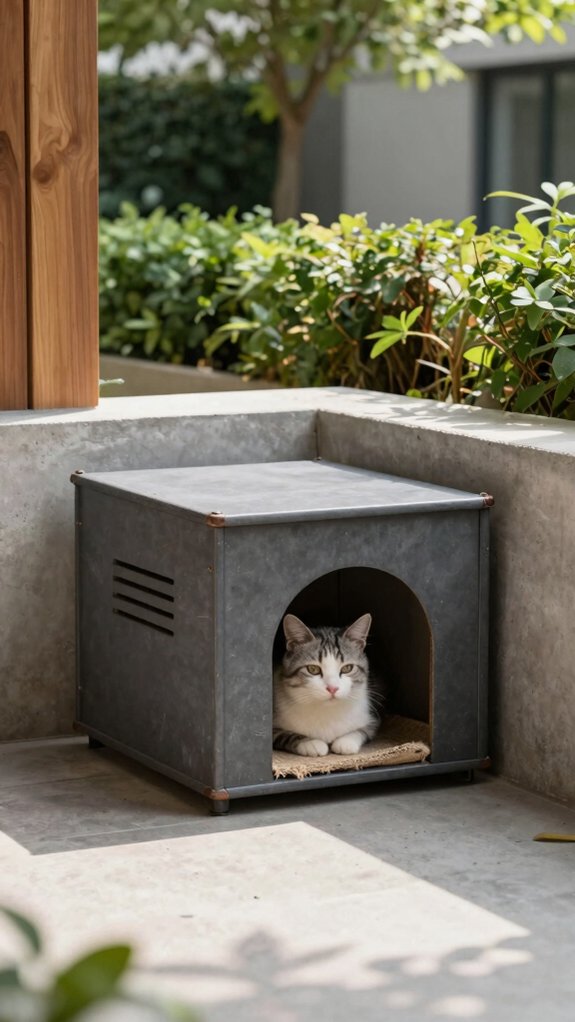
For a clean, modern shelter, use a compact 25–31 gallon Rubbermaid or HDX Tough Polypropylene storage tote. Its simple shape fits neatly into your outdoor space while giving cats a dependable retreat.
Cut a five-inch square doorway at least three inches above the base, creating a draft resistant entry. Add a second, offset exit if you want extra peace of mind.
Line the inside with smooth Reflectix, securing it with Gorilla tape and leaving a small gap so edges lie flat.
Add straw for warmth, not towels or blankets.
Raise the tote on bricks or pallets, face it away from prevailing winds, and add a weatherproof liner, ventilation, and drainage holes.
Small Porch Cat Houses
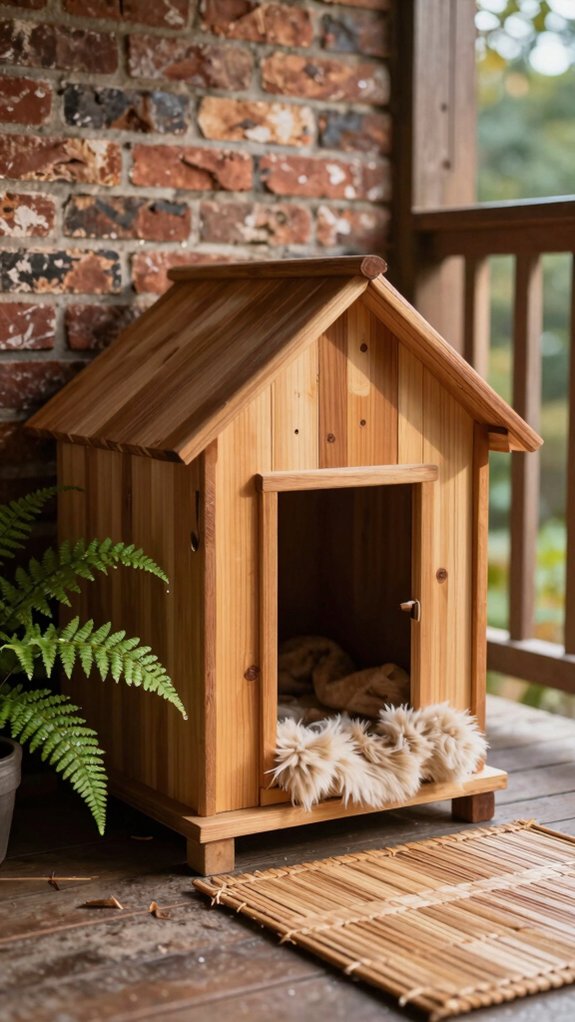
Small porch cat houses work best when they’re compact, weatherproof, and kept dry. Choose a snug design because it holds warmth better, then insulate every side and the roof with dry straw. Skip towels and blankets, which can draw heat away from your cat.
Raise the house on bricks or a pallet to improve porch drainage and stop water from pooling. Add ventilation holes near the top, cover the shelter, and position the doorway away from prevailing winds for a windproof entrance.
Cut one cat-sized doorway, about five inches wide for a tote-style house. A second exit can help if debris blocks the first. Check straw regularly, replacing any damp material.
Multi-Cat Shelters
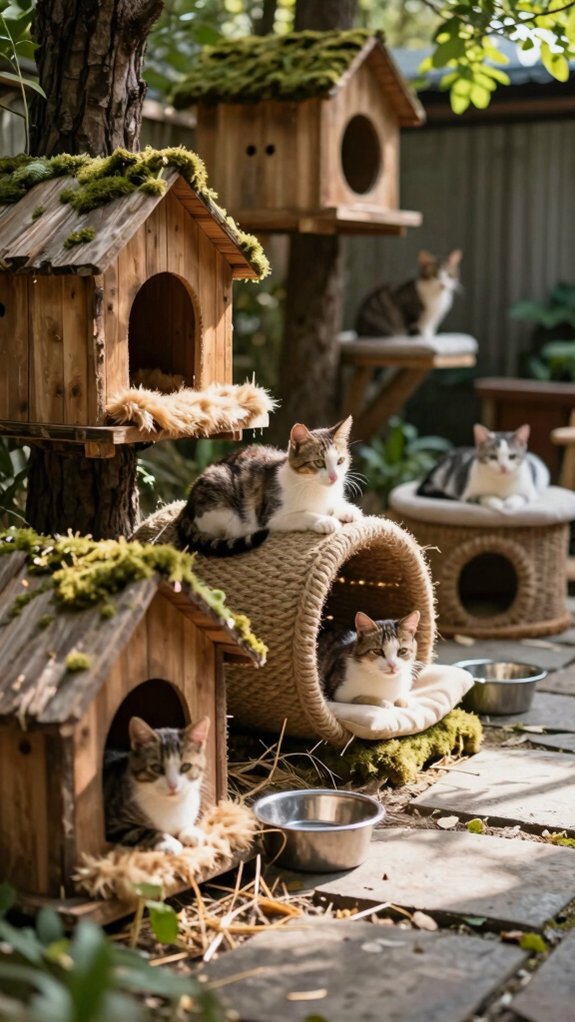
Multi-cat shelters work best when they include separate compartments or zones, so dominant cats can’t claim the warmest spot while quieter cats are pushed away from the straw bedding. Give each cat, or every two cats, a small space such as a 25–31 gallon tote, because compact areas hold warmth better.
Add two offset entrances to reduce crowding, fighting, and trapped-cat worries while limiting drafts. Spread generous straw in every compartment, then raise the shelter on pallets or bricks to keep your group dry.
Check bedding often and replace it at least twice yearly, or sooner when damp, to control odors, moisture, and parasites.
Heated Outdoor Cat Houses
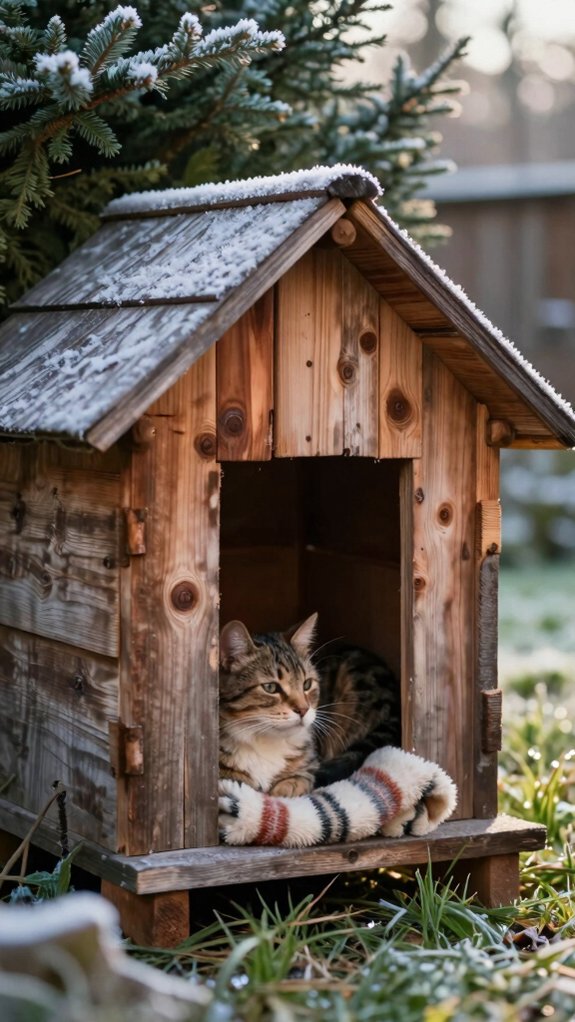
Heated outdoor cat houses can add comfort during freezing weather, but insulation should come first. Choose a small, well-sealed 25–31 gallon tote, fill it with straw, and replace damp weatherproof bedding right away.
Straw traps warmth better than towels or blankets, which can pull heat from your cat.
Add a low-voltage heating pad outside the sleeping area, or fully protect it inside, and cover every cord so cats can’t chew it.
Include upper ventilation holes and bottom drainage holes to control condensation.
Use one or two openings away from direct drafts, then add a windbreak design around the entrance.
Your neighborhood cats will have a safer, warmer retreat.
DIY Pallet Designs
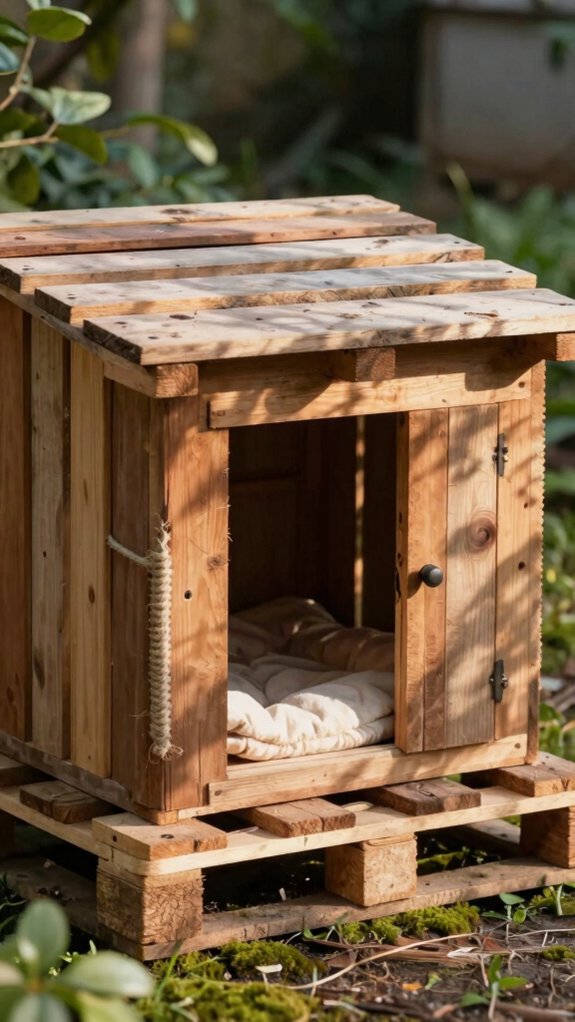
A sturdy pallet can become a practical outdoor cat house when you raise it off the ground on bricks or pallet blocks. This pallet base reduces heat loss and helps keep the entrance dry.
Fasten the pallets tightly, leaving only small gaps. Line the walls with bubble insulation, such as Reflectix, to help hold warmth during cold snaps. Place the doorway away from prevailing winds, and add a second exit for safety.
Make the sleeping space slightly larger than the entrance, then fill it with dry straw insulation. Skip towels and blankets, which can pull warmth away.
Finally, cover rough edges and joints with Gorilla tape to prevent snags.
Weatherproof Plastic Houses
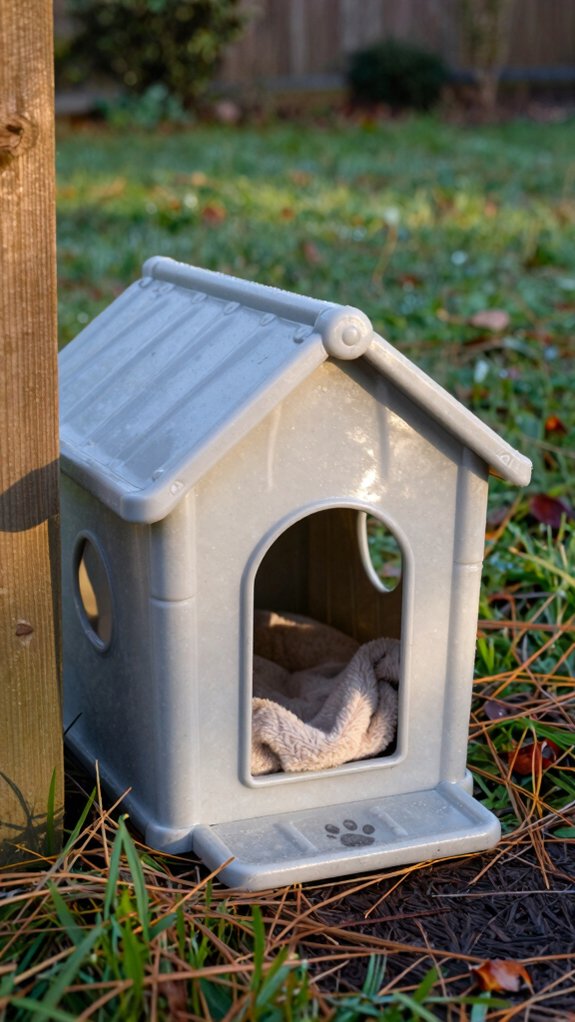
When you need a simple shelter that stands up to rain and cold, choose a Rubbermaid or HDX Tough polypropylene tote that holds about 25–31 gallons. Skip Sterilite totes, which may crack in freezing weather.
Cut a 5-inch square doorway at least 3 inches above the floor, creating rainproof entrances while keeping straw dry. Seal Reflectix or bubble panels inside with Gorilla tape for draftproof insulation, taping every edge.
Add top ventilation holes and a few bottom drainage holes. Face the door away from prevailing winds, then cover the tote with a tarp, leaving access clear. Add generous dry straw, and replace it regularly.
Garden Cat Hideaways
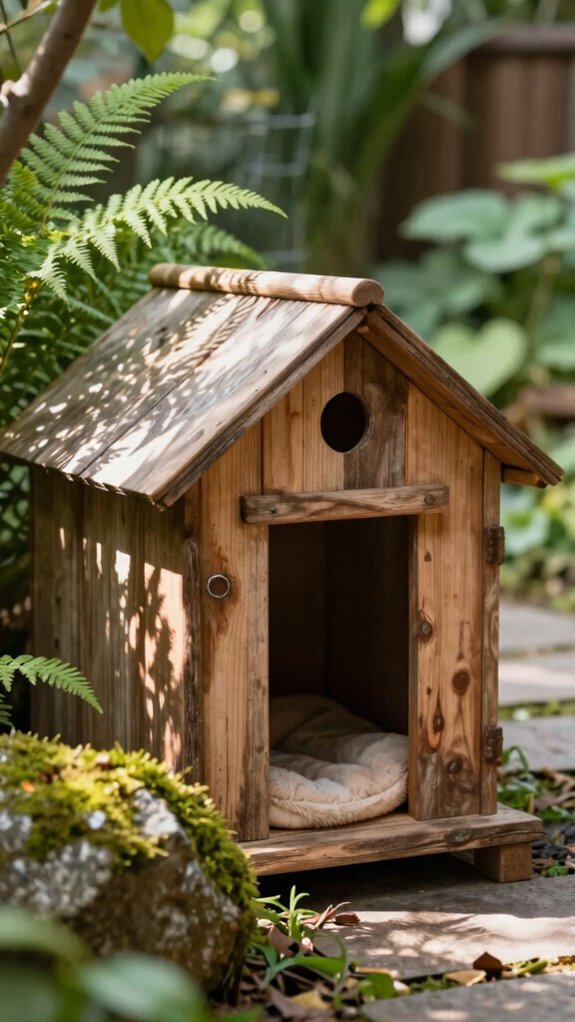
Place a garden cat hideaway in a quiet, familiar spot near a hedge, fence, or patio corner, and keep dogs away from it. Thoughtful shelter placement helps your cat feel secure while staying close to home.
Face the doorway away from prevailing winds, and raise the shelter on bricks or pallets so rain and snow can’t collect underneath. Add dry straw for breathable insulation, never blankets or towels, and refresh it before cold snaps.
Use a snug entrance, about five inches wide, then add escape routes with a second opening. Cover the shelter with a tarp or bin bag, and check the straw regularly for dampness.
Camouflaged Outdoor Shelters
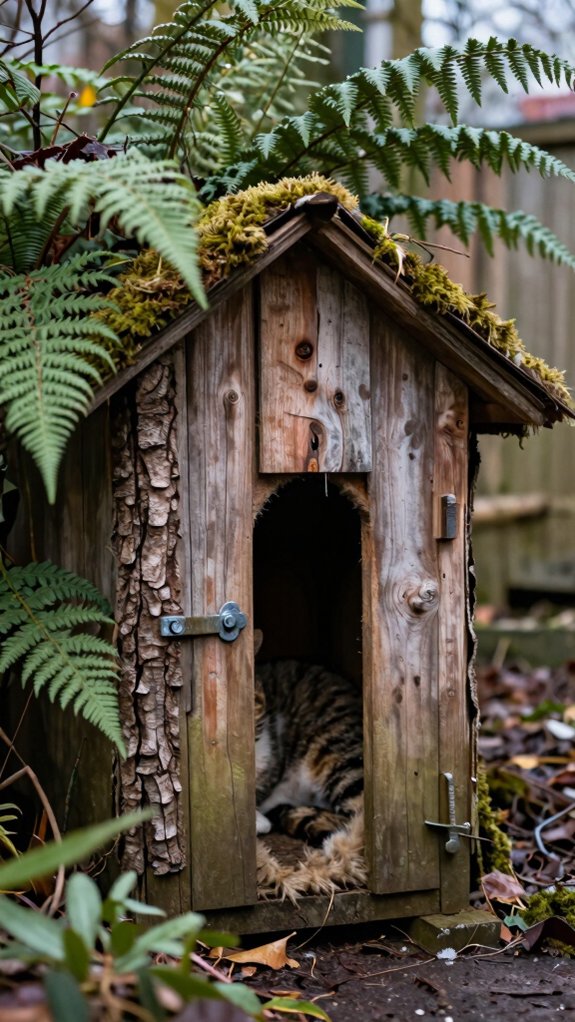
Camouflaged outdoor shelters can give cats a quiet place to rest without drawing attention from people or predators. Choose burlap, leaves, or weathered tarp colors that match nearby cover, and camouflage the roof and outer sides first.
Keep the doorway clear, then face it away from prevailing winds to limit drafts.
For predator proof placement, set the shelter near familiar, quiet cover, raise it on bricks or pallets, and hide the underside.
Use straw, not towels or blankets, for insulation, and refresh it regularly.
Check for dampness, damage, and scent marking safety concerns so your shared outdoor space stays welcoming year-round.
Covered Feeding Stations
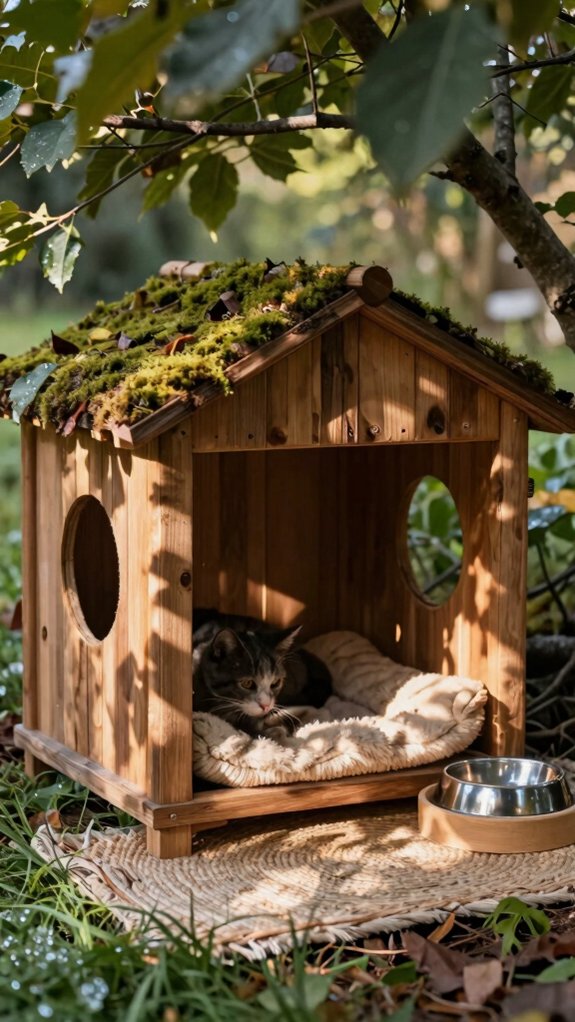
A covered feeding station gives cats a calmer, cleaner place to eat, especially when you set it near their shelter in a quiet spot protected from wind and rain.
Pair it with a windproof shelter, so your cats can eat and retreat comfortably.
- Add a small roof or tarp, but leave airflow to prevent mold.
- Raise dishes on bricks to block dampness and support pest proof placement.
- Replace wet food the same day, and refresh dry food often.
- Use sturdy walls or a protected location that dogs can’t reach, while preserving an easy escape route.
Budget-Friendly Cat Houses
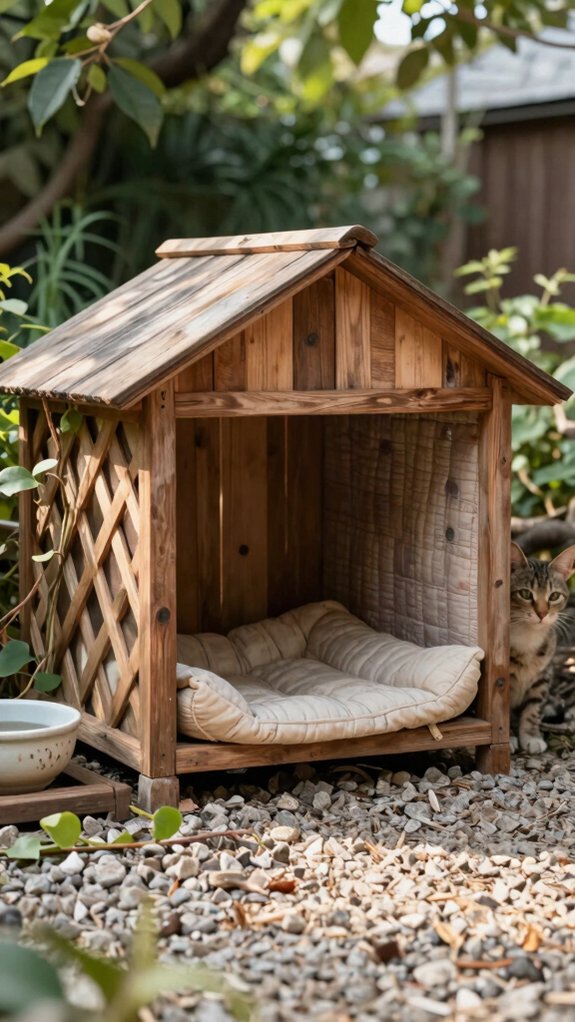
If you’re keeping costs low, a 25–31 gallon heavy-duty plastic storage tote can become a warm, sturdy cat house.
Cut a 5-inch square doorway about 3 inches from the bottom, then add a second exit when possible for safety.
Line the inside with dry Budget straw, which stays warmer than towels or blankets.
Add reflective panels made from bubble insulation, securing them with Gorilla tape.
Drill a few ventilation holes near the top and drainage holes underneath.
Raise the tote on bricks or pallets, turn the doorway away from prevailing winds, and cover it with a tarp.
This simple shelter helps your neighborhood cats stay comfortable year-round.
Easy-to-Clean Designs
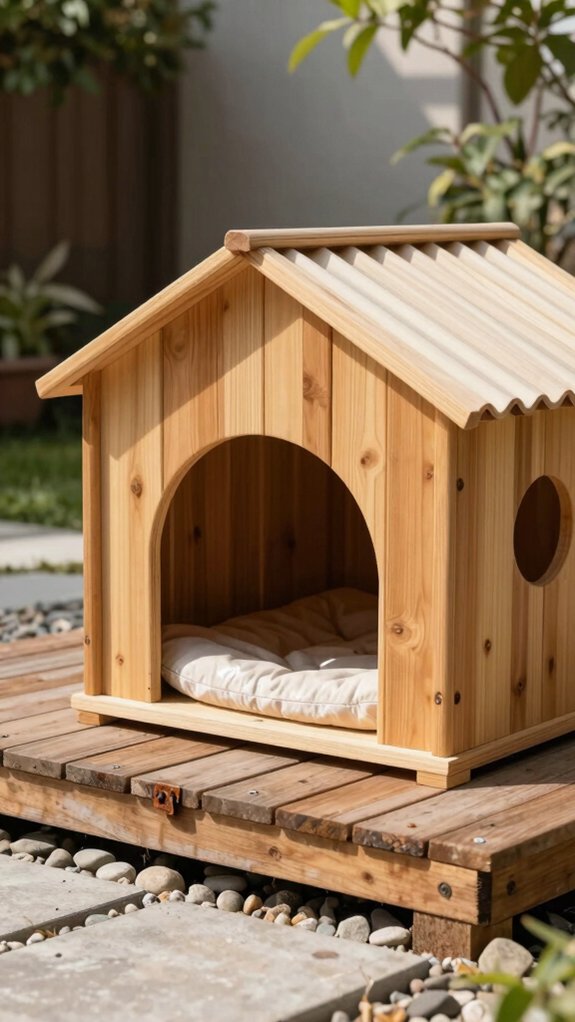
Choose a small plastic storage tote with a square entrance, such as a 25–31 gallon model, so you can reach the entire interior for quick bedding changes and spot-cleaning. This easy access helps your neighborhood cats stay comfortable while you keep the shelter fresh.
- Line walls with removable bubble insulation, secured with tape, for wipe-downs.
- Cut a 5-inch opening at least 3 inches above the floor, and drill drainage holes.
- Add a second, offset exit so cats can leave safely and mess won’t build up.
- Use dry straw, spot-remove damp areas, and replace it twice yearly for quick cleaning.