
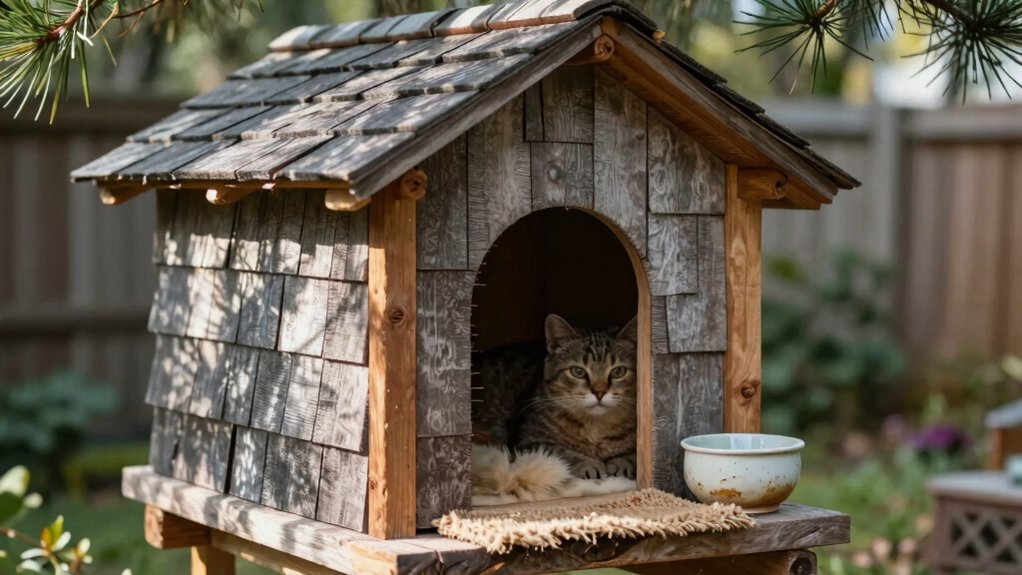
Build your cat house from a sturdy plastic bin, then line the walls and floor with thin foam insulation. Raise it on bricks or 2x4s, add dry straw, and drill small drainage holes. Keep the doorway 5.5–6 inches wide, above ground, and protected by an awning. Add two tiny upper vents, but avoid drafts. Place the shelter near shrubs or a fence, and replace damp straw weekly. Keep going for more ways to improve its winter safety.
Disclosure: This post may contain Amazon affiliate links, at no extra cost to you. Content on Pawtangle is created with research support from AI tools and carefully reviewed, edited, and fact-checked by the lead author, Dr.Fahri Pat , to ensure accuracy and reliability. Learn more
Key Takeaways
- Build with a durable plastic bin or tub, waterproof seals, and rustproof fasteners for long-term weather resistance.
- Insulate the walls and floor with Styrofoam, then add dry straw bedding to retain warmth without trapping moisture.
- Elevate the shelter on bricks, pallets, or 2x4s, and drill small drainage holes to prevent pooling and ground-cold transfer.
- Install a snug 5.5–6-inch entrance with an awning, positioned above ground to block rain, snow, wind, and larger predators.
- Add two small upper ventilation holes, inspect seals weekly, and replace damp or soiled straw promptly during winter.
Select Weatherproof Materials
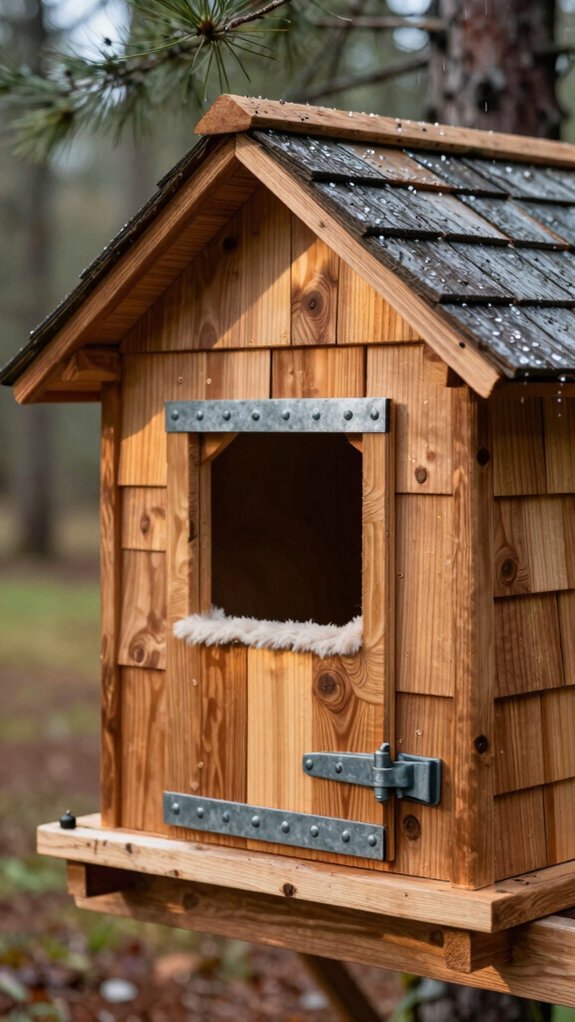
Choose materials that can handle rain, snow, and damp ground without rotting.
Start with a Durable plastic storage bin or tub, which won’t absorb water and can shelter your neighborhood cats for years.
Add thin, water-resistant foam slabs inside, securing them with rustproof screws where needed.
Use straw, not hay or blankets, for bedding, because straw stays drier and resists mold.
Keep every opening snug with a fitted cover or door, and add an awning to block wind-driven rain.
Drill small drainage holes in the bottom so condensation can escape.
Finally, raise the house on 2x4s or pallets to keep melting snow and puddles away.
Insulate for Winter
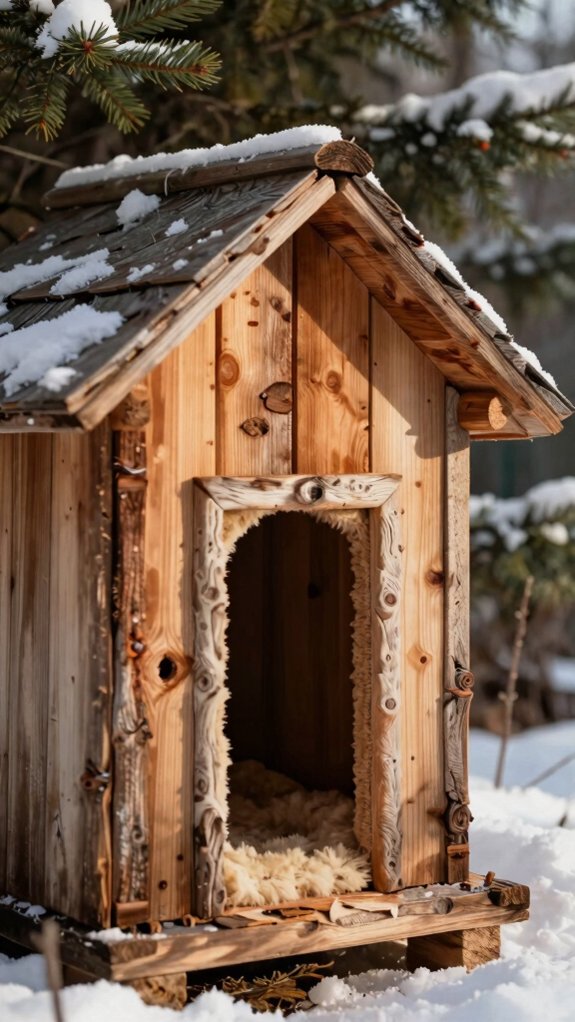
Keep the shelter’s interior small enough for cats to warm it with their body heat, since a large space loses heat faster. Add thin Styrofoam inside the walls and floor to slow heat loss, especially from cold ground. Fill the sleeping area with dry straw, never hay or blankets, and replace it when crushed.
| Feature | Practical choice |
|---|---|
| Floor | Styrofoam over raised boards |
| Bedding | Dry straw |
| Entrance | Small, covered, wind-facing away |
| Height | Bricks or 2x4s |
Raise the house and drill drainage holes. Face the opening away from prevailing winds, avoid drafts, and don’t use heat lamps, which can cause fires.
Keep the Interior Dry
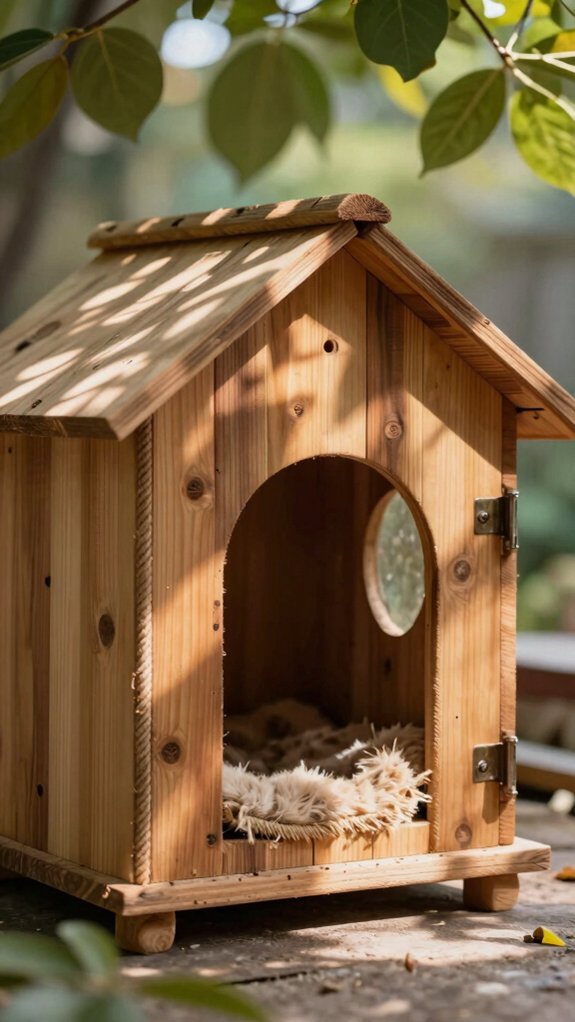
When rain or melting snow reaches the shelter, small design choices can keep the sleeping area dry. Use dry straw, not hay, for bedding because it repels moisture and resists mold.
Drill small drainage holes, and slightly raise the rear of each bin or tub so water won’t collect inside.
Keep the doorway about 5.5 to 6 inches wide, position it above ground level, and add an awning.
Plan your windbreak placement, and face the entrance away from prevailing winds.
Apply waterproof sealing around joints and openings.
Check the straw regularly, and replace damp bedding promptly right away before it freezes or gathers more moisture.
Elevate the Floor
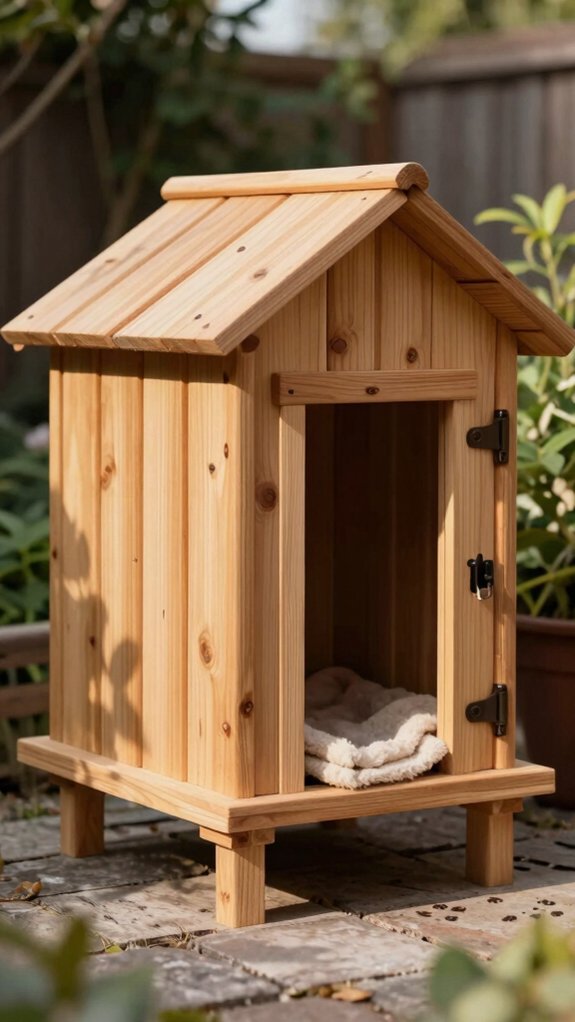
Raising the floor off the cold ground helps reduce heat loss and keeps rain, snow, and wet soil from soaking the bedding. Your cat will have a warmer, drier retreat.
- Set the house on sturdy 2x4s, pallets, or bricks, raising it enough to stop water pooling near the entrance.
- Place it on flat, stable ground so wind won’t tip or shift it, protecting insulation and entry alignment.
- Add small drainage holes if needed, then seal floor gaps and prevent cold bridging with weather-resistant materials.
Face the entrance away from prevailing winds.
Together, these steps help your outdoor cat stay comfortable through changing weather.
Add Proper Ventilation
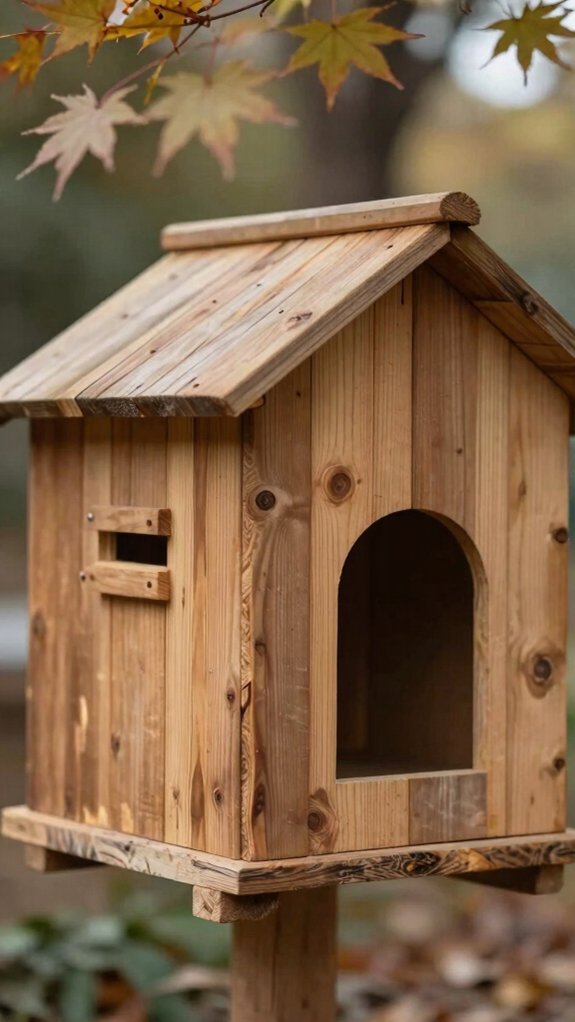
Proper ventilation helps an insulated outdoor cat house stay dry without creating a chilly draft. Add two small pinholes near the top, creating moisture escape for breath and ammonia while protecting the straw below.
| Feature | What to do | Why it helps |
|---|---|---|
| Upper gaps | Drill tiny holes | Releases humidity |
| Warm air vent | Keep it covered | Blocks rain |
| Entrance layout | Offset openings | Limits wind |
Don’t seal the shelter airtight. If you add an awning, leave its upper area slightly open. Check the straw often, because damp bedding signals poor airflow and may freeze. Together, these details help neighborhood cats stay comfortable.
Choose the Right Entrance Size
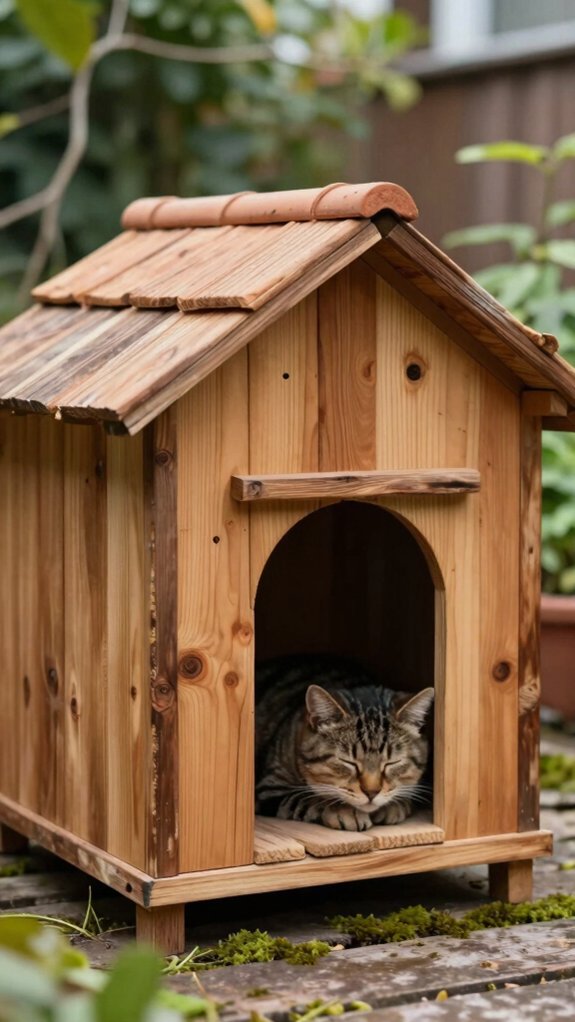
For a cozy outdoor cat house, make the doorway about 5.5–6 inches wide. This cat sized opening lets your cat enter comfortably, while the smaller space helps the shelter hold warmth.
Keep it above ground level so rain and snow won’t block it or seep inside.
- Face the entrance away from prevailing drafts, so cold air won’t rush through.
- Use draft block placement near exposed sides, leaving enough room for easy entry.
- Consider two small entry points instead of one oversized doorway, creating a more comfortable layout for your cat.
A properly sized entrance helps your outdoor companion settle in comfortably, giving your shared space a welcoming, dependable feel.
Protect Against Predators
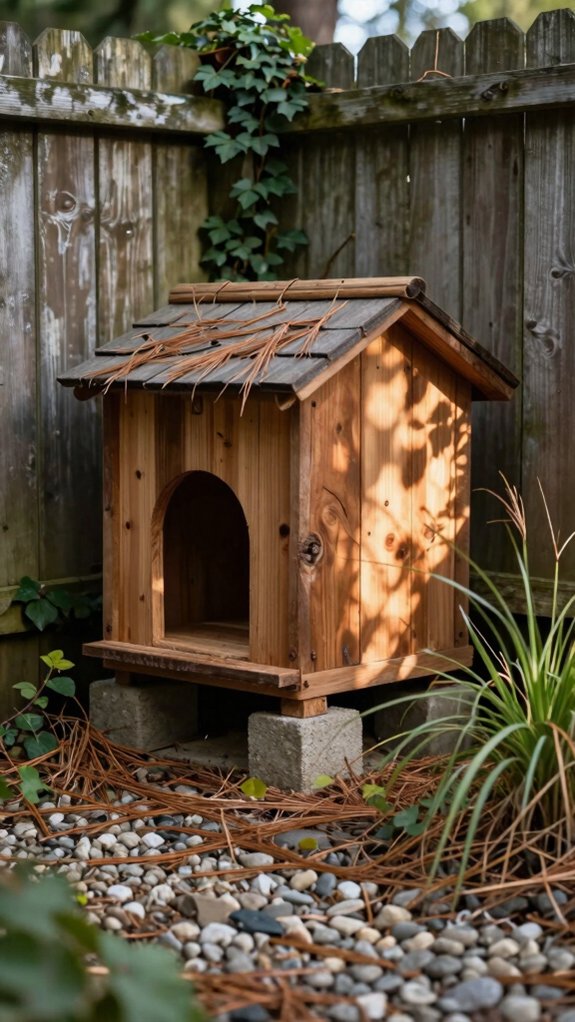
Keep the cat house out of open areas where predators can easily spot or stalk your cat. Place it behind a fence or shrub line, and choose a quiet corner with nearby cover.
For effective predator proofing, keep the doorway about 5.5–6 inches wide, so your cat can enter while larger animals stay out. Raise the shelter on 2x4s, bricks, or a pallet to limit ground access and improve stability.
Add an awning to shield the entrance and block common approach lines. Aim the doorway away from prevailing winds, and plan clear escape routing so your cat can leave quickly if danger appears.
Best Insulation Materials
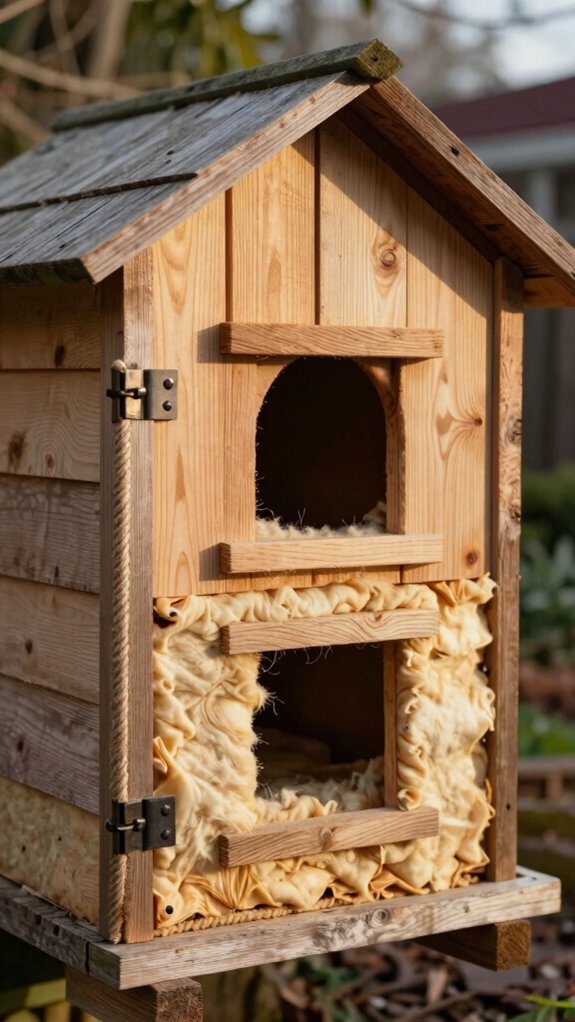
When you’re choosing insulation, use dry straw rather than hay because it resists moisture and mold while helping the shelter hold your cat’s body heat. Give your outdoor cats a snug, welcoming space with these choices:
- Fill the floor and walls thickly with straw, leaving minimal air space so one or two cats stay warmer.
- Add thin Styrofoam around the tub’s walls, floor, and roof, then cover it with straw to prevent chewing.
- Build water resistant seams, and include small Ventilation gaps to limit trapped moisture without creating drafts.
Skip blankets and fabric, which absorb water and can freeze. Replace damp straw right away.
Winter Maintenance Tips
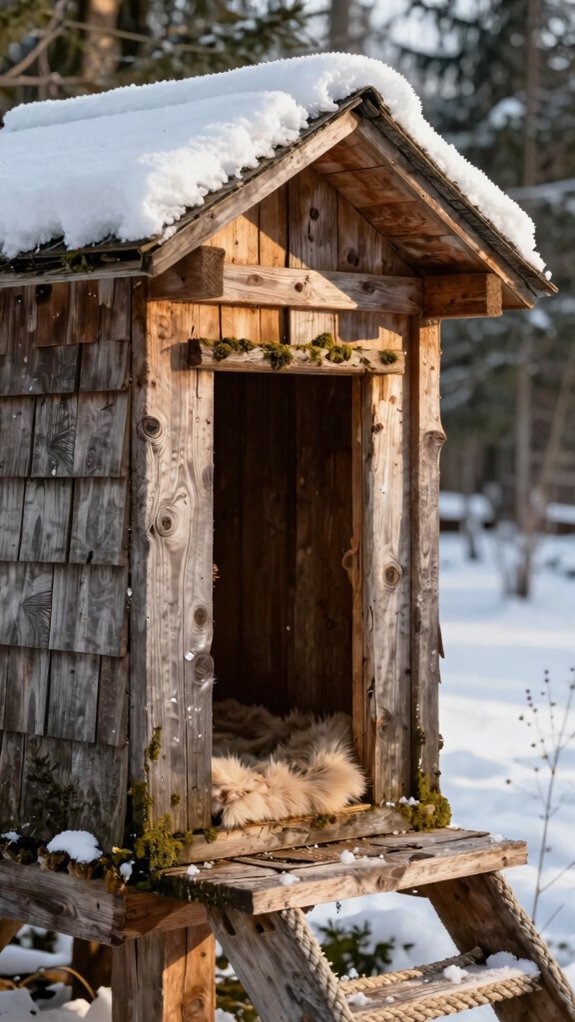
Winter care starts with a weekly check of the straw, especially during freezing weather. Replace damp or soiled straw with fresh straw, which stays warmer and dries better than hay.
Keep the house raised on 2x4s or a pallet, and clear drainage holes so meltwater won’t collect. Face the doorway away from prevailing winds, add a small awning, and keep the opening near 5.5–6 inches wide and above ground.
Make storm proof checks after heavy weather. Secure lightweight shelters with weights, inspect seals for water intrusion, and check cracked bins or lids. Tighten weatherproof hinges and close gaps that could create drafts.