
Cloudy water, sneaky algae, and fish acting like midnight zoomies often mean the setup missed a few basics. Dr. Pat says a beginner planted tank setup guide starts with a 10–20 gallon tank on a sturdy stand, away from sunlight, then adds easy plants like Anubias and Java fern. Fill slowly, keep the filter running, and cycle 2–4 weeks before fish. Patched mistakes now save later lint-roller-level cleanup—and the best plant trick comes next.
Disclosure: This post may contain Amazon affiliate links, at no extra cost to you. Content on Pawtangle is created with research support from AI tools and carefully reviewed, edited, and fact-checked by the lead author, Dr.Fahri Pat , to ensure accuracy and reliability. Learn more
Key Takeaways
- Choose a 5–20 gallon tank on a sturdy stand, away from sunlight, vents, and heavy traffic.
- Add 2–3 inches of planted substrate, then place hardscape and plant root feeders, keeping rhizomes uncovered.
- Install filter, heater, and light; use gentle 4–6× hourly flow and run lights 6–8 hours daily on a timer.
- Fill slowly with dechlorinated, temperature-matched water, protecting plants and substrate with a plate or saucer.
- Cycle the tank for 2–4 weeks, testing ammonia, nitrite, and nitrate until ammonia and nitrite are zero.
What Is a Planted Tank
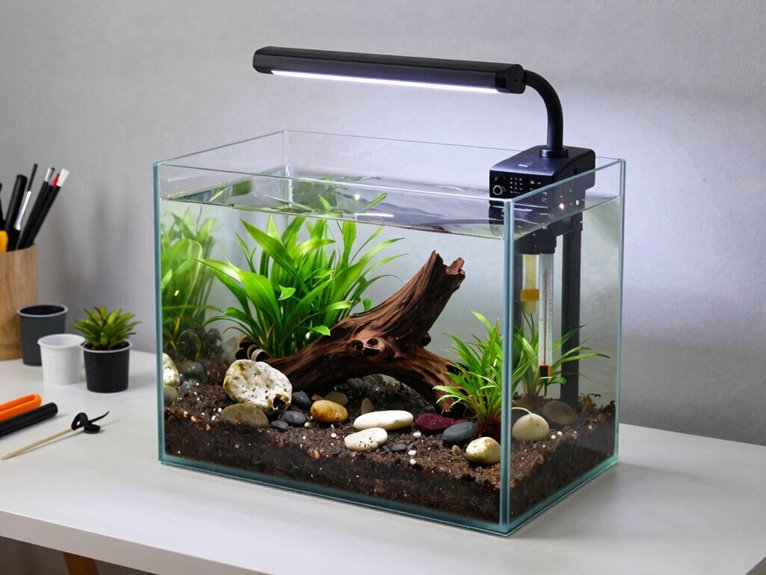
Anyone who has watched a fish pace the glass like it is late for dinner knows the tank can feel a little empty fast. A planted tank is an aquarium built with live plants to create a small aquatic ecology. The plants help make oxygen, take up waste, and give fish and invertebrates places to hide, which feels calmer for everyone. Their plant adaptations let some thrive in low light, while others want brighter, richer setups. A balanced tank usually has more plants than fish, then cycles for weeks so helpful bacteria settle in and the water steadies naturally.
Essential Equipment
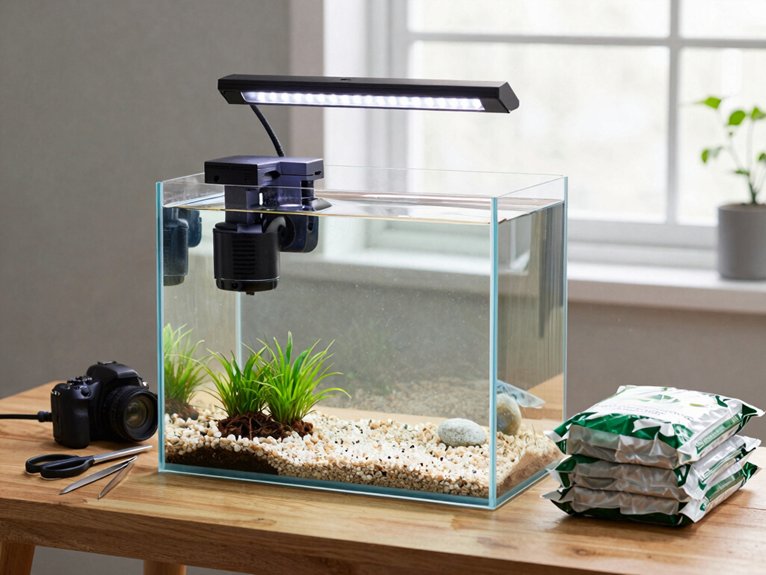
A beginner planted tank works best when the basics are right from the start, especially a steady 5–20 gallon aquarium that sits level and feels solid. The indispensable equipment usually includes a plant-friendly LED light, a substrate like aquasoil or nutrient-rich gravel, and a reliable filter that keeps water moving gently without disturbing the plants. If tropical fish are part of the plan, a heater should be added too, because stable warmth often means healthier fish and fewer problems later.
Aquarium (5–20 gallon ideal)
When fish keep acting like they own the place, the problem is often not the fish—it is the tank size. Dr. Pat recommends a 5–20 gallon aquarium, with 10–20 gallons preferred, because larger water volumes buffer mistakes and keep stocking density comfortable. A sturdy, level stand near an outlet and water source helps, while sun, vents, and heavy foot traffic should be avoided. This size also supports aquarium aesthetics, giving plants and fish room to settle in. Add a sized filter, heater, substrate, thermometer, test kit, and tools, and the setup feels less like guesswork, more like a shared win.
LED light (plant-friendly)
The simple move is to choose a full-spectrum or plant-specific LED with strong blue and red wavelengths, then run it on a timer for about 6–8 hours a day. Dr. Pat recommends modest PAR for easy plants, stronger output for deeper tanks, and dimming for spectrum tuning when algae sneaks in. Place the fixture 4–12 inches above the water, and add strips if long tanks look shadowed. Good heat management protects lifespan, often 30,000–50,000 hours. The result is steady growth, less guesswork, and a planted tank that feels welcoming, not fussy for beginners and their curious, judgmental cats alike, too.
Substrate (aquasoil or nutrient-rich gravel)
Dr. Pat says the right substrate can stop many planted-tank headaches before they start. Aquasoil or nutrient-rich gravel, laid 2–3 inches deep, helps roots grab fast and keeps plants steady; finer 2–5 mm grains work best. For bigger root feeders, go 3–4 inches, and use layering techniques: aquasoil below, a thin inert cap above. That keeps cloudiness down and protects nutrients. Budget keepers can use sand or gravel with root tabs near heavy feeders. Watch substrate pH, rinse inert gravel lightly, and skip heavy washing of aquasoil. It may tint the water brown, but that usually fades soon enough.
Filter (sponge or hang-on-back)
Ever notice how a “calm” planted tank can turn into a tiny tornado after fish food, leaf bits, and yesterday’s mess start floating around like confetti? Dr. Pat says a filter keeps that chaos in check by trapping debris and hosting good bacteria, so ammonia can cycle safely to nitrate. Sponge filters suit shrimp and fry; HOB filters fit most beginner tanks and are easier for media swaps. Aim for 4–6x tank volume per hour. Smart filter placement helps. On the maintenance schedule, rinse media in tank water, never tap, and replace only part at a time for stability.
Heater (if keeping tropical fish)
Warm fish in a planted tank can be a sneaky problem, because one chilly room at night can leave tropical fish acting sluggish, hiding, or racing around like they forgot where they were going. I’m Dr. Pat, and I pick a submersible, thermostatic heater sized near 3–5 watts per gallon; a 20-gallon usually wants 60–100 watts. Keep temperature stability at 24–26°C. Smart heater placement near filter flow helps spread heat evenly, then check with a separate thermometer. After outages, I recheck; fish settle fast, and nobody needs midnight zoomies. That habit saves money, stress, and the tank’s good mood.
Easy Plants for Beginners
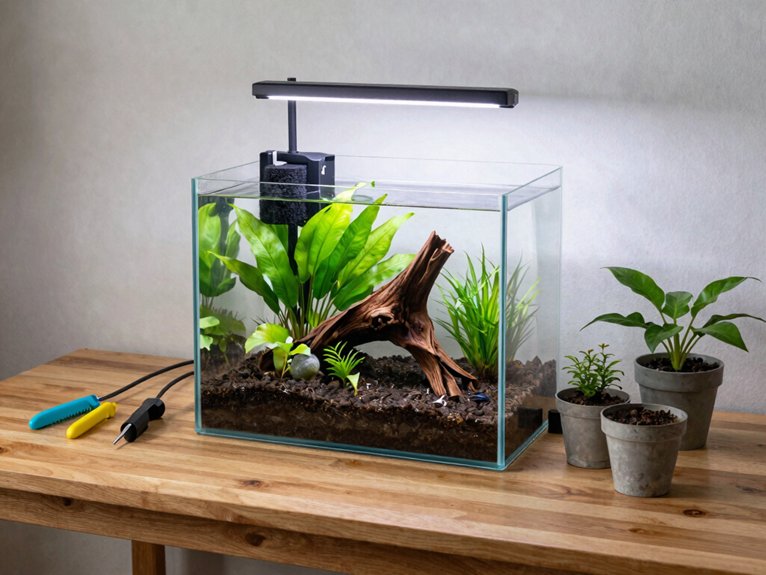
For a beginner planted tank setup guide, easy plants for beginners often start with tough picks like Anubias, Java Fern, Amazon Sword, Cryptocoryne, and Java Moss, since they handle rookie mistakes like weak light and a missed fertilizer day. Anubias and Java Fern stay happiest when their rhizomes sit above the substrate, while Amazon Sword grows best with rich substrate or root tabs, and Cryptocoryne may even melt a little after moving before it bounces back. Java Moss rounds things out by giving fry cover and a simple green look that usually survives the kind of tank drama that would send a lint roller into retirement.
Anubias
Anubias is the kind of plant that makes a beginner feel like they finally caught a break—right up there with finding the cat asleep in the laundry basket instead of batting a brand-new sponge filter across the floor. Dr. Pat says its rhizome care is simple: tie it to driftwood or rock, never bury it, and keep light low to moderate. It fits low-tech tanks, tolerates 72–82°F and typical community water, and needs only light fertilizer. For propagation techniques, cut the rhizome between leaves, reattach each piece, and watch slow, sturdy new growth for a steady, friendly, shared-home feel.
Java Fern
When a tank plants itself with midnight zoomies from a startled fish or a curious cat’s paw swipe near the glass, Dr. Pat notes Java fern as a calm friend for new keepers. It likes 68–82°F, gentle light, and no elaborate CO2. Rhizome care matters: keep the rhizome above substrate, tied to wood or rock until roots hold. 1. Place it low-light. 2. Skip burying. 3. Trim melting leaves after moves. 4. Watch plantlets for easy sharing. Melting recovery is normal; fresh green usually follows, and the tank feels welcoming again for beginners and their whiskered roommates too well.
Amazon Sword
Midnight zoomies can turn a calm tank into a leafy disaster zone, and Dr. Pat knows Amazon Sword can help steady the scene. This rosette plant grows 12 to 20 inches or more, so it suits midground or background spots in 10 to 20+ gallon tanks. It feeds from the roots, so rich substrate or root tabs matter. With moderate light, leaf color stays healthier. Keep 72 to 82°F water and trim damaged leaves to stop root rot. In a low-tech setup, it still grows, then sends out plantlets for easy sharing and feels like a win for all.
Cryptocoryne
The simple setup matters most: give them 2 to 3 inches of substrate, tuck the roots in gently, and keep the crown above the gravel so it does not rot. Dr. Pat sees crypts as the calm friend of planted tanks: low light, no CO2, and steady water. 1. Choose stable pH. 2. Add root tabs. 3. Expect crypt melt after moves. 4. Wait for rhizome propagation. In a 10-gallon, they settle into rich midground color, then send fresh leaves like a pet finally ignoring midnight zoomies. Trim dead leaves, keep the crown free, and they reward patience. Root tabs help if gravel is inert, and that usually means less fuss.
Java Moss
Java moss is a little like the aquarium version of a chewed-up dog toy that somehow becomes the favorite thing in the house: simple, tough, and impossible to ignore once it settles in. Dr. Pat notes that Taxiphyllum barbieri thrives in low light, 59–86°F water, and pH 5.0–8.0, with no CO2 or special substrate needed. It clings to wood, rocks, or mesh, helping moss propagation and aquarium aesthetics. A little thread holds it until rhizoids bite. Trim it to prevent mats, and rinse gently when shrimp shelter turns detritus trap. Good circulation keeps it cleaner and easier to trim.
Step 1: Choose Tank Location
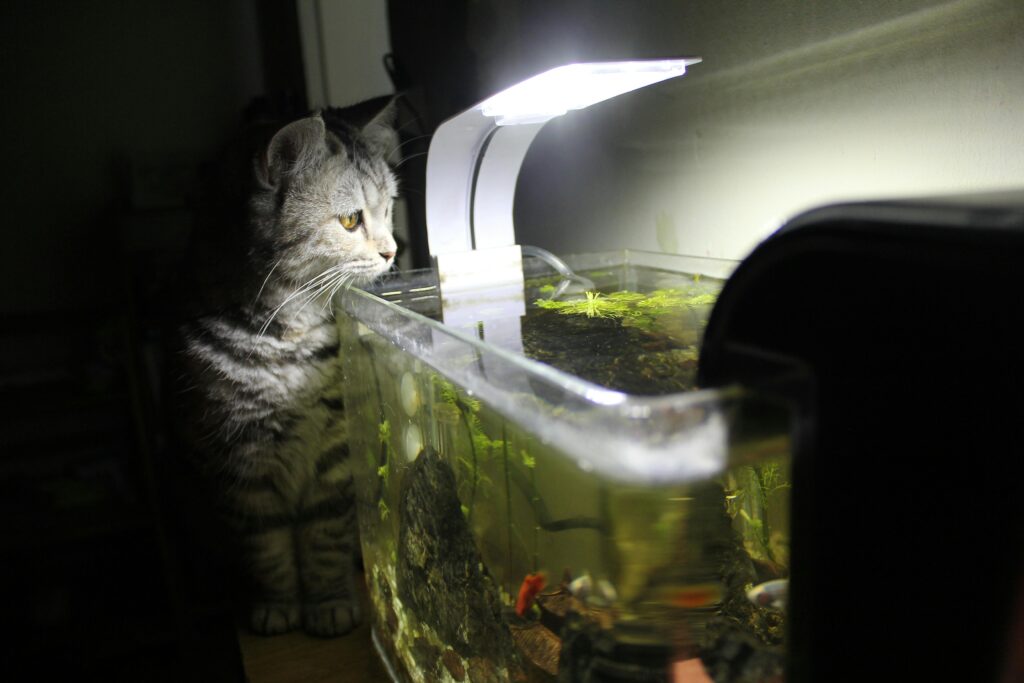
From there, the spot should be close to a grounded outlet and a water source, because running a filter, heater, and weekly water changes from across the house turns a relaxing hobby into a parade of buckets. I’ve seen the best setups begin with calm, not chaos. For a happy planted tank, Dr. Pat suggests:
- A hard, level stand rated for the filled weight.
- Easy access on all sides for cleaning and planting.
- Enough height for tall plants, lights, and a lid.
- A quiet corner with low noise levels and eye level placement.
That’s how the tank feels like part of the home.
Place away from direct sunlight to avoid algae growth
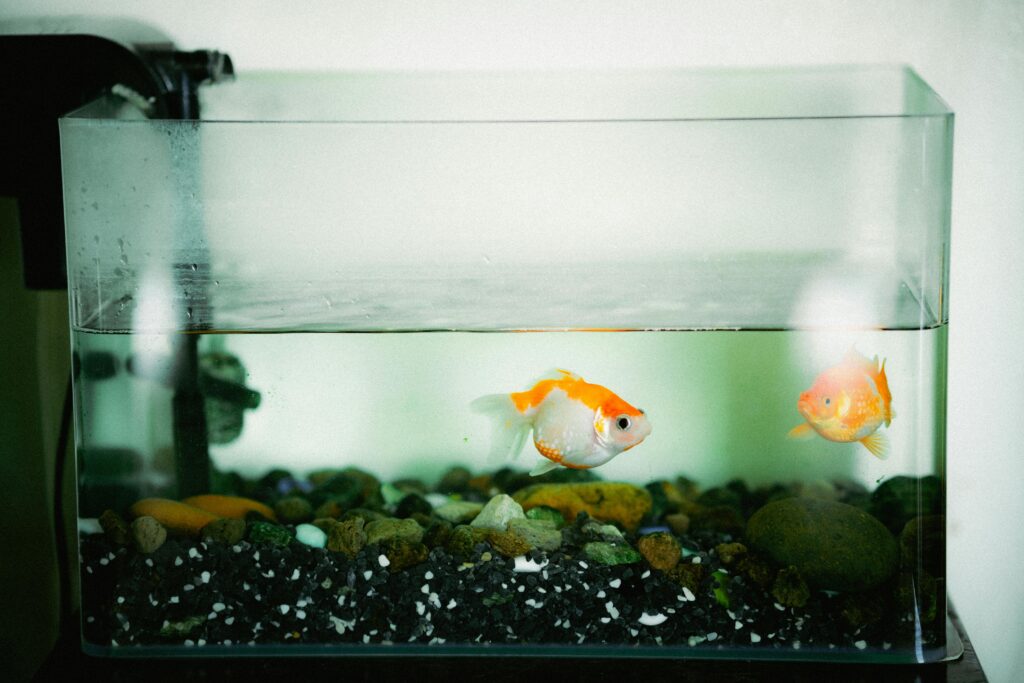
Bright windows can turn a planted tank into an algae factory faster than a cat can knock a toy under the couch, and Dr. Pat says the fix is simple: keep the aquarium out of direct sun. She recommends diffuse room light, controllable aquarium fixtures, and window coverings if the tank must sit nearby. That steady setup helps prevent algae spikes, temperature fluctuations, and stressed fish. In the first few weeks, she watches for green film and shortens light to 6–8 hours if needed. Beginners like the calmer routine, and the tank stays clearer, safer, and easier to love.
Step 2: Add Substrate
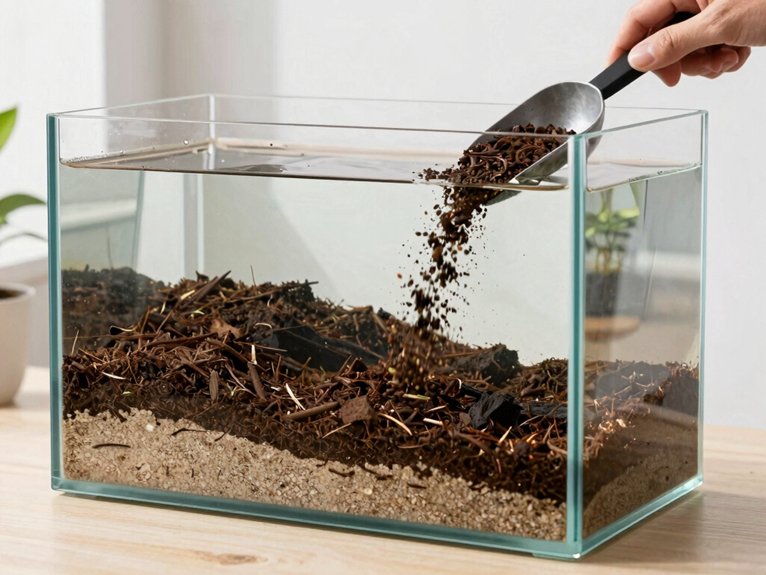
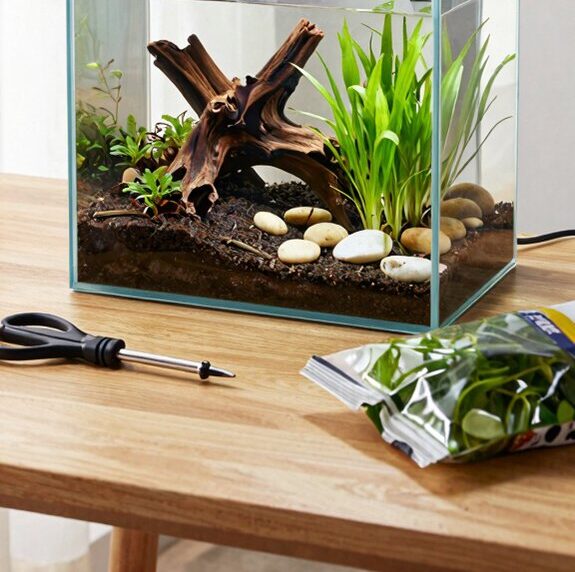
For most beginner tanks, she likes a nutrient-rich planted substrate such as Fluval Stratum or Eco-Complete for root-feeding plants, or plain gravel or sand with root tabs if the budget is tight. A 2–3 inch layer usually works, and deeper beds help swords settle in.
- Rinse inert sand or gravel well.
- Follow clay-brand guidance; some cloud.
- Keep substrate chemistry stable for roots.
- Let microbial colonies grow as the tank matures.
She plants stems with tweezers, burying roots about 1 inch deep, then places root tabs beside heavy feeders for steady growth, for strong, easy wins.
Use aquasoil or nutrient substrate as the base layer for plant growth
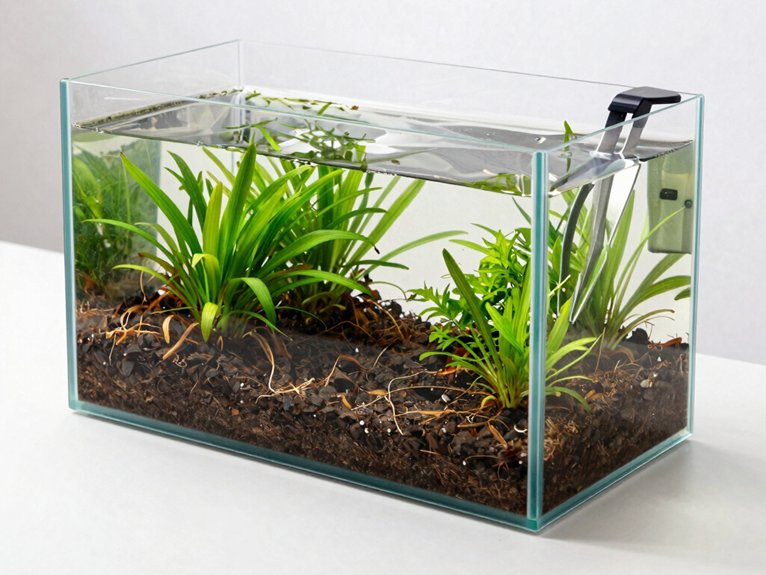
There is one neat trick that saves a lot of cloudy-water drama: if the aquasoil is the base, a thin cap of inert sand or gravel on top can help hold it down and keep nutrients from blasting into the water column. Aquasoil like Fluval Stratum or ADA Aqua Soil supports plant rooting, and its substrate chemistry feeds roots with nitrogen, phosphorus, potassium, and trace elements for months. A 2–3 inch layer fits most tanks; bigger root-feeders may need 3–4 inches. It is a friendly start for any planted-tank crew. No one has to wrestle brown soup later either.
Step 3: Fill Water Partially
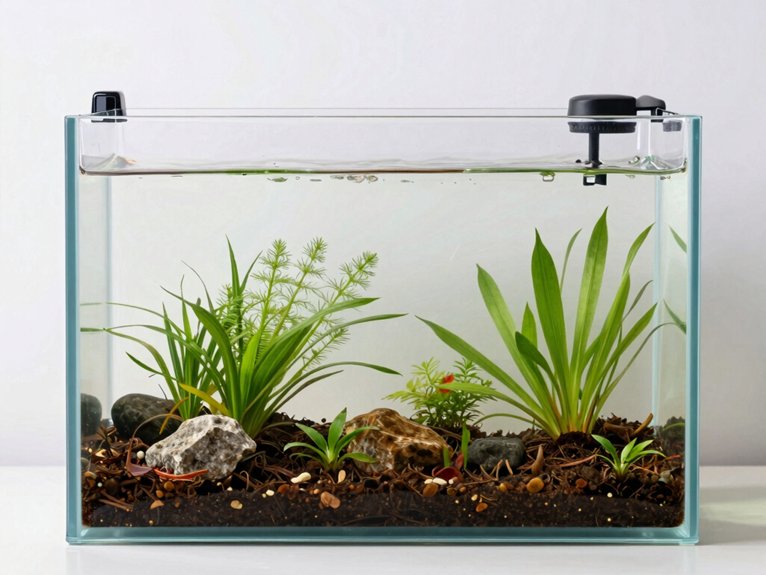
A new planted tank can go from neat to muddy in seconds if water is dumped in like a dog crashing through a laundry pile. Dr. Pat recommends a partial fill to about 6 inches, using dechlorinated or aged water at target temperature so water chemistry stays calm. 1. Pour onto a bowl or colander. 2. Stop when plant bases are covered. 3. Leave room for equipment placement and hardscape checks. 4. Plant stems while leaves float supported. This gentle pause helps the group feel set up, and the final top-off can wait until everything looks steady and tidy.
Add a small amount of water before planting to stabilize substrate
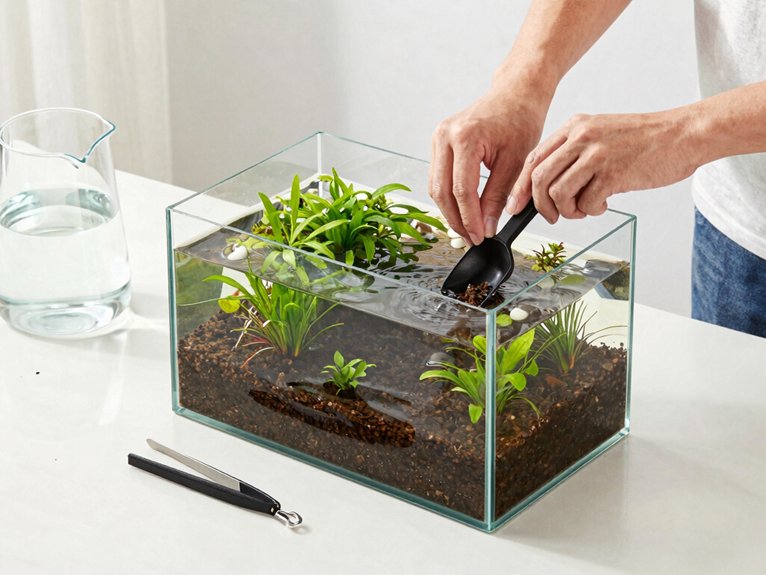
Midnight zoomies can wreck a room in seconds, and a new planted tank can do the same thing to its substrate if the water goes in too fast. A beginner should add only 4–6 inches of dechlorinated water first, pouring it slowly over a bowl or plate. That keeps sand and fine gravel calm, protects water chemistry, and makes planting tools easier to use. With the tank partly filled, stems stay upright and roots settle. Loose rhizome plants should be tied to décor now, before the final fill. The result is less cloudiness, less stress, and a cleaner start overall.
Step 4: Plant Your Aquarium
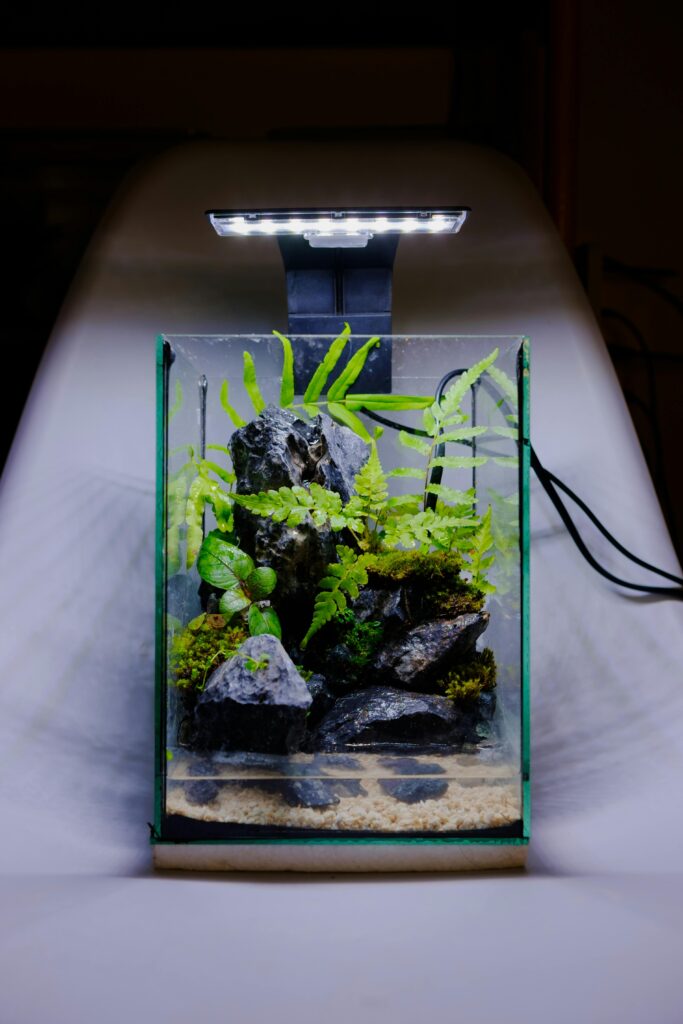
In Step 4: Plant Your Aquarium, the layout matters: low-growing foreground plants go up front, small bushy midground plants fill the middle, and taller background plants like Hygrophila or Ludwigia anchor the back. Plants should be placed in a partially filled tank with the right tools, and rhizome types such as Java fern or Anubias should be tied to wood or rock instead of buried. A heavy first planting helps the tank settle faster, uses extra nutrients, and makes algae less likely to take over.
Foreground: low-growing plants
Those tiny foreground plants can make or break a planted tank, and Dr. Pat notes that smart dwarf selection keeps the whole scene calm and tidy.
- Pick dwarf hairgrass, Monte Carlo, or micro sword for a low, friendly carpet.
- Space plugs 1–3 cm apart, then press them 1 cm deep into fine substrate.
- Give moderate light, about 6–8 hours, plus light fertilizer.
- Trim runners every 4–8 weeks; maintenance scheduling prevents shade and keeps the carpet compact.
With patience, the front stays lush, costs stay modest, and the tank feels welcoming for new tank friends daily.
Midground: small bushy plants
A planted tank can go from “nice” to “why does the middle look empty?” in a hurry, and Dr. Pat notes that midground bushy plants fix that gap. Cryptocoryne wendtii, Hygrophila polysperma, and Staurogyne repens stay about 4–8 inches tall, so they fill the center without stealing light from low foreground plants. Plant them in groups of 3–7, spaced 1–3 inches apart, for a fuller look and easier plant pairing. Rooted types like crypts do best in 2–3 inches of substrate or with root tabs. Fast stems should be trimmed every 2–4 weeks, with nutrient dosing nearby for balance.
Background: taller plants
When a tank’s back wall looks bare, the whole aquascape can feel a little unfinished—kind of like finding a chewed-up toy in the hallway at midnight and realizing the dog “decorated” the room again. For tall plant placement, Dr. Pat keeps stem plants in the rear third, with three to seven stems spaced one to two inches apart.
- Pick Vallisneria, Ludwigia, or Rotala.
- Match light to tank depth.
- Bury roots one to two inches; add tabs.
- Use vertical pruning every two to four weeks.
The result is a backdrop that frames midground plants and keeps the tank feeling together.
Step 5: Install Equipment
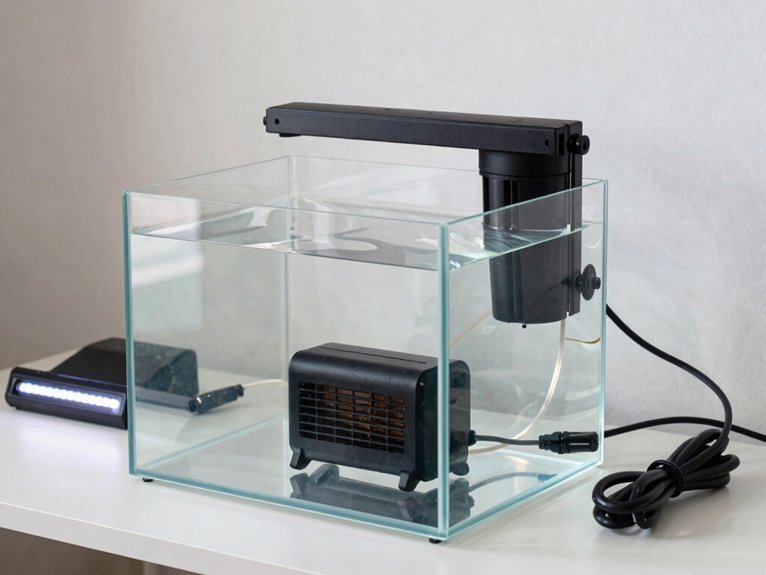
I usually tell people to secure the heater and filter before the tank is fully filled, then bring the water up slowly with dechlorinator mixed in as the tank fills.
I keep the heater near steady flow and the filter intake away from substrate so debris stays put. A thermometer in the planted zone supports daily temperature monitoring, and I aim for a calm 76-78°F. The light goes on a timer for 6-8 hours, a bit like picking the right kibble: steady, not flashy. If CO2 is used, I follow the manual closely. That patience saves midnight chaos later.
Set up filter, heater, and lighting system
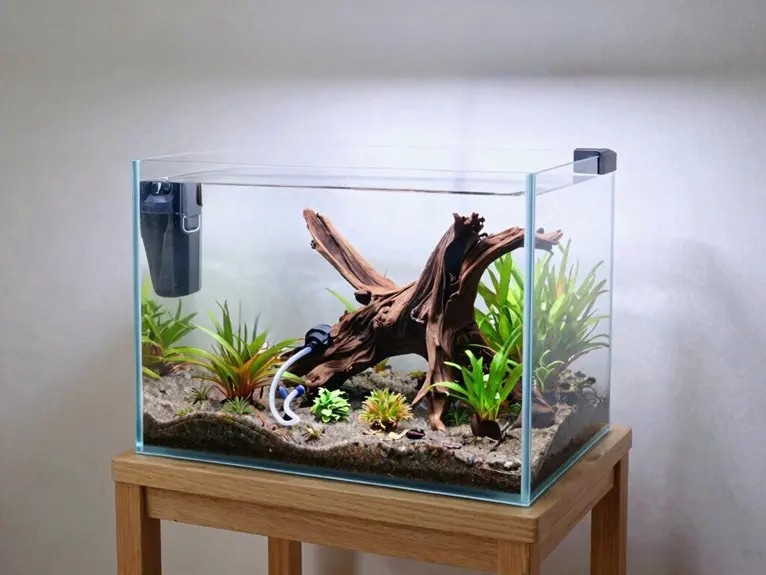
For a solid setup, Dr. Pat says the filter, heater, and light should work like a calm clubhouse for plants, not a blender. I size the filter to the tank, aim the intake and outflow for gentle flow behavior, then tuck the heater near that outflow.
- Pick a rated filter.
- Set heater temperature first.
- Mount LED light on a timer.
- Check light spectrum, cords, and GFCI.
A lid helps keep heat steady. The result: healthier plants, fewer algae surprises, and no midnight zoomies from frantic water during the first week of settling in for everyone.
Step 6: Fill Tank Completely
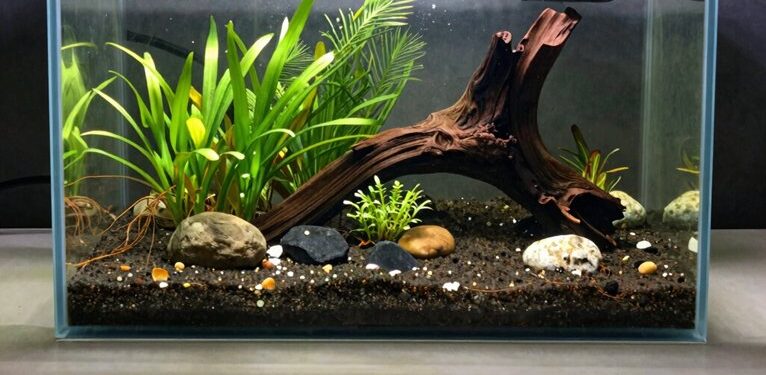
The fastest way to ruin a fresh planted tank is a “whoops” pour that blasts the substrate like a toddler launching kibble across the kitchen. So the tank is filled with dechlorinated water, leaving 1–2 inches of headspace for gas exchange and a clean lid fit. That extra room helps aquarium aesthetics too, keeping trim and tubing clear. Once full, the heater, filter intake, outlet, and CO2 parts are checked, then energized on only when fully submerged. Finally, temperature and a quick water chemistry test set the baseline before any fish arrive. A calm start saves headaches later.
Pour water slowly to avoid disturbing plants
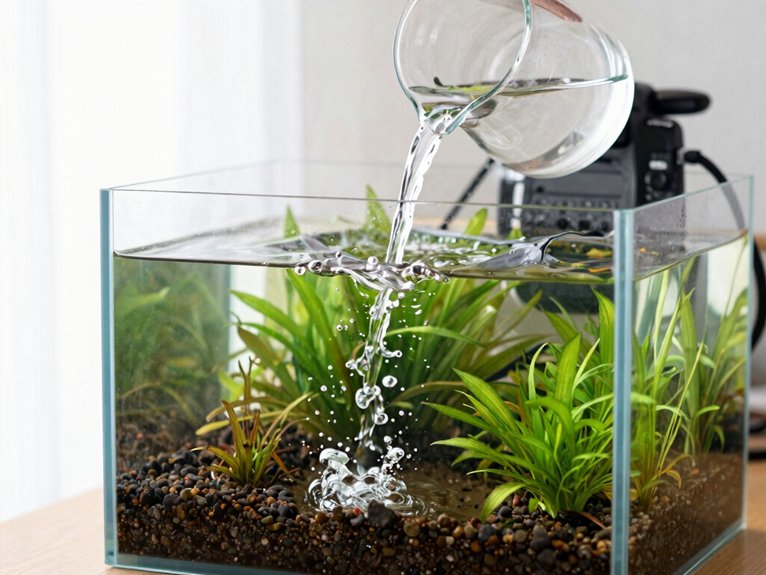
Across the room, a tank can go from calm to chaos in one bad pour, kind of like a cat knocking a water glass off the table at 2 a.m. Dr. Pat recommends gentle pourers use root protection:
- Set a plate or saucer on the substrate.
- Add dechlorinated water in 2–4 small stages.
- Keep the spout close and flow low.
- Leave stems partly filled, then wait.
That slow method keeps plants planted, saves money, and avoids the sad floating-fishbowl look nobody wants. I’ve seen midnight zoomies do less damage than a rushed fill, honestly, some nights.
Step 7: Start Lighting Schedule
Right when a tank finally looks peaceful, bad lighting can sneak in like a cat launching at a curtain at midnight. I’m Dr. Pat, and I start light scheduling with a timer, modest intensity, and patience.
| Step | Simple move |
|---|---|
| Start | Set a steady daily timer. |
| Watch | Check plants and algae for 1–2 weeks. |
| Adjust | Shift 15–30 minutes at a time. |
That calm plan helps algae management and keeps plants from sulking. If the fixture is too strong, raise it; too weak, lower it. The surprise win: fewer green surprises, more steady growth. Readers usually like that, and pets keep their dignity.
6–8 hours per day to prevent algae
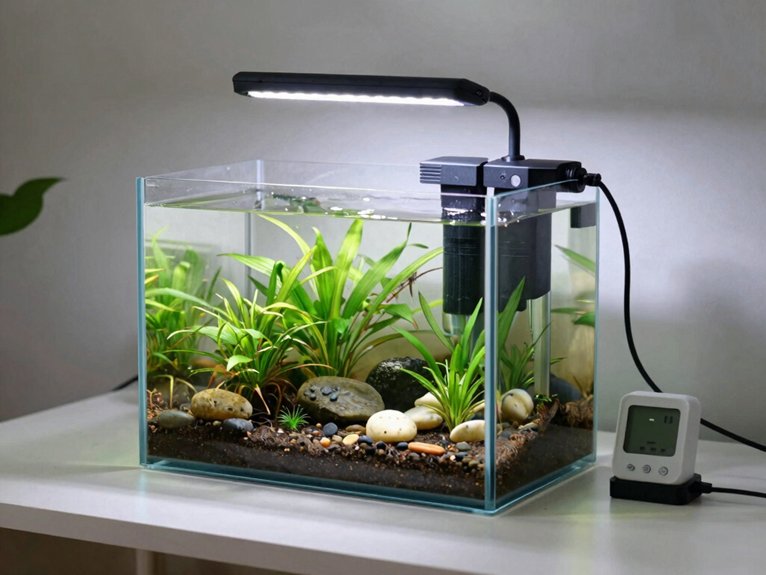
Algae often shows up like a pet sneaking onto the couch the second nobody is looking, and Dr. Pat says most beginners should keep lights on 6–8 hours daily. This steady window helps plants and limits algae:
- Start at 4–6 hours for new plants.
- Raise it 15–30 minutes each week.
- Use a timer, not guesswork.
- Cut to 6–7 hours for strong light or CO2 setups.
A stable light spectrum matters, and seasonal adjustments can be small. Pair the schedule with water changes. The tank stays calmer, cleaner, and easier for the whole crew overall too.
Step 8: Cycle the Tank
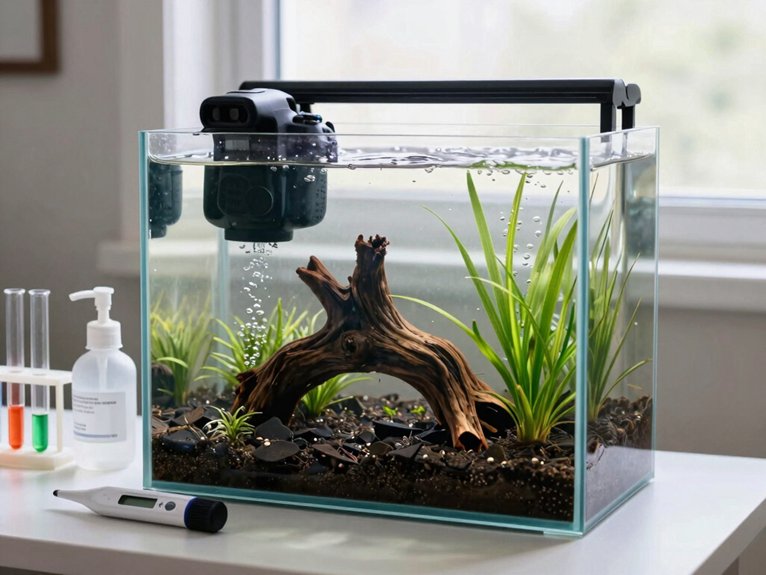
By the time the filter starts humming, many new tank owners feel the same kind of panic as when a puppy finds the trash at midnight—everything looks busy, but nobody is sure what to do next. Dr. Pat would call for pure ammonia or fish food now, then test ammonia, nitrite, and nitrate every 2–3 days. Bacterial supplementation or old filter media can speed the wait, while steady warmth helps the helpers grow. Keep lights low and skip extra fertilizer or CO2. If numbers swing, cycling troubleshooting means small water changes, not big resets. Fish belong only when ammonia and nitrite read 0, nitrate is climbing, and the tank feels calm. That patience saves the group chat later, and the tank earns its first real win without a midnight rescue stunt.
Let beneficial bacteria build (2–4 weeks before adding fish)
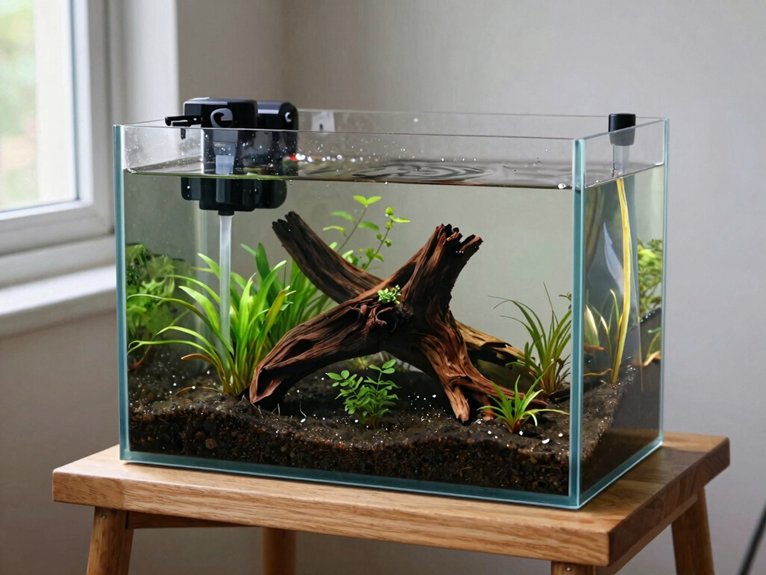
Keep the filter running nonstop, because that filter media is fundamentally the bacteria’s apartment building. I’m Dr. Pat, and I’ve seen microbial succession turn cloudy water into a home squad.
- Add ammonia or starter cultures.
- Hold 74–78°F and skip big water changes.
- Test ammonia, nitrite, nitrate, pH, and KH daily.
- Wait until ammonia and nitrite stay at 0 ppm and nitrates show up.
Usually, that takes 2–4 weeks. The surprising win: seeded media from a healthy tank often speeds the whole crew in, like midnight zoomies, without costing much. Fish can wait; patience protects the new colony and wallet.
Maintenance Tips
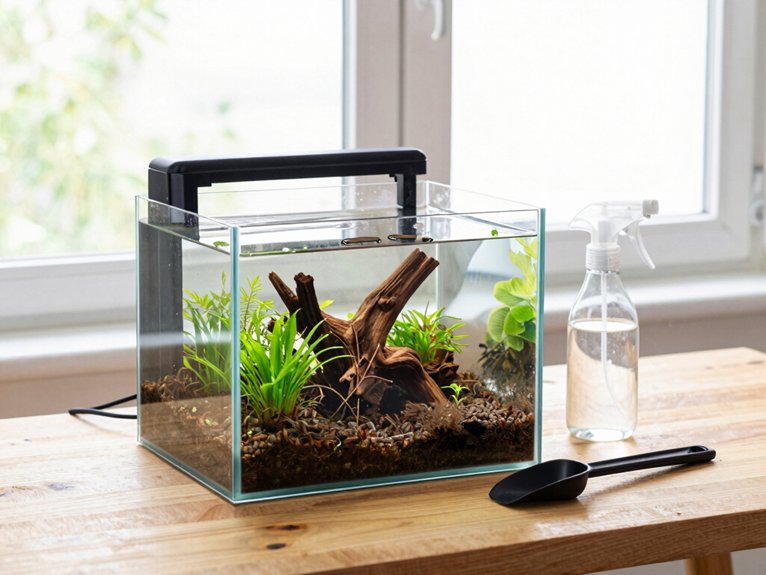
Tank mess has a way of showing up fast, from cloudy water to little leaf piles that seem to appear overnight. In beginner planted tank setup guide maintenance, a weekly 20–30% water change helps keep nutrients in check, while regular trimming keeps plants tidy and cuts down on algae. A quick wipe of the glass and a check of the filter usually leaves the tank clearer, healthier, and much easier to enjoy.
Weekly 20–30% water change
When a planted tank starts looking a little “off” — a dusty film on the glass, plants slowing down, or fish acting like they’d rather hide than show off — Dr. Pat notes a weekly 20–30% change keeps the crew steady. 1. Siphon detritus, not roots. 2. Match dechlorinated water to tank temperature and GH/KH. 3. Re-dose fertilizers or trace elements on schedule. 4. Track nitrate levels and plant health; if above 40 ppm, change more or feed less. Water parameter tracking catches plant oscillations early, and the tank stays calm, clear, and easy to love for the whole crew. That is the quiet win everyone wants.
Trim plants regularly
Fast growers like Hygrophila and Rotala do best with a quick trim every 1–2 weeks, snipping just above a node so they grow back fuller instead of leggy. Keep a trimming schedule, and remove yellow or damaged leaves as soon as they appear; this stops wasted nutrients and keeps algae from gaining a foothold. Carpet plants stay neat at 1–2 cm, while Crypts and Amazon swords are safer when older outer leaves are thinned, not crowned. Always sterilize tools between tanks. That small habit protects the whole tank family and helps newcomers feel confident keeping the scape thriving together.
Clean glass and filter as needed
A weekly wipe with a magnetic or long-handled algae scraper usually handles soft algae before it hardens, which saves time and helps plants grow better. 1. For glass, a flat razor or glass-safe scraper can clear stubborn spots. 2. For acrylic, use a microfiber cloth or plastic scraper to avoid scratches. 3. Rinse filter media in dechlorinated tank water each month; that protects filter biofilm and keeps the cycle steady. 4. Wipe intake tubes and replace clogged pads in stages, then siphon detritus during water changes for brighter viewing and steadier growth. It feels simple, and the tank community usually notices fast improvements.
Common Mistakes to Avoid
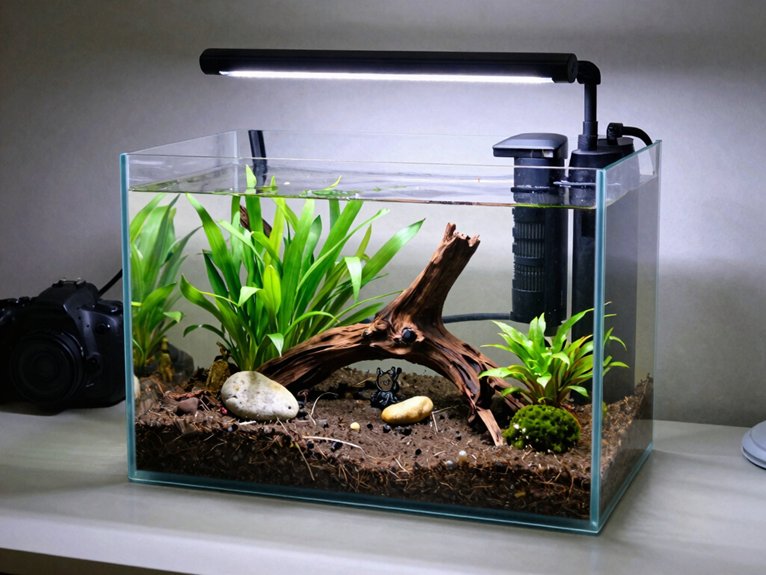
In a beginner planted tank setup guide, the biggest trouble often starts with too much light, because algae can move in fast when plants are not ready for it. Overfeeding fish is another easy slip, since extra food breaks down into waste and clouds the water. Adding too many fish too quickly can push the tank past its limits, leaving both fish and plants stressed before the system has time to settle.
Too much light (causes algae)
Too much light can turn a calm planted tank into an algae party, and Dr. Pat has seen the same thing happen when pets get the wrong kibble: chaos fast. The fix is simple:
- Keep the light spectrum steady and use algae resistant plants.
- Run 6–8 hours, not 8–10+.
- Match CO2 and nutrients before boosting brightness.
- Raise intensity over 1–2 weeks, never all at once.
A fixture held too close can scorch leaves and spark algae. With patience, the tank stays balanced, and the whole group wins without chaos, guilt, or midnight cleanup later again.
Overfeeding fish
The simple fix is to feed once or twice a day, only what the fish can fully eat, and pull out leftovers with a net or siphon within 10 to 15 minutes. Overfeeding is the main cause of ammonia and nitrate spikes, and uneaten food can double the bio-load fast. Good feeding schedules and portion control keep algae from acting like it owns the place. If fish need tiny frequent meals, the total daily ration should still stay small, or the filter and plants get overwhelmed. Cloudy water, rising nitrate, and sleepy fish mean it is time to cut back, test water, and clean filter media weekly.
Adding too many fish too quickly
A safer move is to start small—about 1 inch of adult fish per gallon at first, or even less if the tank is still young. 1. Add 2-3 fish. 2. Test daily. 3. Use quarantine protocol and staged acclimation. 4. Seed filter media if needed. Heavy stocking spikes ammonia and nitrite, and the plants cannot keep up. Wait for 0 ppm before more fish. Slow stocking keeps algae down and stress low, like choosing the right kibble instead of the premium bag that causes midnight zoomies. A gentle quarantine protocol protects the group and makes newcomers feel welcome, not rushed.
Frequently Asked Questions
How Often Should I Fertilize a Newly Planted Tank?
Newly planted tanks are usually fertilized lightly once weekly, with weekly dosing and a micronutrients focus at first, so the plants can settle in together; the community can adjust amounts by observing growth and algae.
When Should I Add Fish After Planting?
After water cycling, they should wait about two to four weeks before fish stocking; this wait period feels like watching grass grow in slow motion, yet acclimation timing helps the community settle together safely well.
Do I Need CO2 for Beginner Aquarium Plants?
No, beginner aquarium plants usually do not need CO2; low tech setups often thrive without it. CO2 myths can discourage newcomers, but hardy species grow well, helping beginners feel included and successful from the start.
How Do I Clean Algae From Plant Leaves Safely?
Algae can seem like a green army smothering leaves, but gentle manual removal works best: rub with fingers or a soft toothbrush. If needed, use safe chemical treatments sparingly, so the aquarium community stays thriving.
Can I Mix Different Plant Species in One Tank?
Yes, different plant species can thrive together if their needs correspond; mixed lighting and compatible growthrates help prevent crowding, so the tank community stays balanced, welcoming, and easy for newcomers to maintain successfully together, comfortably.
Conclusion
A beginner planted tank works best when it starts slow, like a seed under soft soil. Dr. Pat once watched a rushed setup turn into green soup in a week, while a patient 3-week cycle grew into a clear, lively tank with shrimp and easy plants thriving. That’s the lesson: good roots matter more than fast results. Keep it simple, stay steady, and the tank will reward that calm care with lasting beauty.