
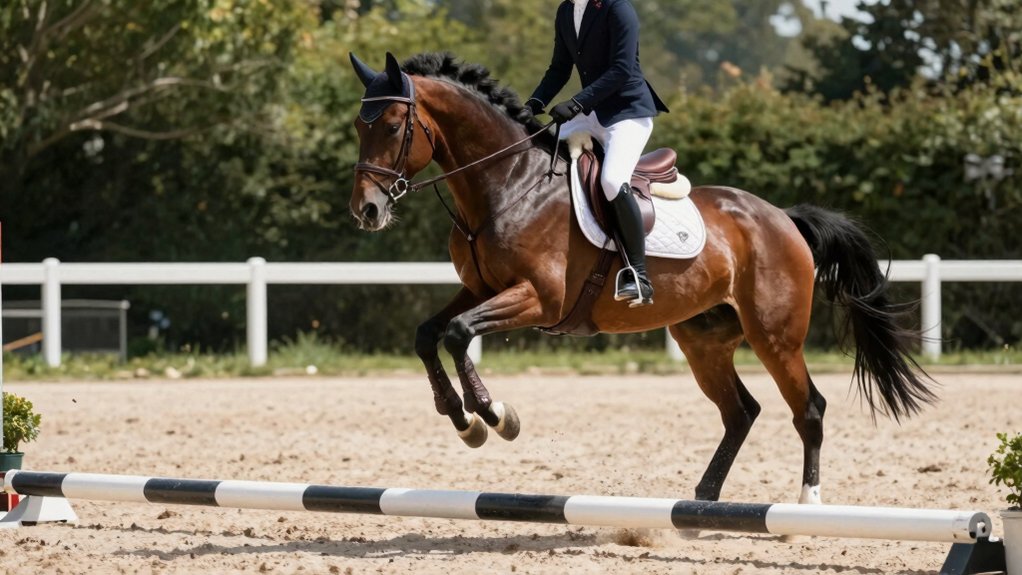
Polework exercises for horses build rhythm, balance, strength, and straightness with low joint stress. Start by checking footing, fences, debris, and lighting, then introduce one unraised pole on a quiet straight line at walk or trot. Walk poles usually sit at 0.7–1.0 m, while trot poles are about 1.2–1.7 m apart. Short, frequent sessions help prevent fatigue. As the work advances, cavaletti, curves, and grids add more challenge and improvement.
Disclosure: This post may contain Amazon affiliate links, at no extra cost to you. Content on Pawtangle is created with research support from AI tools and carefully reviewed, edited, and fact-checked by the lead author, Dr.Fahri Pat , to ensure accuracy and reliability. Learn more
Key Takeaways
- Start with one flat ground pole in walk or in-hand work, then progress to straight trot lines only when calmness and rhythm are consistent.
- Check footing, arena edges, debris, lighting, and pole stability before every session to prevent slips, impacts, and equipment movement.
- Use correct spacing for each gait: walk 0.7–1.0 m, trot about 1.2–1.7 m, and canter about 2.6–3.7 m.
- Keep exercises short and frequent, adding raised poles or cavaletti gradually to build strength, balance, topline, and hock flexion.
- Use straight lines, centerline work, and stride testing with video or counting to improve symmetry, collection, extension, and accuracy.
Why Polework Exercises for Horses Help
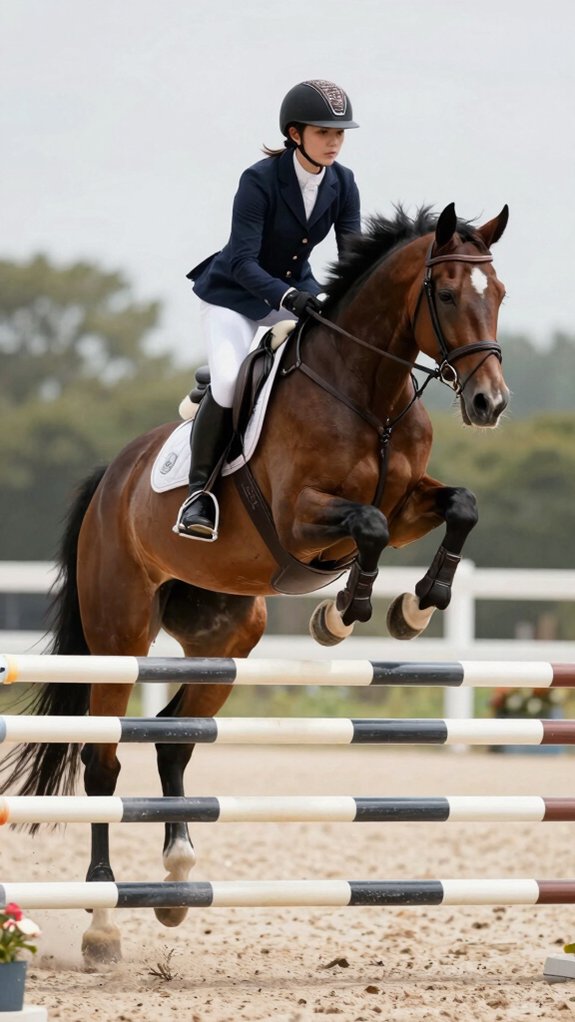
Polework helps horses develop strength, balance, and coordination with relatively low stress on the joints. It increases muscle activation in the gluteal, quadriceps, and hamstring groups, while raised cavaletti encourage hock lift and pelvic mobility. Correct spacing for walk, trot, and canter teaches stride length and supports collection or extension on rider cues. Regular sessions, begun in hand or on long reins, build topline, thoracic sling involvement, and core stability. Patterns such as lines, triangles, and slalom sharpen straightness and proprioception. Short sets with rest, plus gradual progressions, keep the work safe and effective for the team.
Check the Arena Before You Start
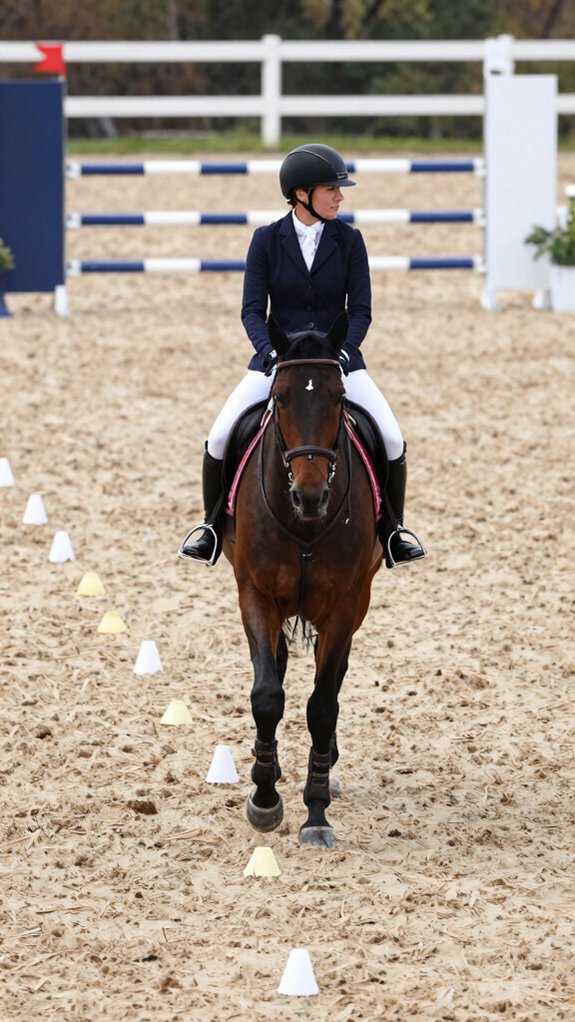
Before any poles are set, the arena should be walked to inspect the footing for rocks, holes, debris, and uneven patches that could cause a trip. Good footing maintenance supports safer work, especially when arena lighting is dim or shadows hide small hazards. Edges and corners should be checked for turn room, so poles do not sit too close to fences or walls. Stable blocks and solid wooden poles help reduce displacement. Distances should be measured carefully for the planned gait, with enough space for the horse’s size and quiet, controlled practice.
Begin With One Ground Pole
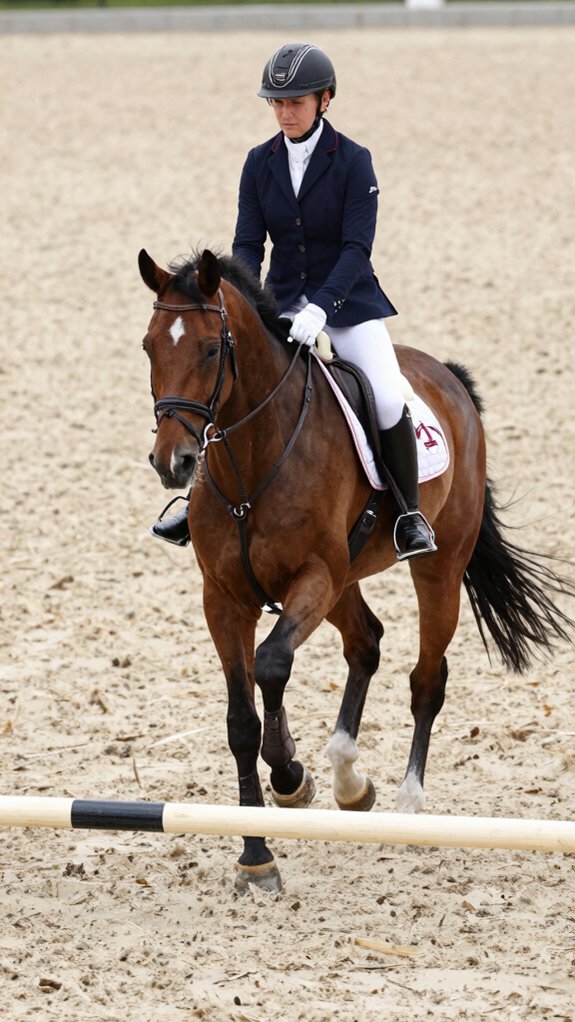
A single ground pole is the safest place to begin polework, set on flat, debris-free footing and introduced at a steady walk so the horse can learn to lift and place its feet without feeling rushed. Start in-hand or on a long rein, allowing quiet ground awareness and clear handler positioning.
| Cue | Effect |
|---|---|
| Walk in | Calm focus |
| Center strike | Even rhythm |
| Short break | Less fatigue |
| Repeat both reins | Better symmetry |
Keep the pole unraised at first. Once straight trot lines are confident, riding may follow. Short, frequent sessions help the horse feel successful and included.
Set Walk Poles at the Right Distance
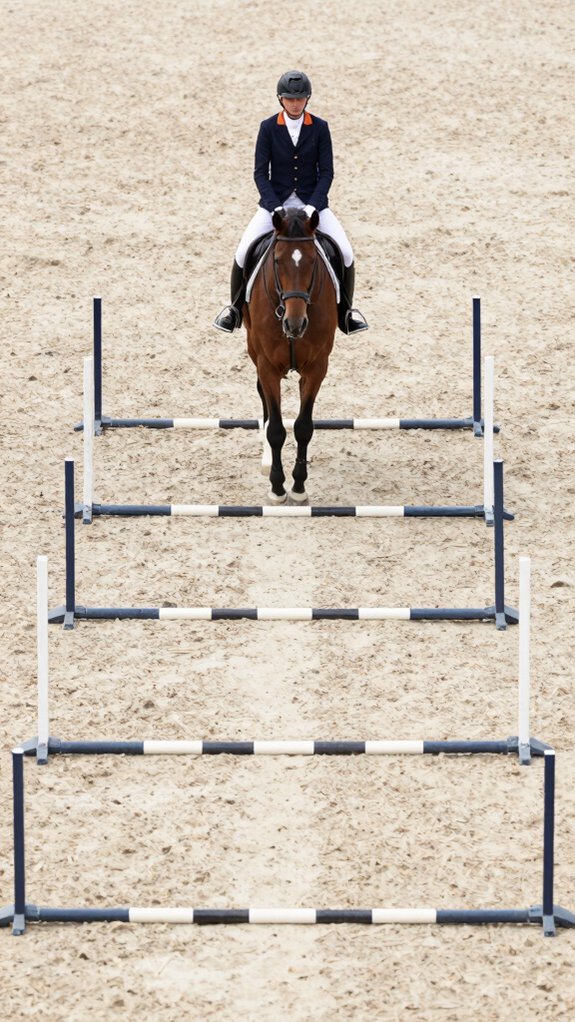
Once the horse is confident with a single ground pole, the next step is to set walk poles at a distance that matches its natural stride. For most horses, 70 cm–1 m, or 3–4 boot lengths, supports stride matching and steady pole rhythm. Walk the line first, measuring by 3–4 normal steps to suit the individual.
- Place poles flat on a straight or center line.
- Aim to touch the middle of each pole.
- Adjust spacing: shorter for rushing, wider for dragging.
Raise one end only after calm, correct walking appears, encouraging balance and hindquarter engagement.
Space Trot Poles for Rhythm
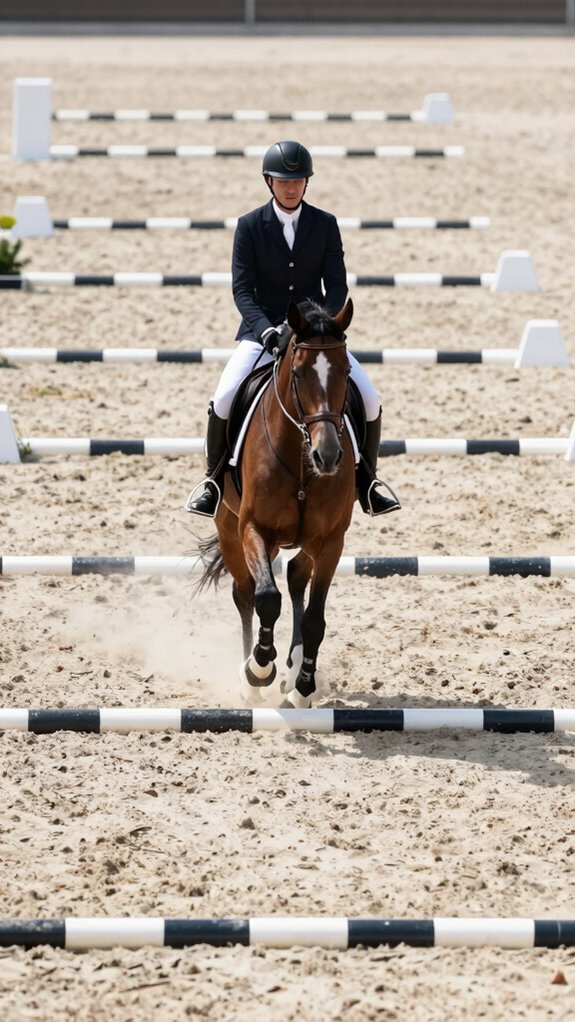
To encourage a true trot rhythm, the poles should be spaced about 3.5–4 ft apart, or roughly one large human step, so the horse can step through with the hindquarters without rushing or shortening. A straight row of six poles, each one stride apart, helps the horse settle into a steady 1-2 beat. Begin at a walk, then trot quietly and let rhythm cues guide the line. Good rider timing keeps the horse centered over each pole. If the step quickens or compresses, adjust spacing. Raised ends may add impulsion, and both directions support balanced development.
Ride a Line of Walk or Trot Poles
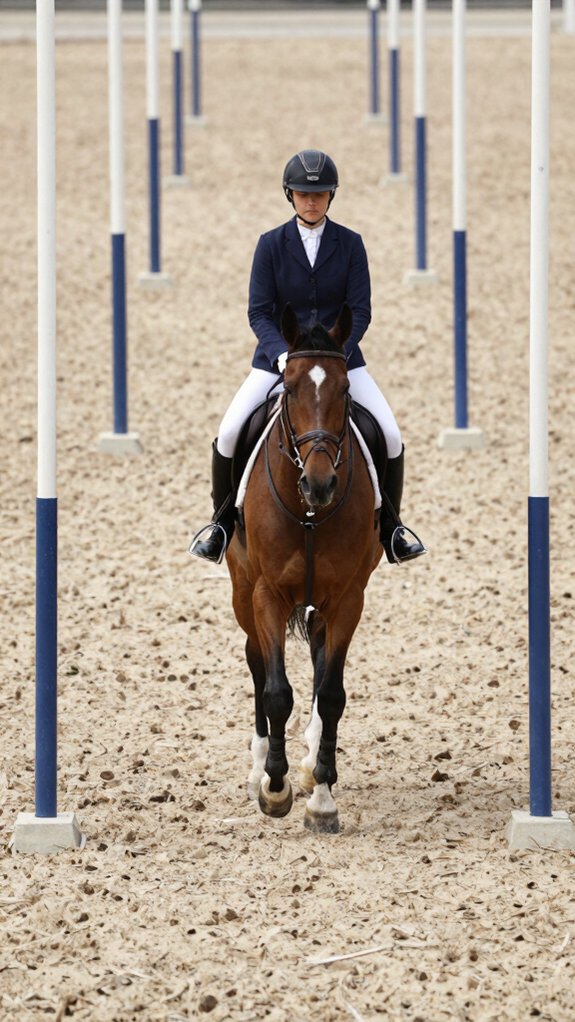
Riding a straight line of six poles helps a horse develop rhythm, balance, and accuracy. Set them straight: 0.7–1.0 m apart for walk poles, 1.2–1.7 m for trot poles. Begin in walk, then make pace shifts to trot when the horse feels settled.
- Aim for the center of each pole
- Count strides to keep the line honest
- Allow rein lengthening so the horse stays forward
Maintain a quiet, even tempo and support impulsion from behind without tightening the hand. Short breaks prevent fatigue, and spacing can be adjusted to encourage collection or lengthening as the horse gains confidence and coordination.
Introduce Canter Poles Safely
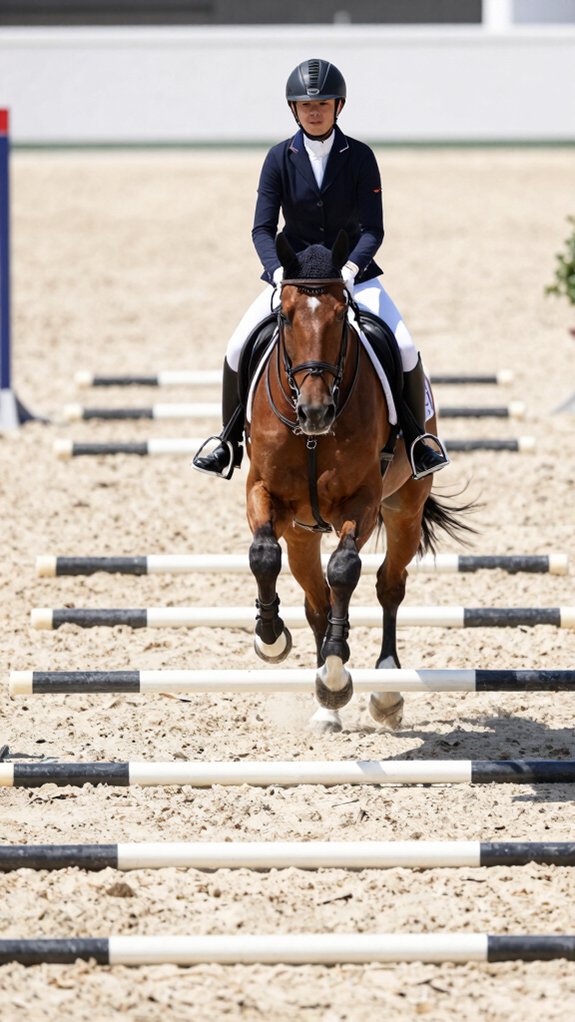
After the horse is confidently trotting pole lines, canter poles can be introduced with care by starting with a single ground pole, or one set at canter height if needed, on a straight line. A controlled, balanced canter should be maintained while the rider keeps the aids steady and rides toward the pole’s centre. Initial spacing of about 9–12 feet suits an average horse, with adjustments for smaller or larger types. Short sets help prevent fatigue. As rhythm improves, canter poles support fitness conditioning and prepare for lead changes, provided straightness and accuracy remain consistent.
Build a Multiple-Canter Pole Line
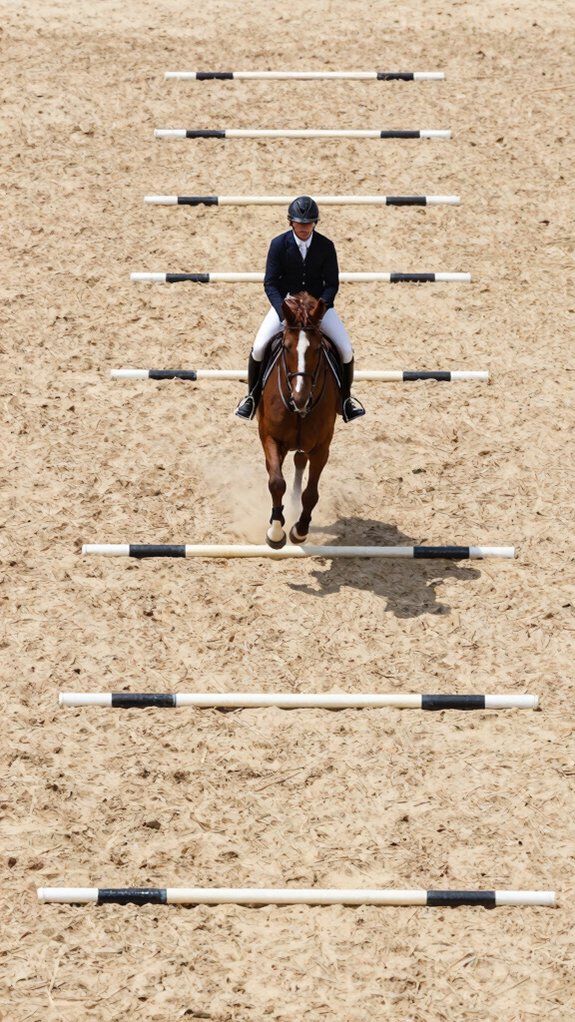
A multiple-canter pole line is typically set as six straight poles spaced about 9 to 12 feet apart, allowing one full canter stride between each pole for an average horse. The horse should be ridden into the line in a balanced trot or canter, with an even rhythm and a straight approach so each pole is met through the center. If the horse loses rhythm or struggles with the distance, the spacing can be adjusted or the line shortened before progressing to raised poles.
Canter Pole Spacing
To build a canter pole line, the poles are typically set about 9–12 ft (2.6–3.7 m) apart for an average horse, creating room for one comfortable canter stride with space for take-off and landing. Consistent spacing suits a multiple-pole line, with about three human steps between poles helping the group stay rhythmic.
- Shorten spacing for a more collected feel.
- Lengthen it slightly to invite more reach.
- Reduce intervals on curves to protect balance.
Adjustments should account for stride variability and canter change, while riders in the arena often build confidence by adding poles gradually.
Riding The Pole Line
With the spacing set, the rider can introduce a multiple-canter pole line by placing about six poles 9–12 ft (2.6–3.7 m) apart and asking the horse to canter through in a steady rhythm, allowing one stride between each pole. A collected horse may suit the shorter end; a longer stride may need more room. The rider should count strides, stay quiet, and use the outside rein to preserve straightness. Keep eye contact ahead, not down. Once the line feels easy, raise one pole at a time on low blocks. Add curves only after confidence grows, and rest often.
Improve Straightness With Polework
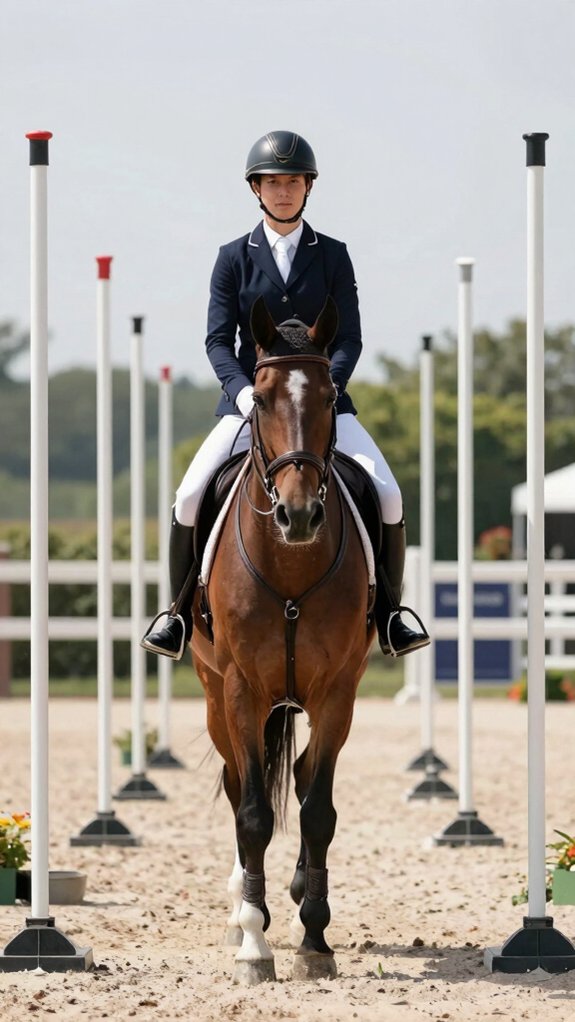
Straightness improves when the horse is guided to meet each pole on the exact centreline of the body, so a line of three trot poles placed about 1.2–1.7 m apart down the centreline or on a diagonal is an effective starting point. Riders should use calm visual focus and steady aids while encouraging lateral suppling through the ribcage. – Ask for even rhythm and straight approach – Keep shoulders and hindquarters in line – Repeat until the horse stays true and relaxed This work helps the horse feel part of a consistent, balanced partnership, where accuracy becomes a shared habit rather than a correction.
Ride the Triangle Pole Exercise
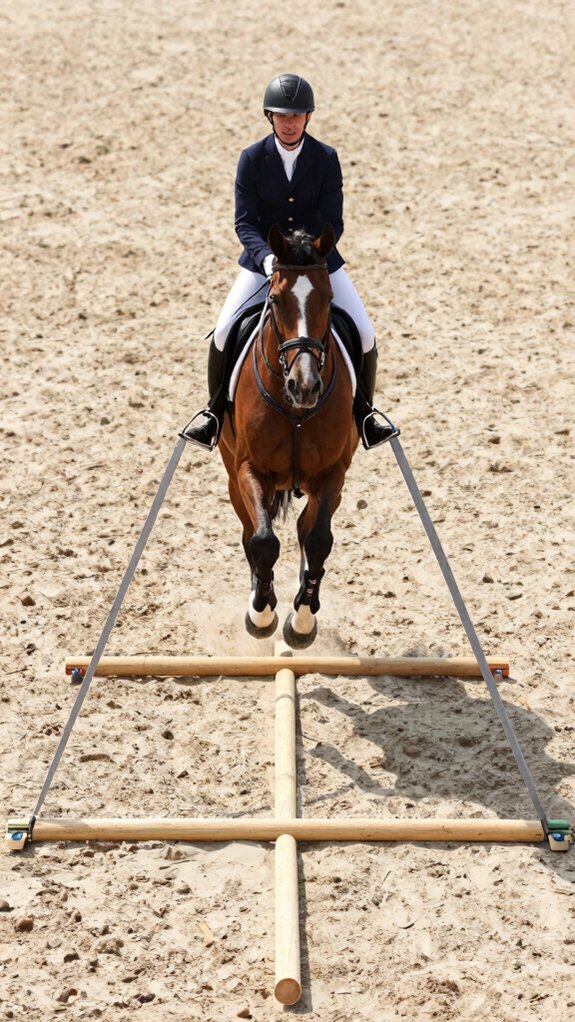
The triangle pole exercise uses three poles to form the sides of a triangle, with parallel outer poles set one canter stride away so the horse can ride a line through each side accurately. From there, the rider may choose either a straight route over the outer poles with steady rhythm and quiet hands, or a bent route that encourages a controlled curve through the triangle. On the curved line, inside leg support and the pole placement help the horse step under, recruit the hindquarters, and improve suppleness.
Triangle Setup Basics
To set up the triangle pole exercise, three poles are placed to form a triangle with each side roughly one canter stride apart—about 9 to 12 feet, or 2.6 to 3.2 meters—then two more poles are added on each side, parallel to the triangle sides and one canter stride farther out, creating a three-pole line along each edge. This triangle geometry supports clear pole aesthetics and practical footing.
- Check equal spacing with a tape
- Position outer poles parallel
- Keep the pattern open and tidy
Riders can then feel prepared to ride accurately, stay organized, and belong to a confident schooling routine.
Straight And Curved Routes
With the triangle set, the rider can school two useful lines: a straight route and a controlled curve. For the straight line, enter over the outer pole, use line visualization to aim at the centre of each pole, and leave toward the chosen target for accuracy and positioning. Maintain steady rider posture and a balanced canter. For the curve, enter similarly, then bend through the triangle and exit over the next long side. Side poles should sit one canter stride apart, adjusted for the horse. Riding both directions supports straightness, suppleness, and clearer hindquarter use.
Engagement Through Triangle
Set three poles into a triangle with each side about one canter stride apart, then place two parallel poles along each side, also one stride apart, to create a clear line of three poles on every leg of the shape. This setup invites riders into a shared schooling pattern that rewards feel and timing.
- Approach the outer poles in a steady walk or trot.
- Track the centres for straightness, then try the controlled curve.
- Use outside rein and inside leg for energetic lateral flexion and hindquarter activation.
Raised poles can lift the topline and improve impulsion.
Raise Poles to Work the Hindquarters
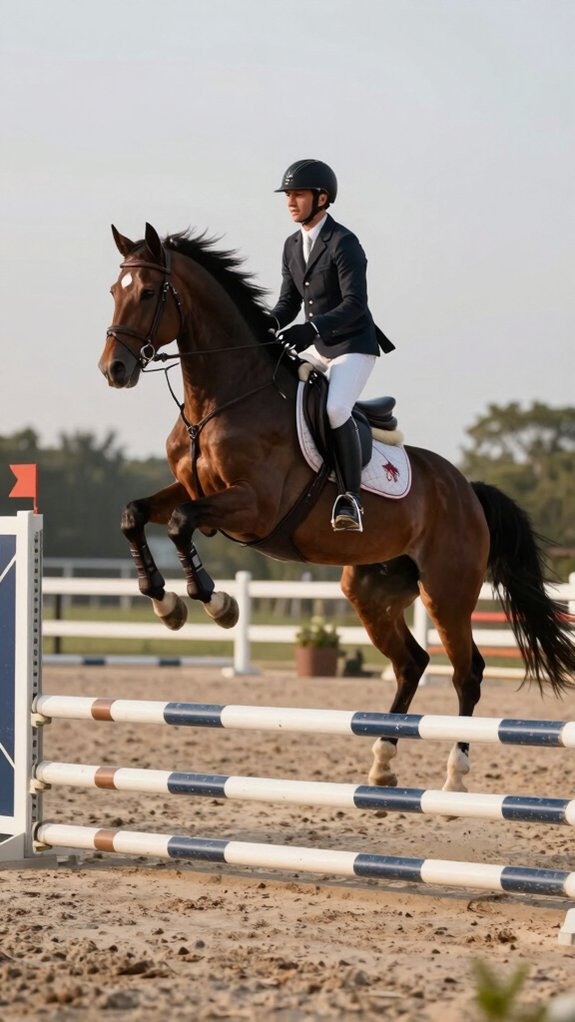
Raised poles encourage the horse to lift through the hindquarters by increasing hock flexion and participation of the topline. They also improve hindlimb proprioception on an energetic incline, helping the horse feel where each step lands. Set six poles one stride apart, then raise one pole at a time on low blocks. Start at walk before progressing to trot or canter. Keep the line straight, rhythmic, and centered.
| Setup | Effect |
|---|---|
| Low cavaletti | More hock flexion |
| One raised pole | Active hindquarters |
| Short sets | Less fatigue |
| Frequent breaks | Steady strength gains |
| Even cadence | Better balance |
Use Polework for Dressage Schooling
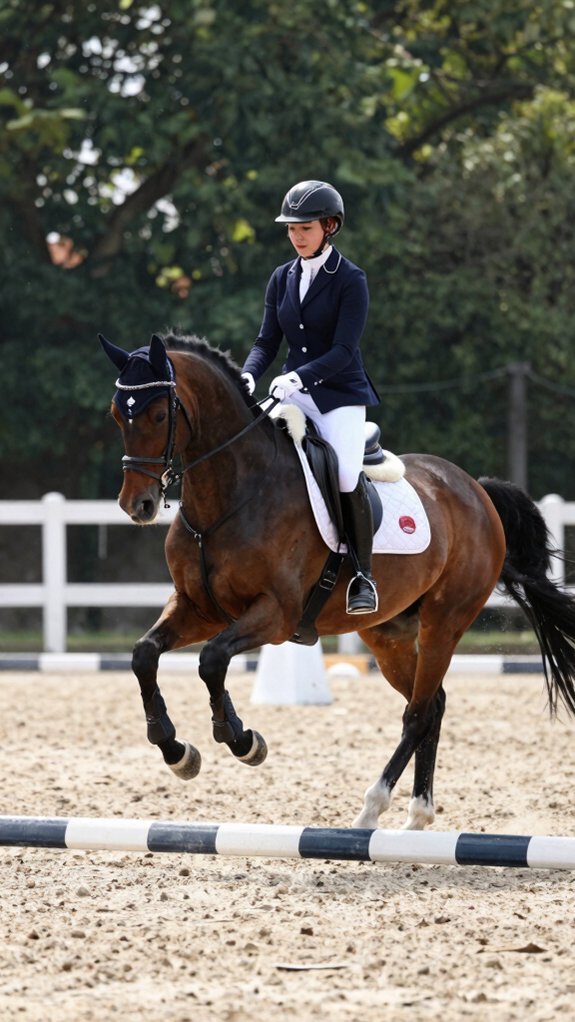
Polework can sharpen dressage schooling by improving accuracy and straightness, especially when single or paired poles are placed on the center line and diagonals to guide test movements. Trot poles spaced 1.2–1.7 m apart help the horse maintain a clear two-beat rhythm while developing longer, more elastic steps. Raised cavaletti and related-distance pole circles additionally encourage suppleness and hindquarter involvement, supporting a more balanced, uphill frame.
Accuracy And Straightness
Accuracy and straightness are sharpened when poles are used as visible targets rather than simply obstacles, with sets placed on the centre line and diagonals to encourage the horse to travel exactly to dressage markers. Riders can lean on mirror riding and visual cues to check positioning.
- Ride over two trot poles, 1.2–1.7 m apart, on the centre line to correct drifting.
- Use triangle or spider layouts, with canter poles 2.6–3.2 m apart, to find pole centres and tip points.
- Count strides between long-side poles, then repeat on both reins with short rests, keeping rhythm, contact, and line precise.
Suppleness And Engagement
With carefully placed poles, a schooling session can be turned into a useful exercise for suppleness and involvement, encouraging the horse to step through from behind rather than hurry. Trot poles set 1.2–1.7 m apart ask for longer, quieter steps, while raised cavaletti invite greater limb lift, thoracic sling use, and core activation. Serpentines and figure-eights, with each pole met centrally, develop lateral relaxation, even bend, and clearer inside-outside aid response. On a 20 m circle, walk-trot changeovers improve rhythm and adjustability. Sessions should stay brief, with rests, and progress only after steady improvement in posture.
School Accuracy at Arena Markers
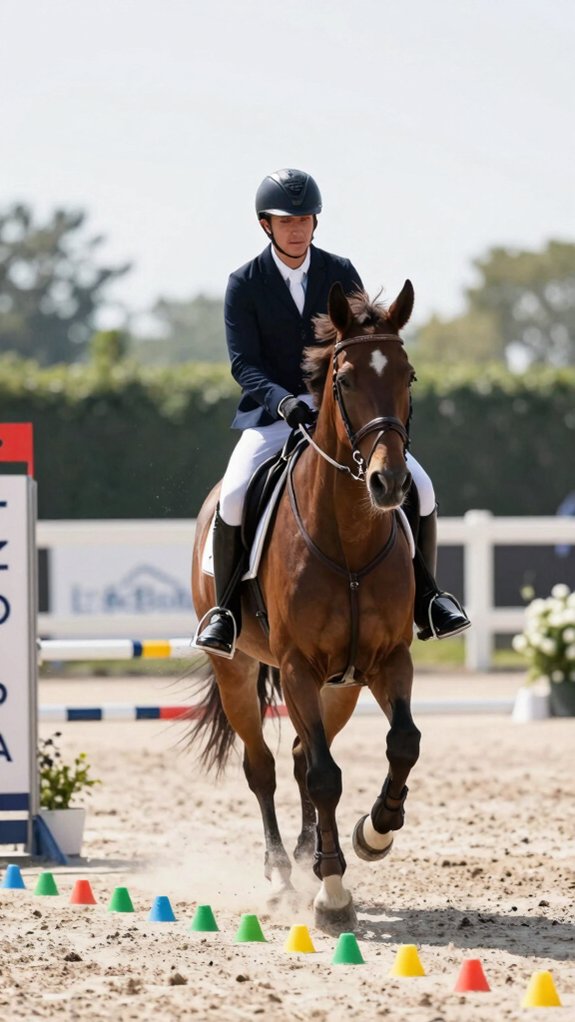
At key arena letters, a single pole placed exactly on the centre line, such as at X or between letters, helps the horse learn to stay straight and meet the centre of the pole rather than drifting to one side. This builds visual focus and reduces marker anticipation, so the pair arrives calmly and accurately.
- Place tape or cones at X, C, or M for clear targets.
- Ask for walk, trot, canter, or halt precisely at the marker.
- Use the pole as a simple reference for downward or flying-change aids.
Riders who value precision gain steadier, more connected schooling.
Test Stride Length With Two Poles
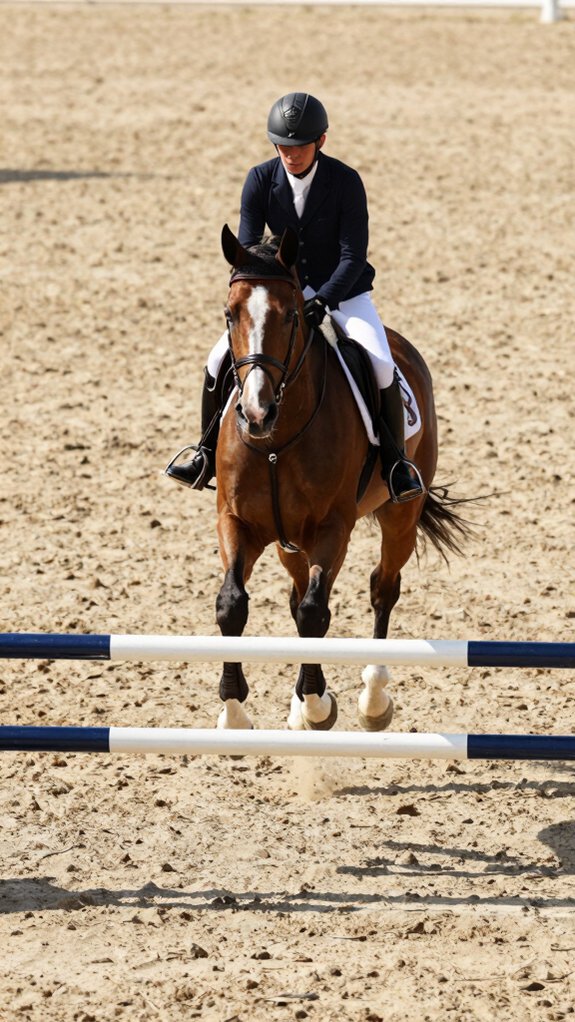
Two ground poles can be set on a straight line about one natural stride apart to test a horse’s canter or trot stride length, using roughly 12 ft for canter and 3.5–4 ft for trot as starting points. The rider should maintain a steady rhythm, count the strides between the poles, and note whether the horse meets the distance cleanly or lands short. If needed, the spacing can then be adjusted in small increments to encourage more collection or more extension.
Set Poles for Stride
To test a horse’s natural stride, set two ground poles on a straight line and ride through them at the gait being assessed. For stride mapping, note how the horse fits the space; video analysis can confirm what the eye misses.
- Canter: place poles about 12 ft apart, using roughly four human steps.
- Trot: set them 3.5–4 ft apart, about four to five boot lengths.
- Walk: use 2.5–3 ft to observe natural step length.
Measure with a boot or step, and adjust for each horse’s size so the setup feels fair and familiar.
Count and Adjust Strides
Once the natural stride has been identified with two ground poles, the same setup can be used to count and hone that stride. Place the poles one stride apart, then record the horse’s steps between them. Fewer strides indicate lengthening; more strides suggest collection. For tempo control and rider balance, adjust the distance by small increments and retest until the count stays consistent.
| Adjustment | Effect |
|---|---|
| Shorten 1–2 boot lengths | Encourage collection |
| Lengthen 1–2 boot lengths | Invite extension |
| Keep straight entry | Improves accuracy |
Track the horse’s usual counts for future sessions.
Progress to Cavaletti, Curves, and Grids
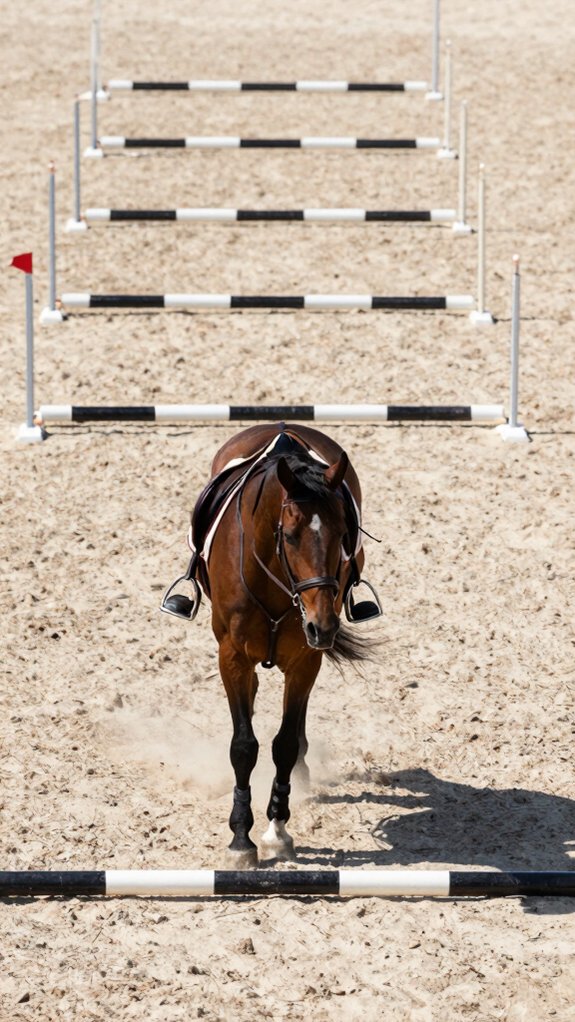
As the horse stays relaxed and consistent over poles, the work can progress to low cavaletti by raising one pole at a time on a 5–10 cm block, while keeping trot spacing around 1.2–1.7 m to encourage a more active, upward hindlimb action. This lateral progression supports rider biomechanics by sharpening feel without disturbing rhythm.
- Curved pole lines on a 10–20 m circle build outside-aid control.
- Canter grids begin with 2–3 elements on related one-stride distances, near 6 m.
- Multiple canter poles, spaced about three human steps apart, develop compact rhythm.
Complexity should rise only when straightness, cadence, and calmness remain steady.
Avoid Common Polework Mistakes
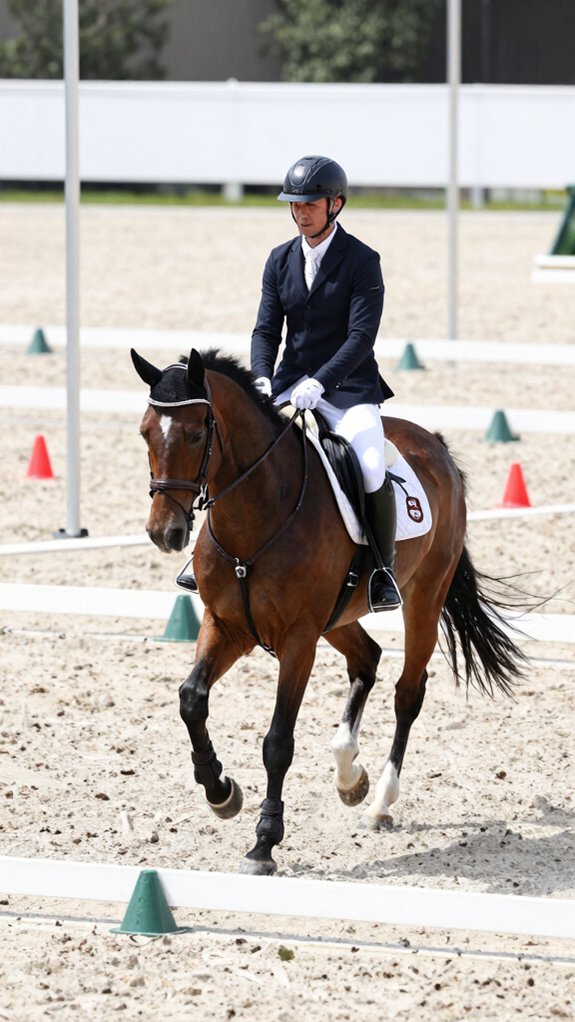
Common polework errors often come down to spacing, preparation, and fatigue. Walk poles should be set about 2.5–3 ft apart, not wider, so the horse stays organized and avoids dropping the head. Ridden work is best delayed until in-hand or long-reined confidence is established, protecting topline and joints. Trot poles need careful measurement at 3.5–4 ft, adjusted to the horse’s stride. Sessions should include rest, not endless grids. Solid wooden poles are safer for newcomers, and the arena must be checked for debris, incorrect footwear, and misleading pole coloration before work begins.
Frequently Asked Questions
How Often Should I Include Polework in My Horse’s Weekly Routine?
Polework fits best 1–3 times weekly, depending on fitness and goals. A typical session duration of 15–30 minutes keeps it useful without overtaxing the horse, helping riders feel confident and included.
What Signs Show My Horse Is Ready for Advanced Polework?
Slow and steady wins the race: a horse is ready for advanced polework when it shows rhythm consistency, impulsion development, balance, and calm focus. It should maintain tempo, recover quickly, and accept varied challenges confidently.
How Do I Warm up Before Starting Polework Exercises?
Before polework, the horse should walk ten minutes, then progress to trot, circles, and gentle lateral flexion. Energetic stretches, changes, and light bends loosen muscles, improve focus, and help the pair feel prepared together.
Can Polework Help a Horse Improve Confidence and Relaxation?
Can polework help a horse improve confidence and relaxation? Yes; it can build mental trust through gradual challenges and sensory desensitization. Careful, consistent sessions encourage a calmer rhythm, helping the horse feel included, secure, and supported.
What Tack and Equipment Are Best for Polework Sessions?
Proper saddle, protective boots, and a rope halter suit most polework sessions; a lunging cavesson or martingale alternatives may help in training. Mounting block basics and secure, fitted gear encourage calm, practical, inclusive horse-and-rider work.