
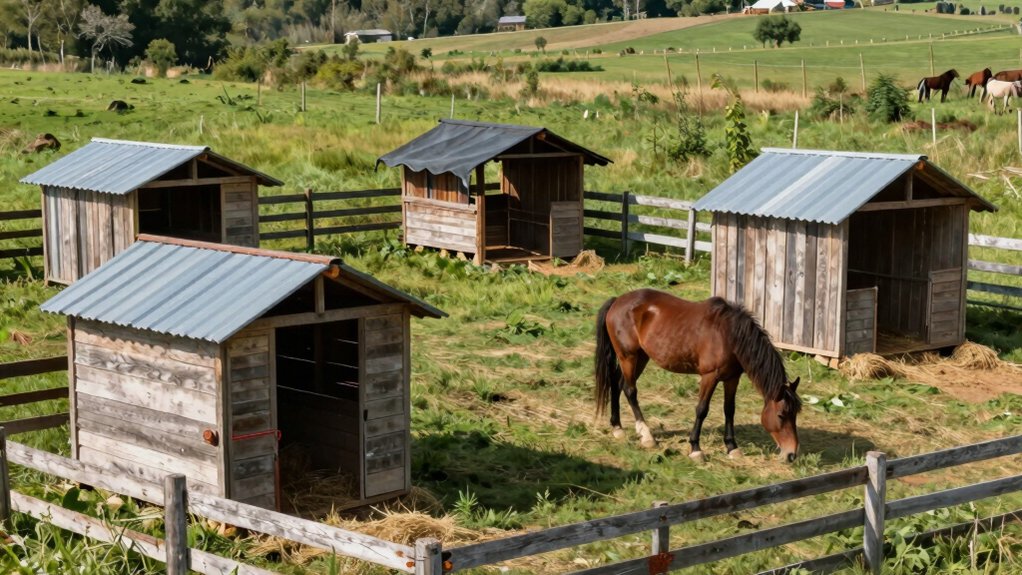
You can build reliable, low-cost horse shelters with simple designs like open-front run-ins, three-sided wood sheds, pallet or hay-bale windbreaks, metal-panel lean-tos, and portable tarp frames. Use pressure-treated posts, sloped roofs, and raised floors to avoid mud and rot. Keep footprints compact (about 10×12–12×10 ft per group), orient away from prevailing winds, and anchor securely. Inspect fasteners and roofs seasonally. Continue for practical plans, material lists, and step-by-step tips.
Disclosure: This post may contain Amazon affiliate links, at no extra cost to you. Content on Pawtangle is created with research support from AI tools and carefully reviewed, edited, and fact-checked by the lead author, Dr.Fahri Pat , to ensure accuracy and reliability. Learn more
Key Takeaways
- Build a three-sided run-in shelter (12×10) using pressure-treated posts and wood panels for durable, low-cost protection.
- Repurpose pallets or reclaimed lumber into a slatted, raised-floor three-sided shelter to reduce material costs.
- Use heavy-duty UV-treated tarps over a simple PVC or metal frame for quick, portable weather protection.
- Stack hay bales into a seasonal windbreak/shelter for temporary, insulating protection in cold months.
- Plan shared shelters with ~100 sq ft per horse, sloped roofs, and routine maintenance to extend lifespan and safety.
Open-Front Run-In Shelter
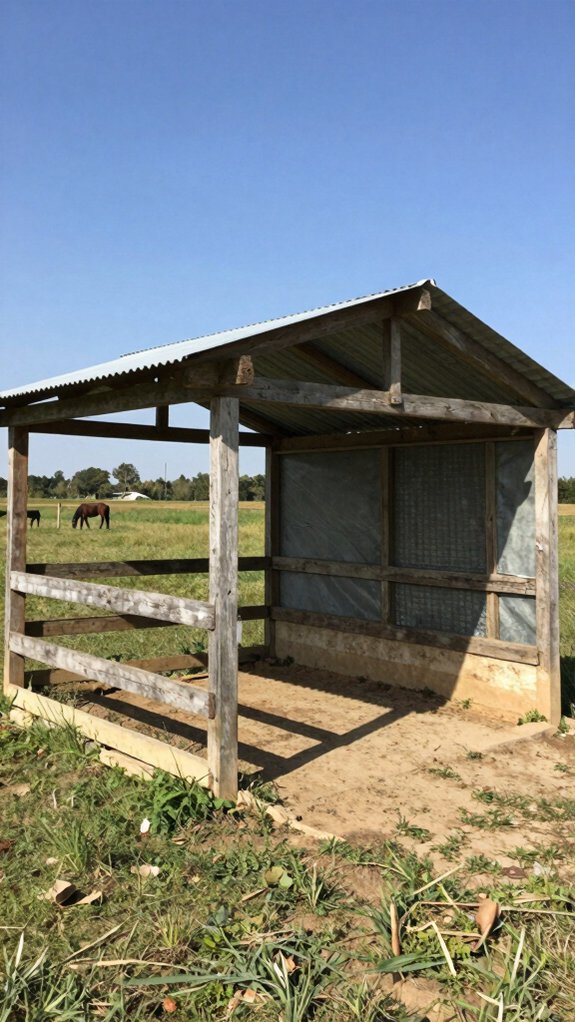
An open-front run-in shelter gives your horses quick access to shade and weather protection with three solid walls and an open front; a 12×10-foot footprint lets multiple animals use it comfortably. You’ll plan around local codes, use pressure-treated posts and plywood or vertical wood panels for walls, and slope the roof for runoff. Build with basic tools and screws to keep costs down, track fastener corrosion, and schedule inspections for structural soundness. Choose materials that balance durability and budget, and arrange interior space to reduce crowding. This practical approach keeps shelter materials sensible and prioritizes horse safety.
Three-Sided Wood Shelter
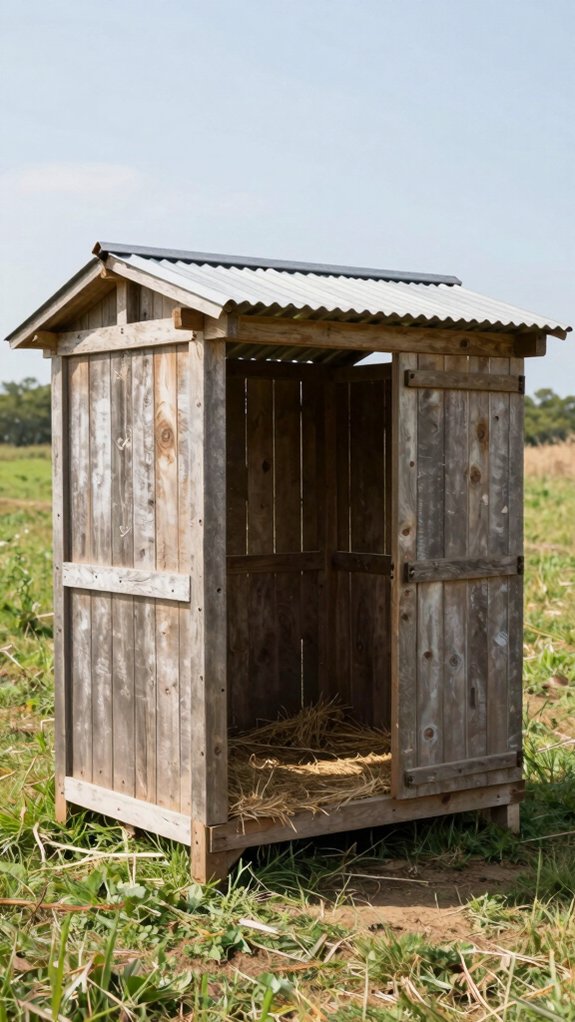
Think of a three-sided wood shelter as a straightforward, low-cost option that gives your horses wind and rain protection while keeping ventilation open through the front. You’ll appreciate the horse shelter benefits: reliable refuge, easy access, and good airflow. Use pressure-treated lumber and secure posts in concrete for stability; sloped roofing sheds water and snow. A 12×10 footprint fits multiple horses without wasting pasture. For budget builds, consider recycled wood for walls, but check local codes and structural requirements before using materials. Keep plans simple, document construction materials, and involve fellow owners so everyone feels part of the solution.
Pallet Horse Shelter
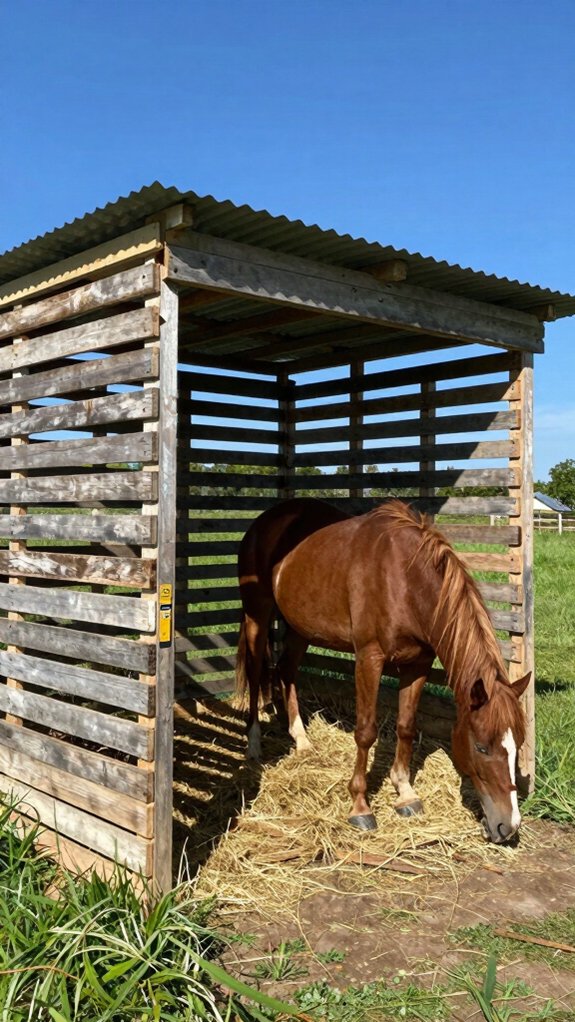
If you liked the simplicity of a three-sided wood shelter, you can build a similarly effective and even cheaper option using recycled pallets. You’ll use pallet design options to create a sturdy three-sided frame about 12×10 feet so your horse moves comfortably. Source free pallets locally, secure them to treated posts, and leave slatted gaps for ventilation while maintaining windbreaks. Apply preservative paint and raise the floor slightly to prevent mud and rot. Include simple weather protection techniques like angled roof panels and overhangs. This practical, code-aware approach keeps costs low and helps you join others who build smart.
Metal Panel Lean-To
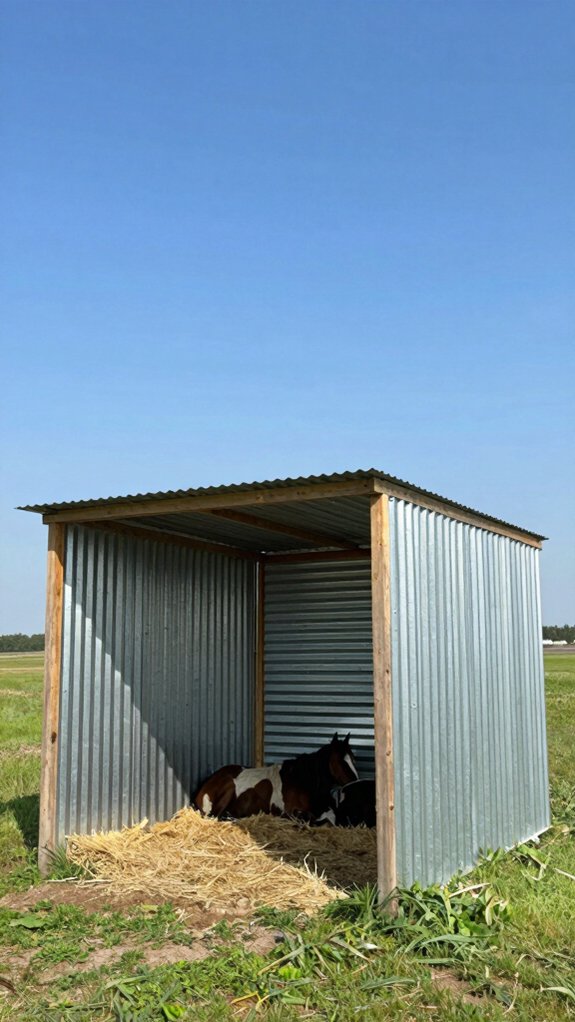
Durable and quick to erect, a metal panel lean-to gives you a sturdy, low-cost shelter that resists wind and heavy weather while keeping horses dry. You’ll appreciate metal panel durability and lean to advantages: sloped roof panels shed water, open front access boosts ventilation, and panels anchor to an existing barn or fence for a space-efficient fit. Use locally sourced or repurposed panels to cut costs and meet local code regarding setbacks and footing. Build with secure anchors, appropriate pitch, and corrosion-resistant fasteners so your group of riders and caretakers can rely on a safe, practical shelter that nurtures community.
Portable Tarp Shelter
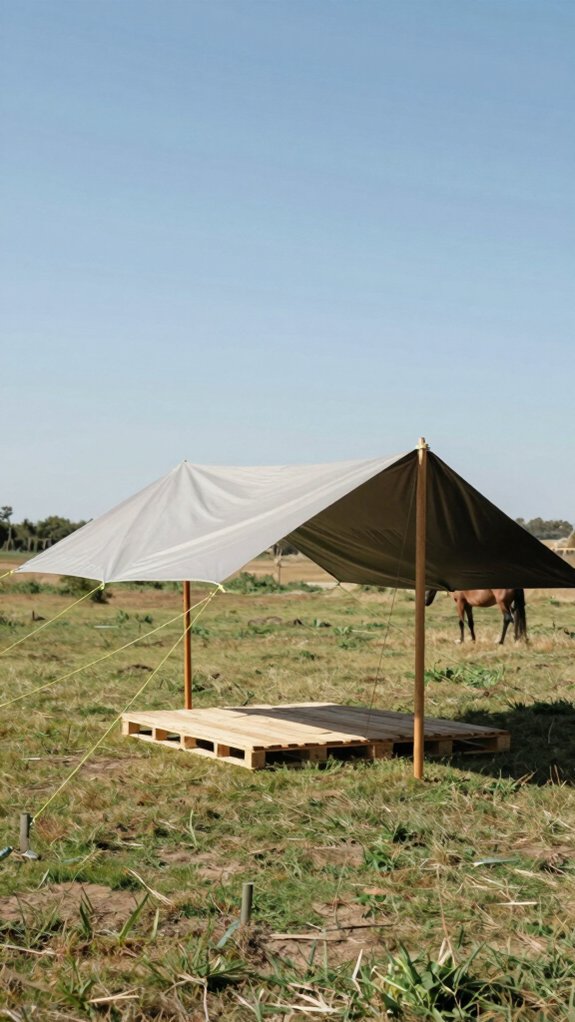
A portable tarp shelter gives you a fast, low-cost way to keep horses dry and shaded by draping a heavy-duty, waterproof, UV-treated tarp over a simple PVC or metal pole frame; you can stake or weight the corners, fit the tarp tightly to shed water, and have a usable shelter up in a few hours with minimal tools. You’ll pick tarp material considerations (waterproof, UV-treated), plan frame points, and prioritize shelter ventilation importance so horses stay cool. Inspect anchors and replace worn tarps regularly. You’ll feel part of a practical community that values safety and thrift.
- Choose heavy-duty, UV-treated tarps
- Use PVC or metal poles
- Stake or weight securely
- Fit tarp tight to shed water
- Inspect and maintain routinely
Recycled Lumber Shelter
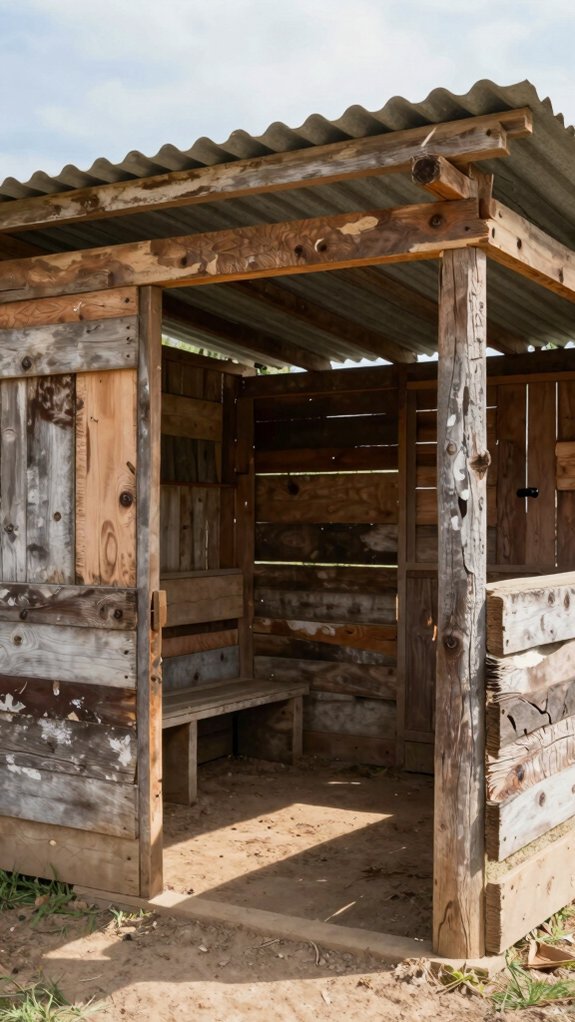
You can build a sturdy, low-cost three-sided horse shelter from recycled lumber like pallets and reclaimed boards, cutting material expenses while keeping horses protected from wind and rain. You’ll plan shelter customization, choose lumber sourcing sites, and add treated plywood for moisture resistance. Use horizontal studs and reclaimed braces for strength; paint or seal surfaces. This approach’s sustainability and shared effort create belonging among neighbors who trade materials and skills.
| Component | Benefit |
|---|---|
| Reclaimed boards | Cost-saving |
| Treated plywood | Durability |
| Horizontal studs | Structural support |
| Community sourcing | Shared resources |
Small Pasture Corner Shelter
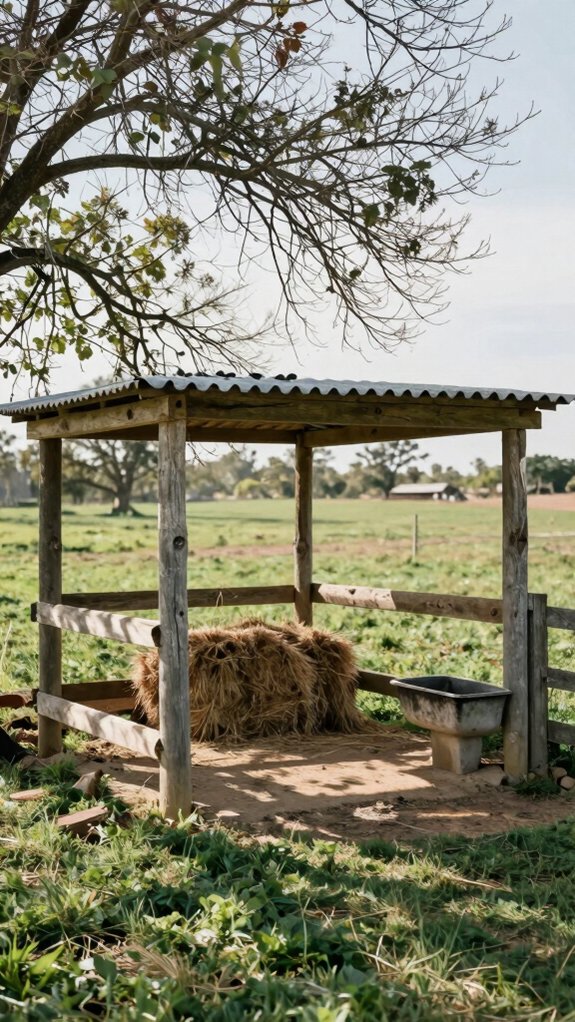
If you want a low-cost, space-efficient shelter, build a three-sided corner unit at least 10×10 feet using existing fencing for support and cattle panels or pallets for the frame; that layout gives reliable wind and sun protection while cutting material needs. You’ll place it in a pasture corner for support, set roof slope for pasture drainage, and choose shelter orientation to minimize prevailing winds. Use simple fasteners, anchor points, and recycled panels to save money while staying sturdy. This approach welcomes you and your horses into a shared, practical space that’s easy to maintain.
- Use cattle panels or pallets
- Guarantee 10×10 minimum
- Angle roof for drainage
- Tie into existing fence
- Prioritize orientation and wind protection
Low-Roof Windbreak Shelter
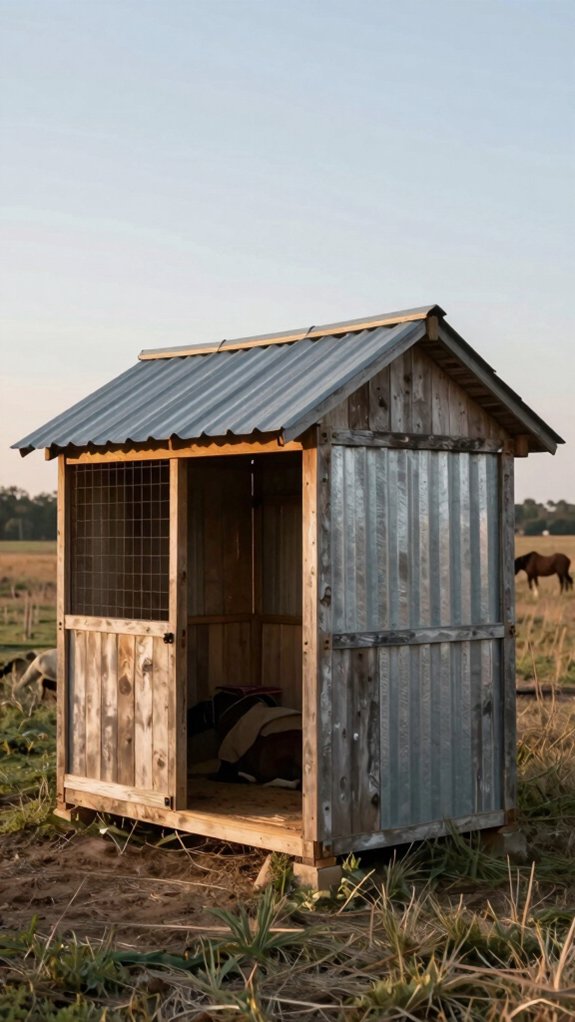
When storms roll in, consider a low-roof windbreak shelter that uses a sloped roof and sturdy, concrete-anchored posts to deflect wind and shed snow while staying compact and affordable; build it about 12×10 ft from pallets or reclaimed timber, leave measured gaps or spaced plywood for ventilation, and keep connections simple and durable to stay under a £400 budget. You’ll site it with prevailing wind direction in mind, placing the open side away from gusts. Use common shelter materials, follow local codes for footing and height, and involve neighbors or club members so you’ll share skills, tools, and pride in a safe, efficient refuge.
Pole Barn Style Shelter
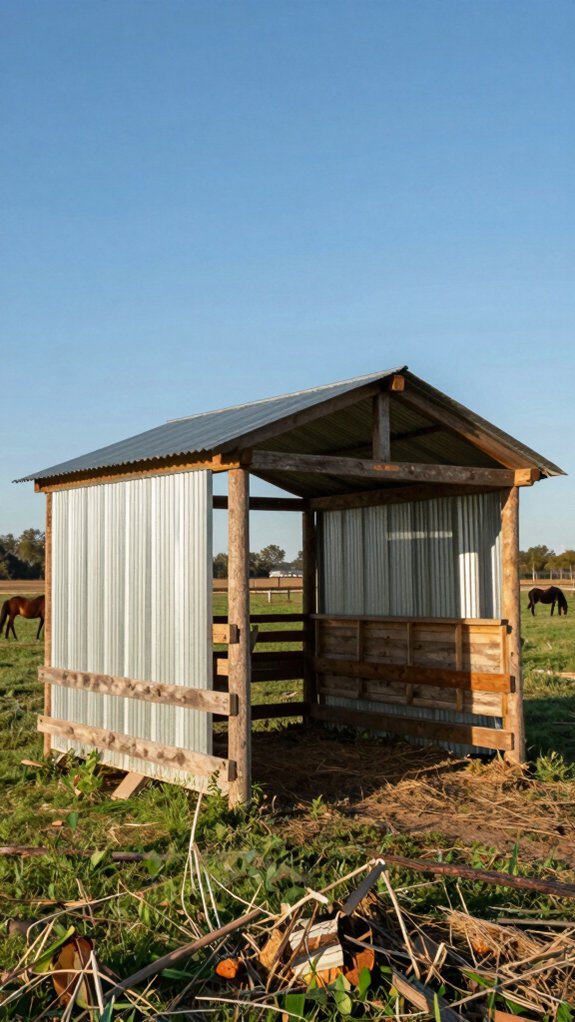
Although simple in form, a pole barn style shelter gives your horse sturdy, ventilated cover with minimal materials and labor. You’ll use vertical posts anchored in concrete, pressure-treated wood and metal roofing—pole barn materials that keep costs down. A 12×10 footprint gives room to move; an open front boosts airflow and access. The sloped roof handles runoff, and you can finish the build in hours with basic tools. Here are practical points to follow:
- Anchor posts in concrete for stability
- Use pressure-treated wood for longevity
- Install metal roofing for weather resistance
- Keep one side open for ventilation
- Size around 12×10 for comfort
Keywords: pole barn advantages, pole barn materials
Temporary Panel Shelter
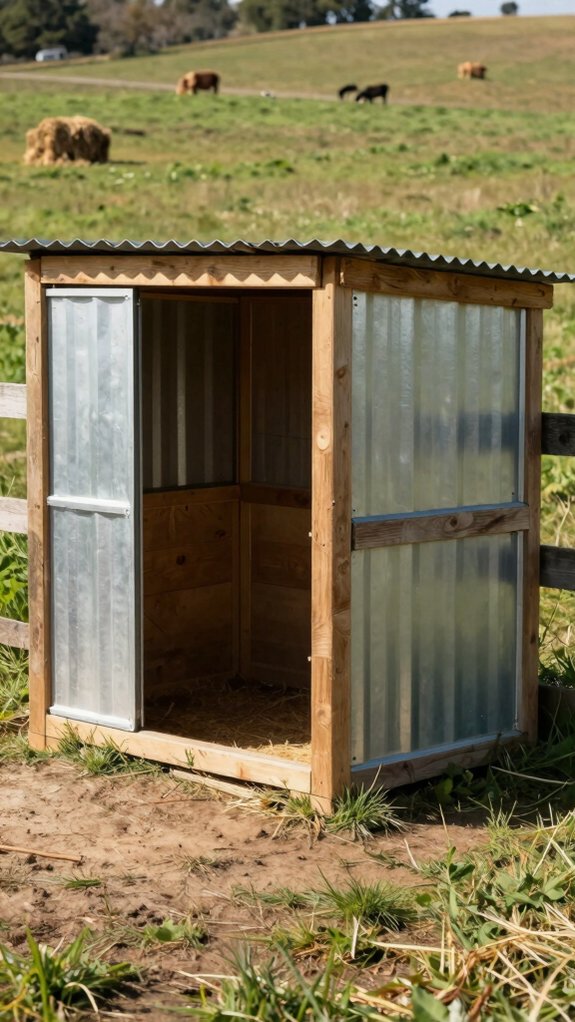
Because you need a fast, low-cost shelter, a temporary panel setup using 52″ cattle panels and pressure‑treated posts gives sturdy, flexible cover you can assemble or take down in hours. You’ll set posts about 4 feet apart, slide 16′ panels between them, and secure with cable ties—cattle panel advantages include strength, modularity, and quick reconfiguration. Drape a heavy-duty tarp for added weather protection strategies; it keeps horses dry and lets you dismantle easily. Budget near $250 for materials. Inspect ties and tarp regularly, tighten or replace as needed, and you’ll keep a safe, compliant, community-minded shelter.
DIY Shed Conversion
If you’ve got an old garden shed on the property, convert it into a horse shelter to save time and materials while keeping costs down. You’ll assess shed safety, reinforce posts and beams, seal gaps, and add ventilation considerations like vents or windows. Use a water-resistant tarp on the roof and schedule regular maintenance checks. You’ll create a welcoming, shared project that’s practical and efficient.
- Inspect structural integrity and fix weak framing
- Install vents and adjustable windows for airflow
- Seal gaps and weatherproof walls and floor
- Add tarp or flashing for roof protection
- Set a maintenance checklist and schedule
Hay-Bale Wind Shelter
When you stack round or square hay bales into a three-sided formation, you get a low-cost wind shelter that traps warmth and blocks harsh gusts while still allowing easy access and natural ventilation. You’ll use hay bale insulation for thermal mass and achieve clear wind protection benefits. Build to suit herd size, inspect bales seasonally, and replace damp or crumbling pieces. It’s budget-friendly, inclusive, and straightforward for neighbors to help.
| Feature | Benefit |
|---|---|
| Material | Low cost, often free |
| Layout | Three-sided access |
| Maintenance | Replace deteriorated bales |
| Winter use | Traps warmth, cozy shelter |
Minimal Frame Shelter
Although simple in design, a minimal frame shelter gives you a fast, low-cost way to protect horses from sun, rain, and wind by using a lightweight rectangular or square frame (PVC or metal) topped with a heavy-duty tarp. You’ll balance design considerations and weather protection: choose sturdy joints, anchor points, and a tarp rated for UV and waterproofing. Use repurposed pipes and tarps to cut costs, and make the frame portable for rotation. Anchor with sandbags or stakes to avoid movement in storms. You’ll join a practical community that values smart, affordable solutions.
- PVC or metal frame
- Heavy-duty tarp
- Sandbags or stakes
- Repurposed materials
- Portable design considerations
Shared Shelter for Multiple Horses
Because you’re housing more than one horse, plan a three-sided, sloped-roof shelter that gives at least ~100 sq ft per animal, lets them come and go easily, and sheds water and snow efficiently. You’ll design for group interactions: position openings to reduce conflict, use sturdy cattle panels or repurposed pallets for cost-effective walls, and orient the shelter to block prevailing winds. Keep spacing generous to respect horse behavior and prevent dominance issues. Follow local codes for setbacks and structural loads. Schedule routine shelter maintenance, inspect after storms, and clear snow quickly so the shared shelter stays safe, durable, and welcoming.
Compact Shelter for Small Fields
If you’re working with a small field, a compact three-sided shelter of about 10×12 feet gives two horses enough cover while keeping material and footprint minimal; use a sloped roof for runoff, reclaimed pallets or lumber to cut costs, and orient the open side away from prevailing winds so the shelter is functional without crowding the pasture. You’ll focus on shelter design that balances cost efficiency and durability. Keep the build simple, use treated posts, and plan maintenance checks. You belong to a practical community—share plans and tweak them together.
- Reclaimed pallet walls
- Sloped metal roof
- Treated post anchors
- Drainage grading
- Seasonal inspections
Frequently Asked Questions
How Do I Anchor Shelters in Areas With Permafrost?
You’ll use deep piles or helical anchors, addressing permafrost challenges by reaching stable strata; anchoring techniques include thermopiles or adjustable screw anchors, and you’ll work together with peers, follow codes, and keep plans compact and practical.
Can Shelters Be Insured Under Standard Farm Insurance Policies?
Yes — you can usually insure shelters under standard farm insurance, but you’ll check insurance coverage specifics and policy limits, document construction, and communicate with your agent so your community’s needs and risks get proper, inclusive protection.
What Permits Are Required for Temporary Horse Shelters?
You’ll need permits where zoning regulations limit temporary structures: check local planning, building, and agricultural offices for temporary structure permits, event or livestock exemptions, setback waivers, and duration limits so your shelter fits code and community.
How to Manage Shelter Sanitation and Parasite Control?
You’ll keep stalls clean with regular mucking, disinfect surfaces, rotate bedding, and compost manure; implement sanitation practices, schedule deworming, fecal testing, pasture rotation and insect control for parasite prevention, and involve neighbors for shared support.
Can Shelters Be Adapted for Senior or Infirm Horses?
Yes — you can modify shelters for senior horse adaptations and infirm horse considerations: you’ll add soft bedding, low thresholds, gentle ramps, wider doors, non-slip floors, easy-access feed/water, and cozy corners so everyone feels safe and included.