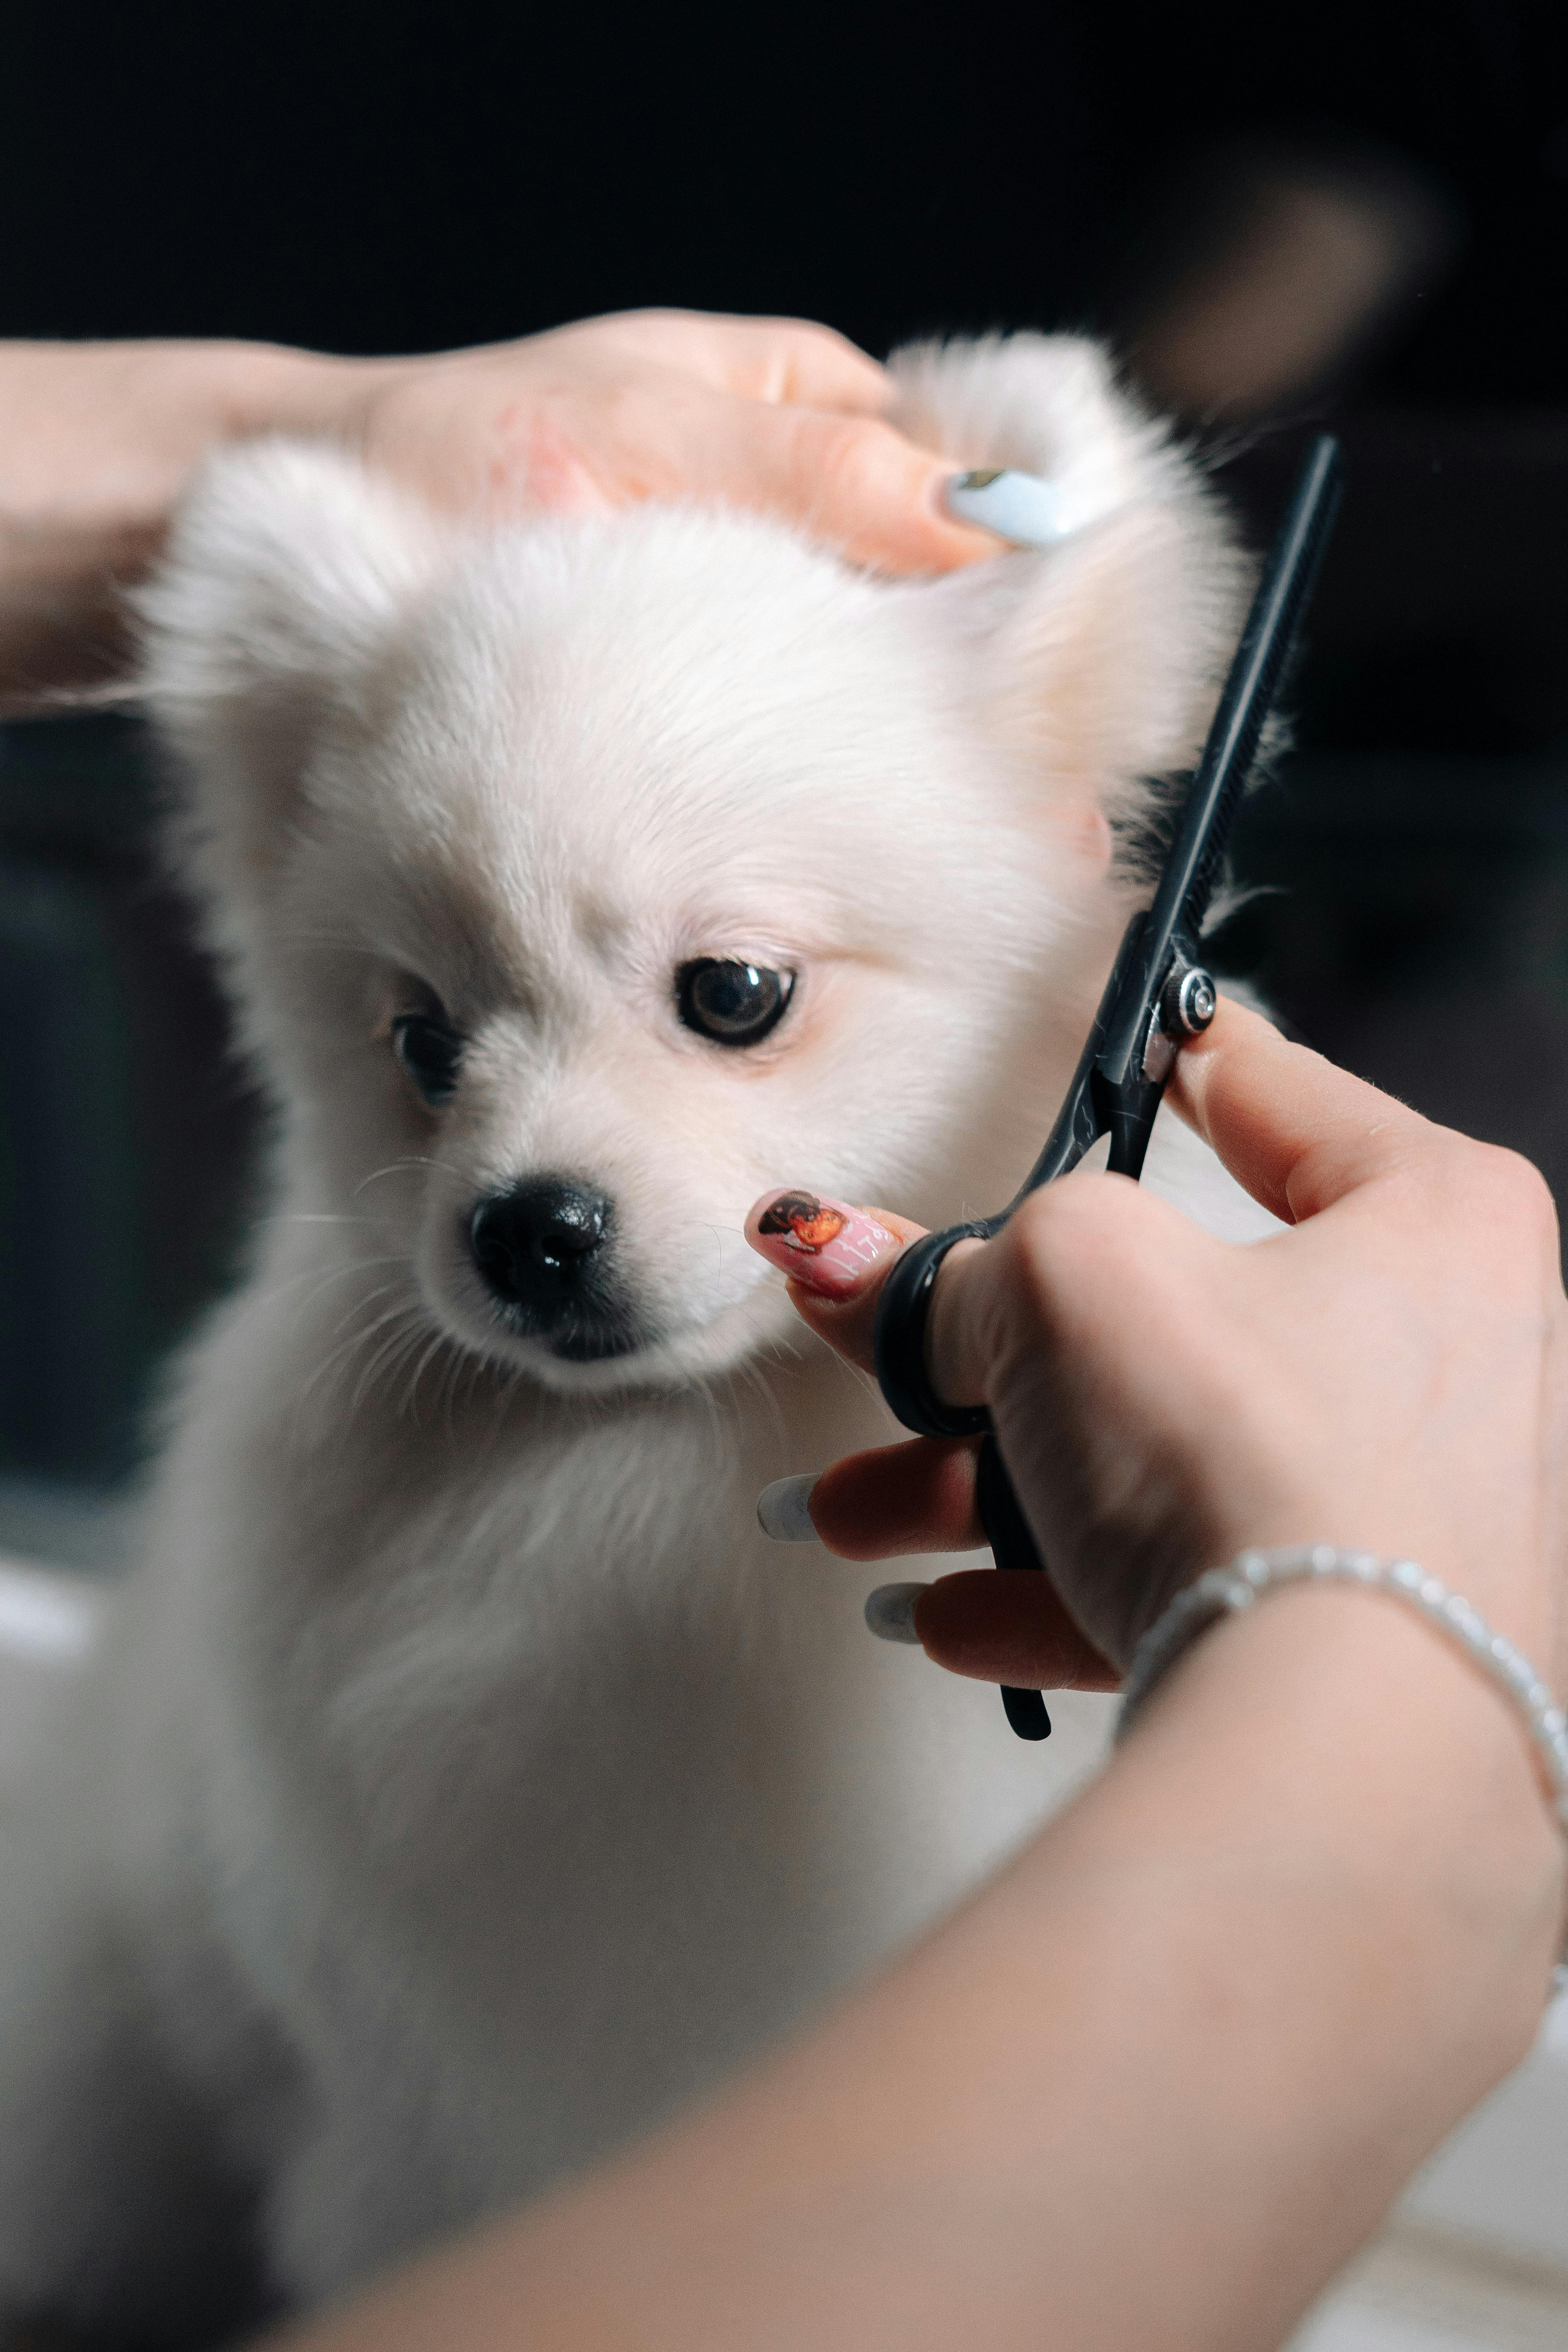

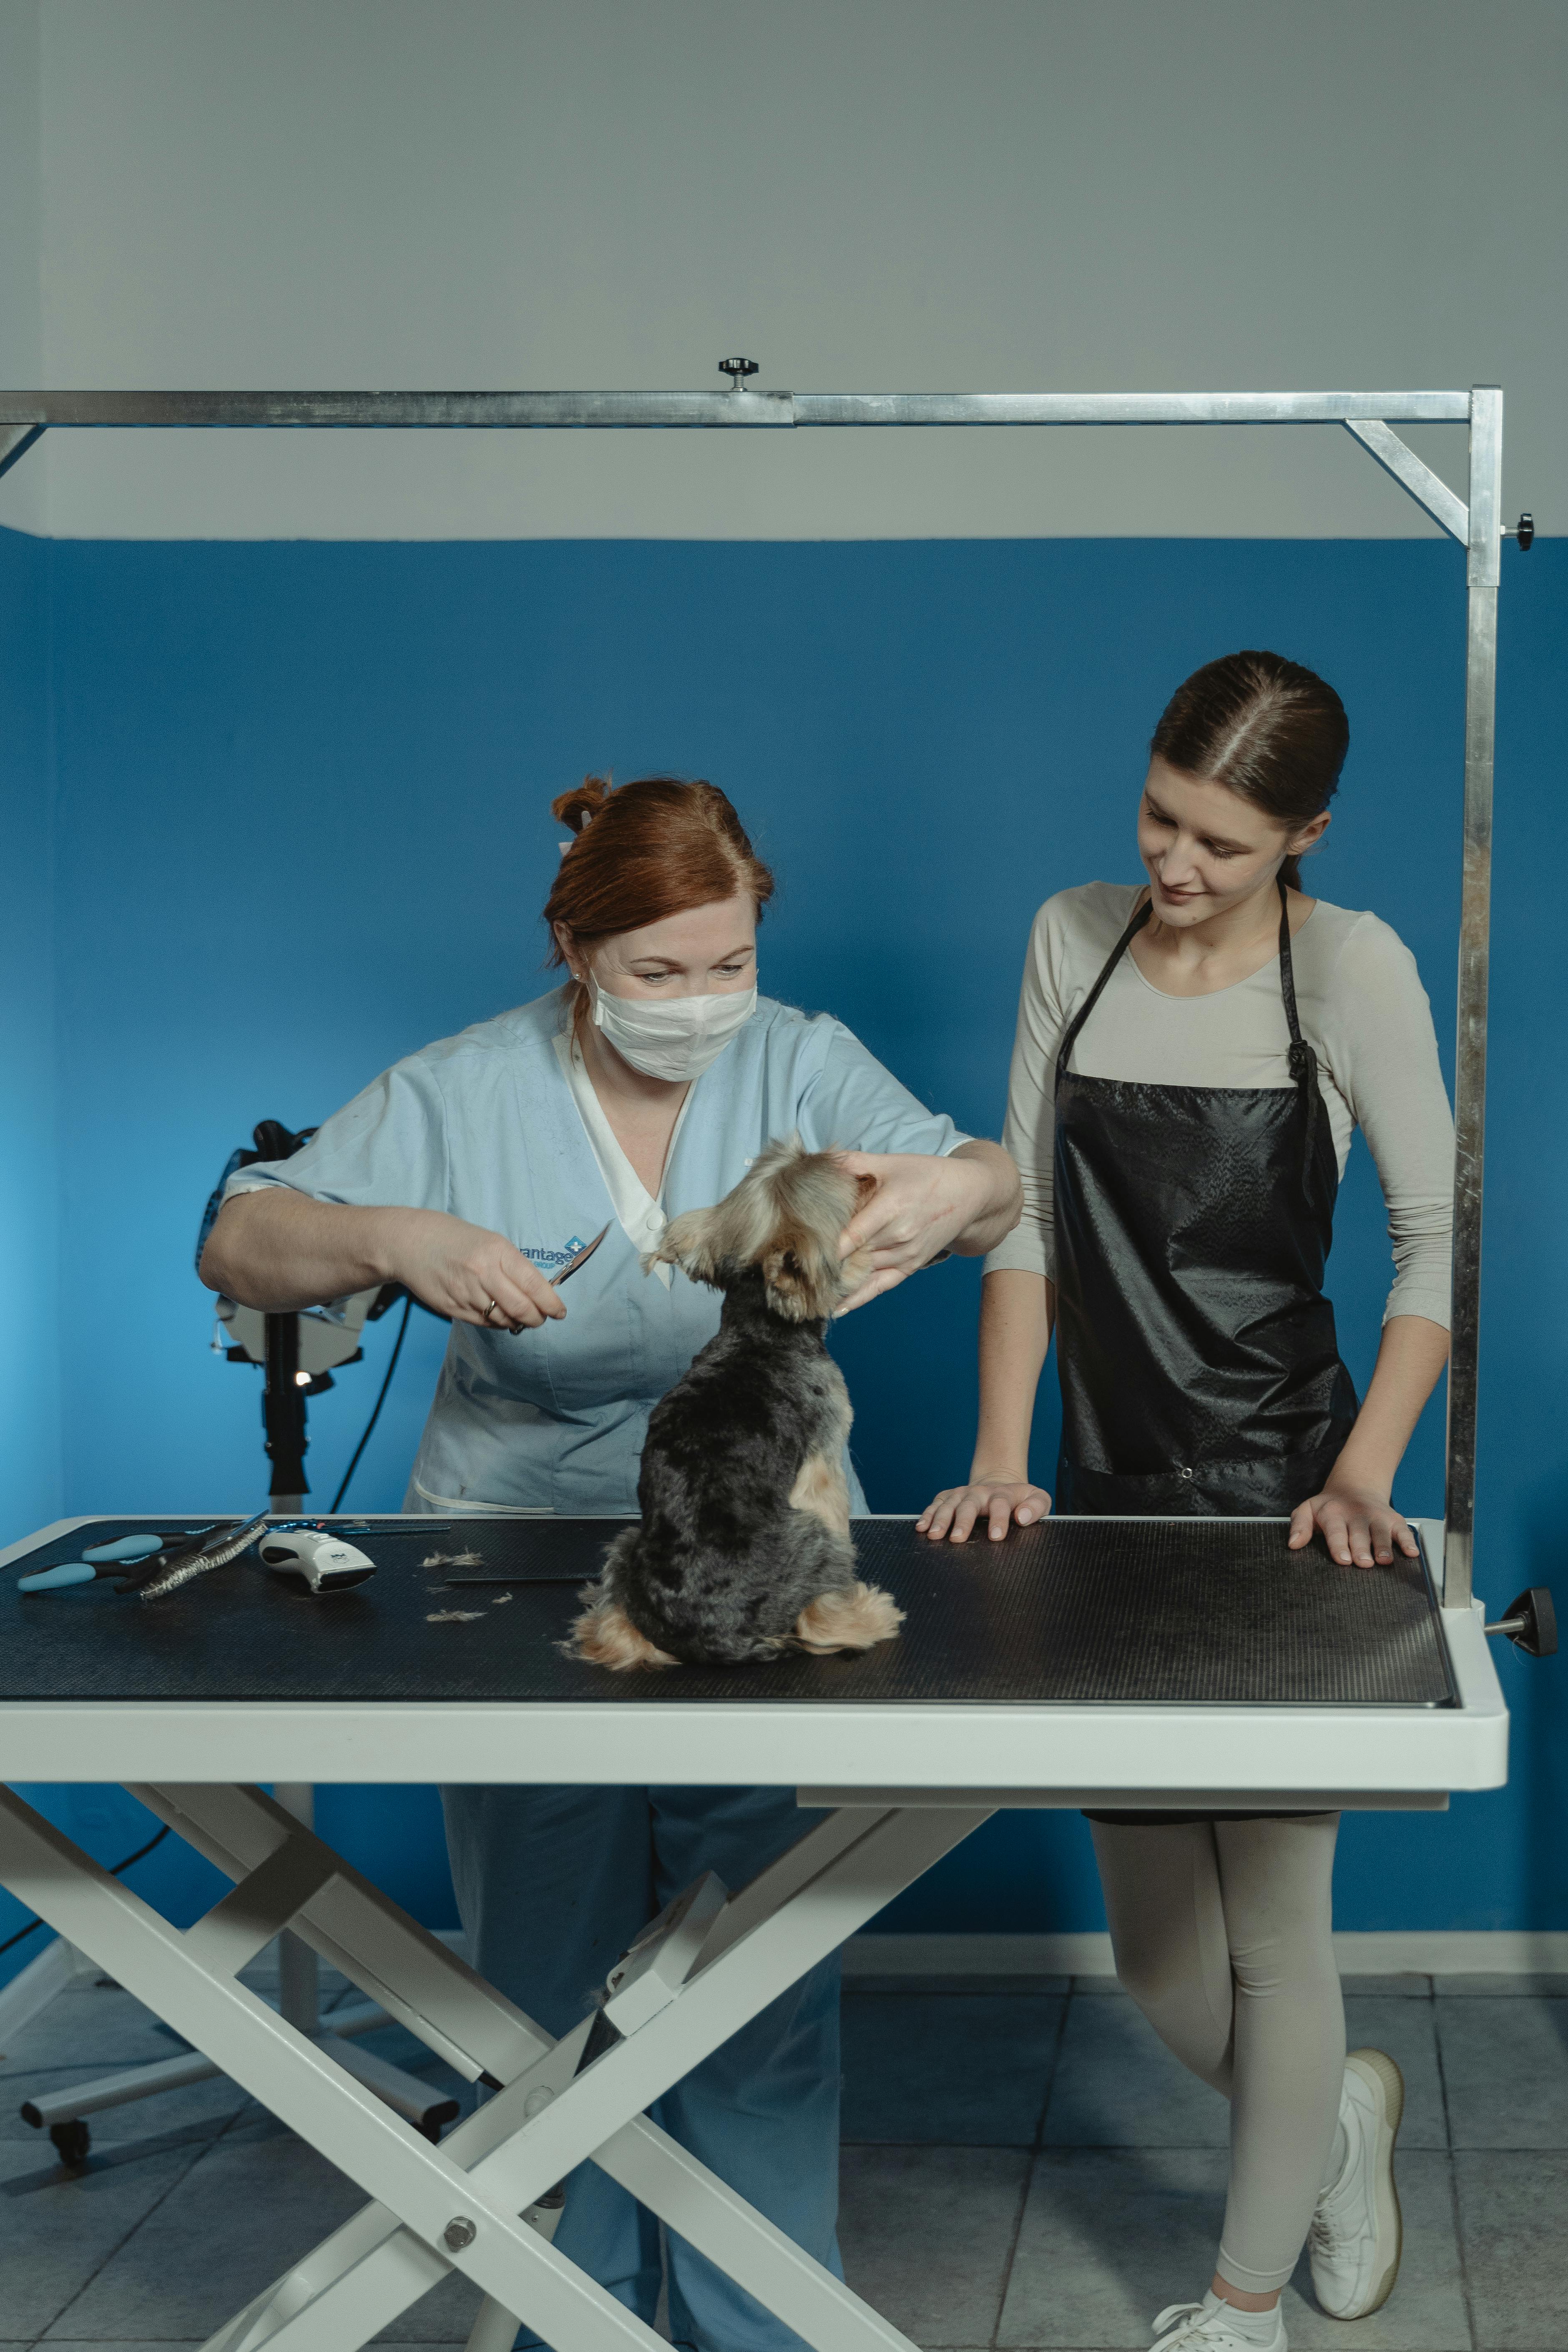
In the world of professional canine aesthetics, there is a significant distinction between a standard haircut and the art of hand-scissoring. While electric clippers are efficient for bulk removal, “scissoring” is where the true craftsmanship of a groomer shines. This technique allows for a customized, plush finish that highlights the unique conformation of the breed.
Disclosure: This post may contain Amazon affiliate links, at no extra cost to you. Content on Pawtangle is created with research support from AI tools and carefully reviewed, edited, and fact-checked by the lead author, Dr.Fahri Pat , to ensure accuracy and reliability. Learn more
In this comprehensive guide, we will delve into the technical mastery required for scissoring, focusing on ergonomics, coat types, and the specific needs of breeds like the Poodle and Bergamasco.
1. Understanding the Scissoring Technique
Scissoring, often referred to as “shaping” or “finishing,” involves using professional-grade shears to sculpt the dog’s coat from the outside in. Unlike clipping, which follows the contour of the skin, scissoring works toward the outer edges of the coat to create a balanced, symmetrical silhouette.
The “Blocking” Method
The foundational movement in scissoring is often called blocking. This involves identifying the geometric shape the coat should take and removing excess hair to reveal that form. It is the most common method for show-quality grooming, but it is also the most difficult to master because it requires a steady hand and a keen eye for proportion.
2. Ergonomics: Protecting the Groomer
As a professional, longevity in the industry depends on how you handle your tools. Improper scissoring can lead to chronic issues such as Carpal Tunnel Syndrome or wrist tendonitis.
- The Grip: Never “death grip” your shears. Your thumb should barely enter the ring, acting only as the driver, while your ring finger provides stability.
- Wrist Alignment: Keep your wrist straight. Avoid excessive bending (flexion) by moving your entire arm or adjusting the dog’s position on the table.
- Scissor Direction: Always ensure your scissor tips are pointing safely—either slightly up or down—to avoid accidental nicks to the dog’s skin, especially in sensitive areas.
3. Selecting the Right Coat Type for Scissoring
Not all coats are created equal. The success of hand-scissoring depends heavily on the hair’s texture and growth direction.
- Curly and Crisp Coats (Poodles, Bichons): These are the ideal candidates for scissoring. The hair grows vertically and has enough “spring” to stand away from the body, providing a perfect canvas for the shears.
- Silky and Flat Coats: These require a different approach. Since the hair lies flat, you must use a comb to “fluff” the hair upward before each cut to ensure an even finish.
4. The Mastery of the Poodle Topknot
A prime example of advanced scissoring is the Poodle Topknot. This style requires a seamless transition from the short, clipped areas of the face and neck to the full, voluminous coat on the head.
To achieve a professional topknot:
- Preparation: The coat must be perfectly clean, dried straight, and thoroughly combed out. Any remaining tangle will cause a “dent” in your finished work.
- The Blend: Use curved shears to follow the rounded shape of the skull. The goal is to make the topknot look like a natural extension of the dog’s body, not an attached piece of fur.
- Sensitivity Awareness: Poodles are often sensitive around their eyes and ears. Patience and a calm demeanor are essential during this high-precision phase.
5. Advanced Tools for the Modern Groomer
To reach the 800-word level of excellence, one must understand the tools of the trade. A professional kit should include:
- Straight Shears: For long, straight lines like the legs of a Terrier.
- Curved Shears: Essential for rounded areas like heads, feet, and ribcages.
- Thinning/Chunking Shears: Used for “blending” or softening the lines left by straight shears. They are the secret to a natural, “no-cut” look.
6. Avoiding Common Pitfalls: “Snow Blindness” and Uneven Cuts
In the grooming community, “snow blindness” (metaphorically speaking in the context of grooming) refers to the loss of perspective that occurs when you stare at a white or solid-colored coat for too long. You might lose track of the symmetry.
Pro-Tip from Dr. Fahri PAT: Periodically step back 3 to 5 feet from the grooming table. Viewing the dog from a distance allows you to see the “big picture” and identify uneven spots that are invisible from a close-up angle.
7. The Importance of Professional Consultation
If you are a pet owner attempting this at home, remember that scissoring is an acquired skill. It takes months, if not years, of practice on various breeds to develop the necessary muscle memory. Always consult with a professional groomer or a breed expert to learn the specific standard for your dog.
Conclusion
Whether you are grooming a Bergamasco for the ring or a Poodle for the park, hand-scissoring is the hallmark of a dedicated professional. It respects the dog’s physical anatomy while enhancing its natural beauty. By focusing on ergonomic safety, proper tool selection, and constant practice, you can transform a routine haircut into a work of art.
Frequently Asked Questions (FAQ) about Professional Dog Scissoring
To provide further clarity on the technical aspects of canine coat maintenance, I have compiled the most common inquiries regarding hand-scissoring and professional grooming.
1. What is the difference between clipping and scissoring?
Clipping uses electric clippers with guarded blades to cut the hair to a uniform length quickly. It is best for bulk hair removal. Scissoring is a manual technique using specialized shears to sculpt the coat. It offers more precision, allows for custom shaping according to the dog’s anatomy, and results in a more natural, plush finish.
2. Is hand-scissoring better for all dog breeds?
While most breeds can benefit from minor scissoring (like trimming around the paws), it is essential for breeds with curly or “stand-off” coats, such as Poodles, Bichon Frises, and Kerry Blue Terriers. For flock-coated breeds like the Bergamasco, scissoring should be used sparingly and only in specific areas to avoid damaging the natural coat structure.
3. How often should a dog be hand-scissored?
For maintainable “show-quality” looks, a professional scissoring session is recommended every 4 to 6 weeks. This frequency ensures the shape remains crisp and prevents the coat from becoming too heavy or matting at the roots.
4. Does scissoring help with dog allergies?
Scissoring itself doesn’t change the hypoallergenic nature of a dog. However, regular scissoring and grooming remove dead hair, dander, and trapped allergens (like pollen or dust) from the coat. This makes the environment much cleaner for owners with sensitivities.
5. Can I learn to scissor my dog at home?
Hand-scissoring requires significant practice and an understanding of canine anatomy. While you can learn basic maintenance (like trimming around the eyes), I recommend seeking guidance from a professional groomer first. Improper technique can lead to skin nicks or uneven “choppy” coats that take months to grow back correctly.
6. What tools are essential for a beginner in scissoring?
If you are starting your grooming journey, you should invest in three basic shears:
- A 7-inch straight shear for basic lines.
- A curved shear for rounded areas (head and tail).
- A blending shear (thinners) to erase cutting lines and create a smooth transition.
7. Is scissoring painful for the dog?
Not at all. When performed by a skilled groomer or an experienced owner, scissoring is a gentle process. In fact, many dogs find the rhythmic sound of the shears relaxing compared to the vibration and noise of electric clippers.