
To build a safe catio, place it near a window or door on level ground, away from traffic and other hazards. Use cedar or redwood framing, a secure cat door, and PVC-coated welded wire on every wall, roof, and seam. Add sturdy shelves, ramps, tunnels, and shaded resting spots. Choose polycarbonate or metal roofing, extend it past the walls, and provide drainage. Smooth edges, anchor features, and plan washable surfaces. More helpful details follow for comfort, cleaning, and safety.
Disclosure: This post may contain Amazon affiliate links, at no extra cost to you. Content on Pawtangle is created with research support from AI tools and carefully reviewed, edited, and fact-checked by the lead author, Dr.Fahri Pat , to ensure accuracy and reliability. Learn more
Key Takeaways
- Choose a level location near an existing window or door, away from streets, driveways, and other hazards.
- Build the frame with durable cedar or redwood, then select roofing suited to your climate and weather conditions.
- Enclose the entire structure with tight, PVC-coated welded wire mesh, securing seams, corners, roof edges, and perimeter.
- Add anchored shelves, ramps, tunnels, and platforms to provide safe vertical movement, exercise, and enrichment.
- Provide shade, weather protection, drainage, washable bedding, and covered resting areas for year-round comfort.
Choose the Right Location
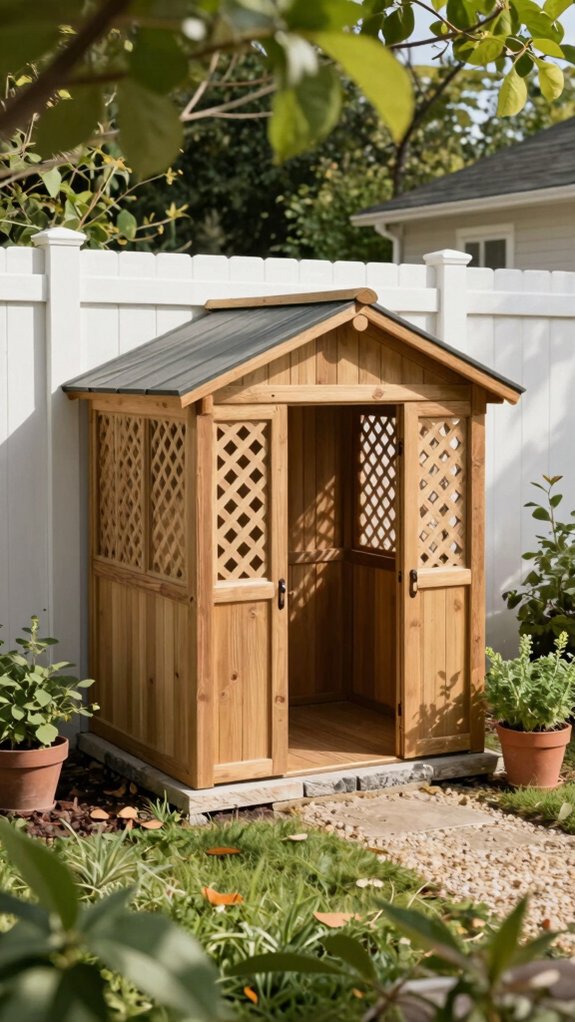
Choose a spot near an existing exterior window or door so your cat can reach the catio easily without being carried across the yard. Install a properly sized cat door in the window, door, or wall, and keep the route simple for everyone.
Look for partial sun, balancing Sun access with nearby cover from a roof, tree, or shaded corner. Your cat can bask, then retreat when the day gets warm.
Choose flat, level ground so the structure sits securely. Give your cat nature stimulation through birds, insects, and outdoor sounds, but avoid busy driveways, streets, and other hazards. If the catio is distant, add a secure tunnel.
Pick Durable Materials
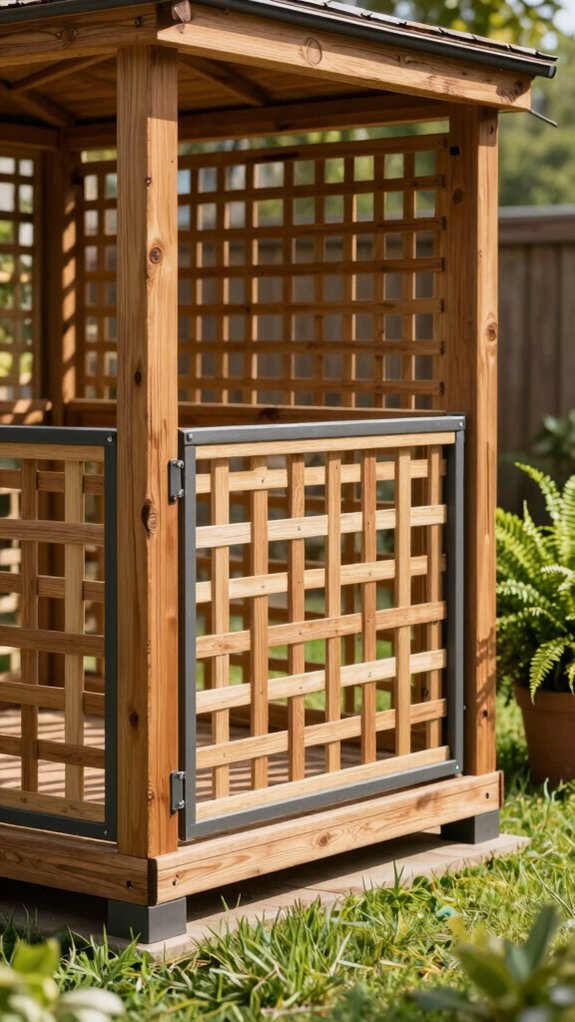
Once you’ve settled on a safe location, select materials that can handle weather, climbing, and curious paws.
For strong framing, choose cedar or redwood for natural Pest Resistance and rot resistance.
If you use pressure-treated lumber, apply a pet-safe sealant.
Climate Considerations should guide your roof choice.
Polycarbonate panels let in sunlight while blocking harmful UV, while corrugated metal offers strength but less light and more noise.
For Corrosion Proofing, choose PVC-coated wire mesh, such as heavy-duty 11 PVC-coated critter fencing.
Skip window screens and chicken wire.
Use sturdy Fastener Hardware and Animal Safe Adhesives.
Good Longevity Planning keeps your catio welcoming for years.
Install Secure Mesh
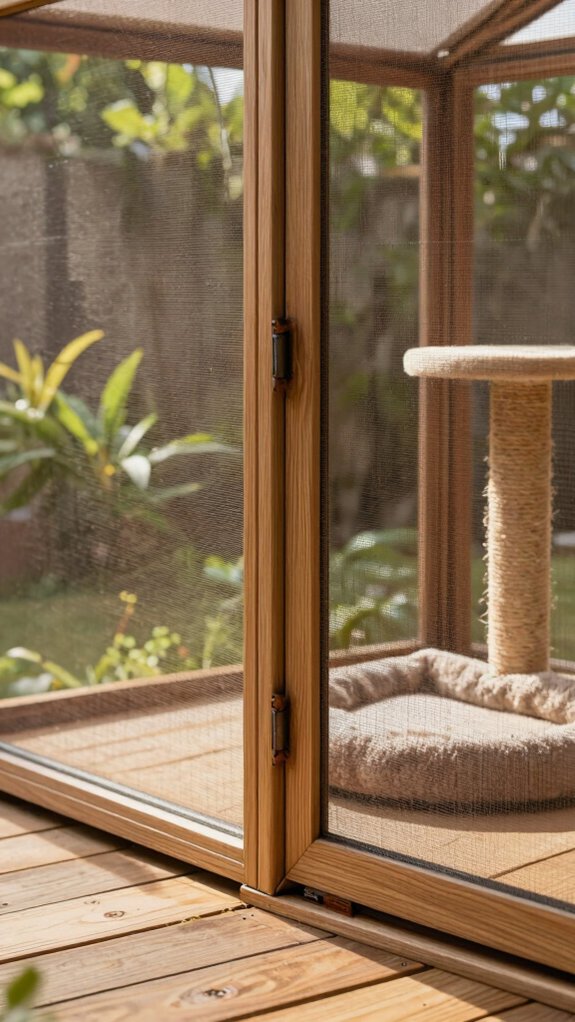
Installing secure mesh means covering the full catio, not just the sides. Choose PVC-coated, 16-gauge galvanized welded wire with openings small enough to block paws, beaks, and claws.
This sturdy choice supports effective predator proofing.
Wrap the perimeter, roof, and every roof edge, then overlap seams instead of butting them together.
Attach the mesh to wood framing with heavy-duty staples or U-nails, keeping it tight so cats can’t stretch or chew sagging sections.
Pay special attention to reinforcement corners, where curious cats often probe.
Select rust-resistant mesh, such as green or black vinyl-coated wire, to match your shared backyard space.
Add Climbing Features
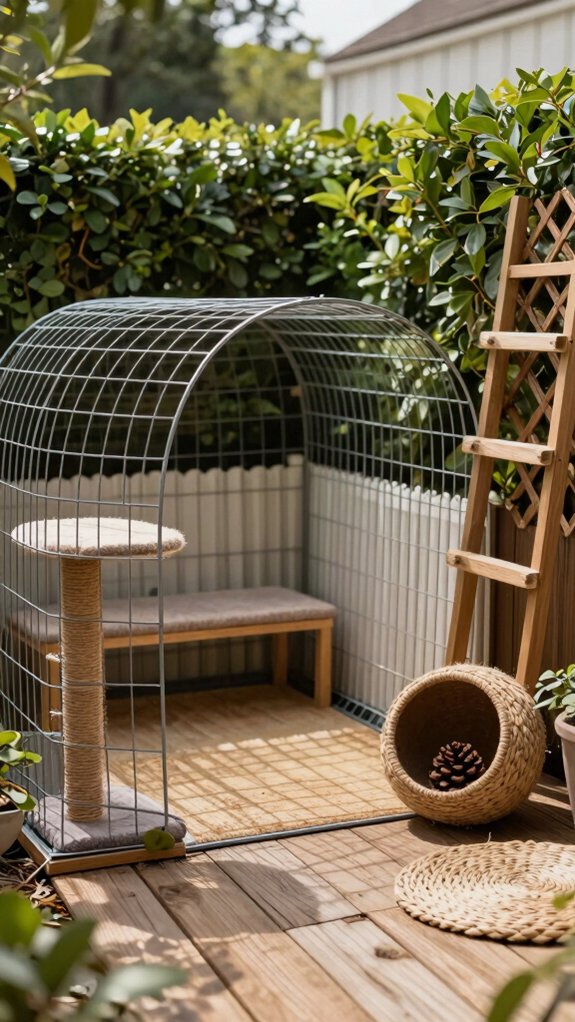
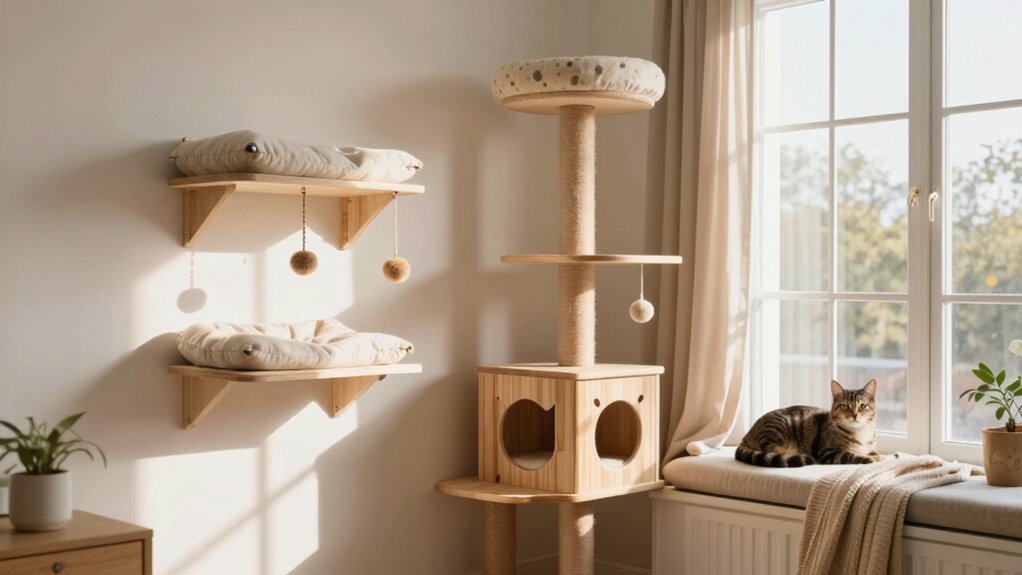
Give your cat a safe way to climb by adding stacked cedar shelves and sturdy platforms along the highest walls. These raised spots support behavior enrichment and offer bird-watching views without wide jumps.
Connect levels with a ramp or gradual incline to improve vertical mobility during zoomies. Add a cat tunnel or enclosed tube so your cat can follow horizontal routes between platforms, too.
Use claw friendly surfaces, and leave room beneath and behind each platform for secure footing. Smooth and tighten every edge to prevent snags, then anchor features to the escape-proof frame with heavy-duty U-nails or screws. Keep climbing routes within supervised play areas.
Include Weather Protection
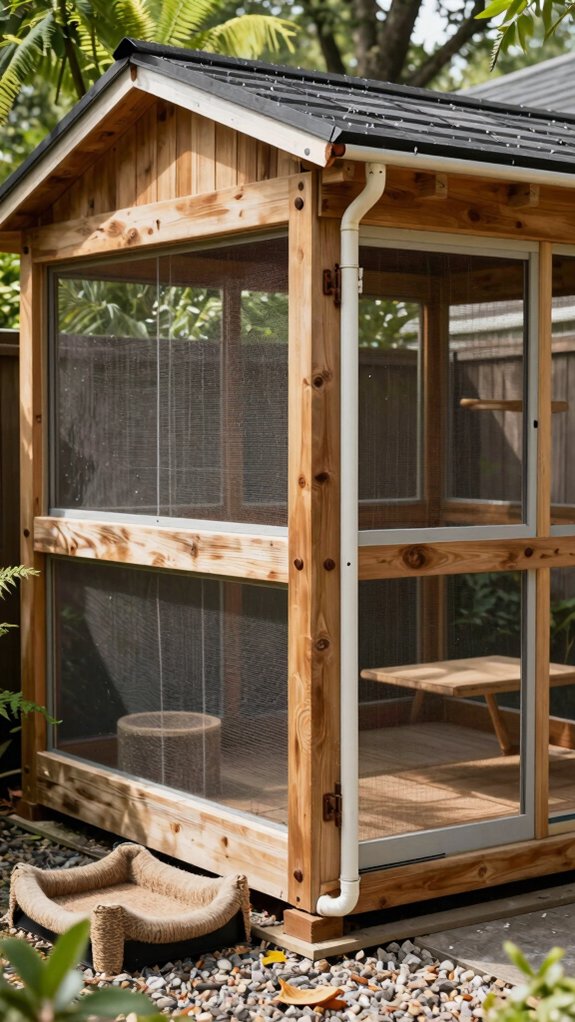
Protect those climbing routes from changing weather with a roof that keeps rain, snow, and harsh sun outside the catio. Choose clear polycarbonate panels for daylight and UV blocking roofing, or corrugated metal for stronger snow and rain protection, though it can be noisy and darker.
Extend the roof past the walls, keep the frame level, and plan secure storm drainage so water doesn’t pool.
Place the catio where sunlight meets natural shade, then cover the most exposed side to limit overheating.
Use cedar, redwood, or sealed pressure-treated wood, and attach PVC-coated mesh with heavy-duty staples or U-nails to close weather gaps.
Create Comfortable Resting Areas
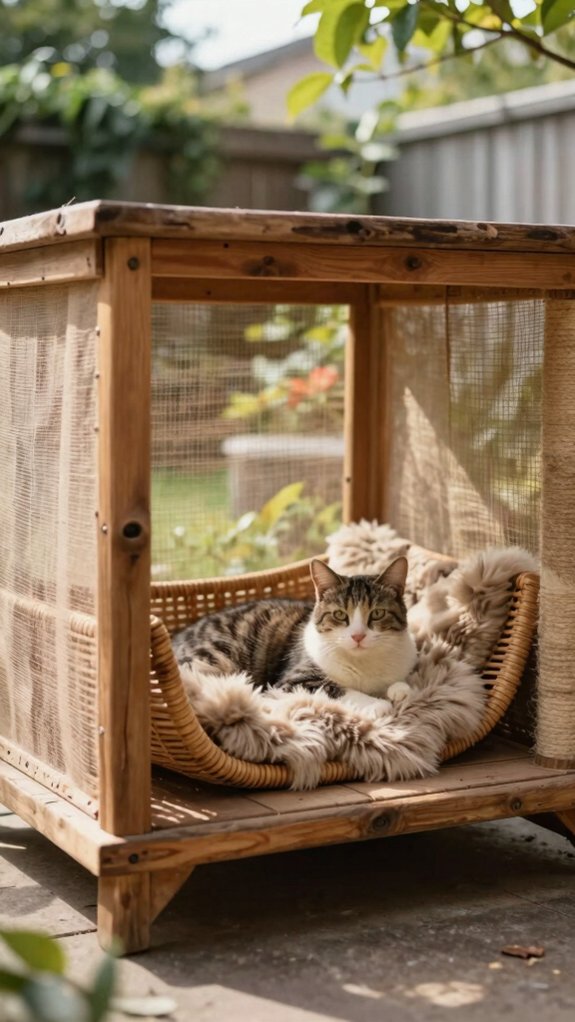
Start with several comfortable resting areas at different heights, including a cedar sunbathing shelf where your cat can watch birds from under the roof or polycarbonate cover. Give every cat a place to settle without crowding.
- Add sturdy, level shelves or compact condos.
- Place washable bedding on shaded ledges and sheltered corners.
- Connect levels with a ramp or short stairs, helping older cats climb comfortably.
- Keep each spot inside the PVC-coated mesh perimeter, above a dry deck or solid base.
Add a treat dispensing toy near one perch, and offer a feather watch spot, so your cats can relax, investigate, and share their catio.
Design for Easy Cleaning
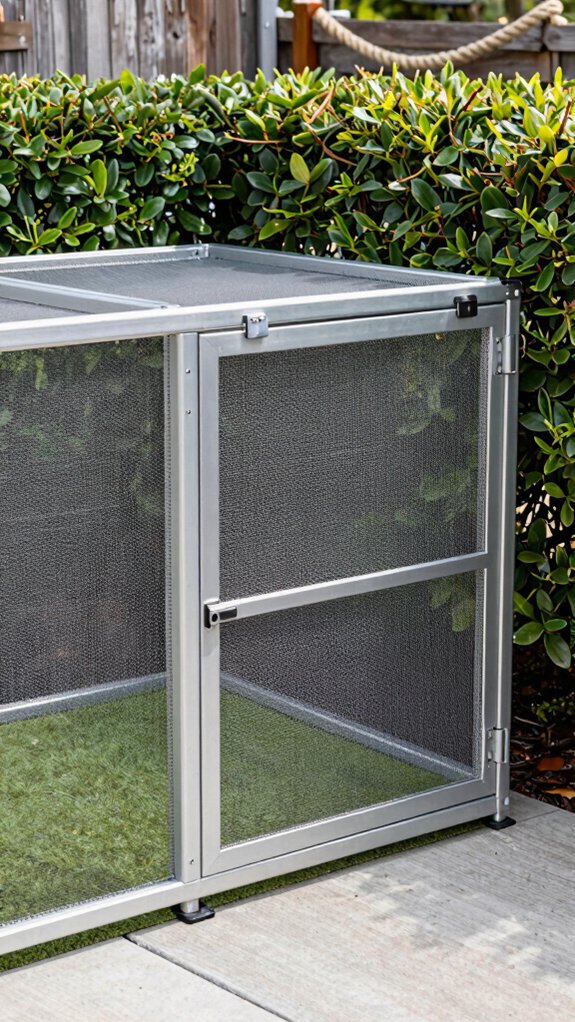
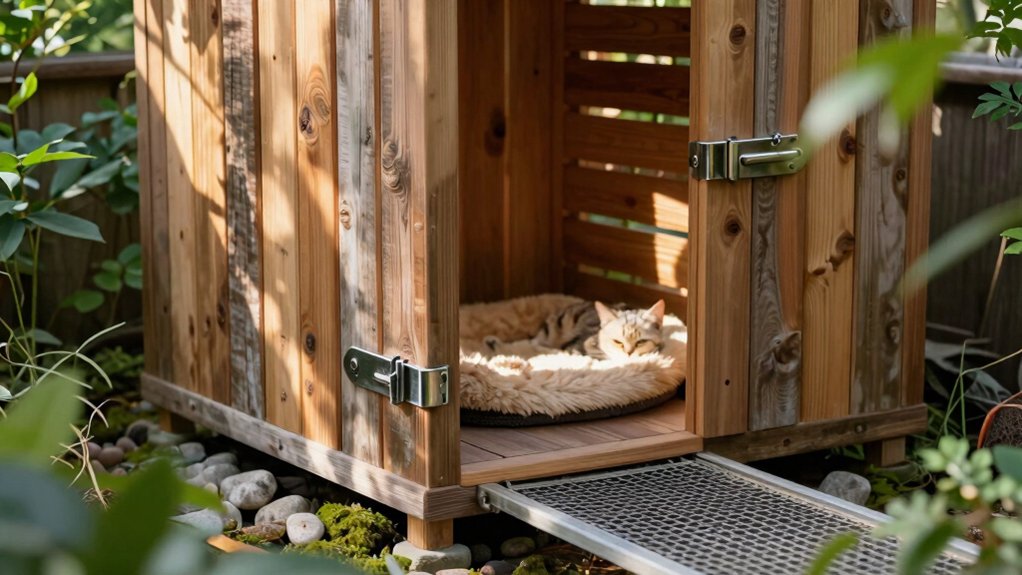
Choose a solid, easy-to-wash base for your catio, such as a deck, patio, or sealed paver floor, so muddy paws and loose debris won’t soak in. A secure cleaning door lets you remove waste, replace liners, and refresh bedding without taking panels apart.
Use PVC-coated mesh fastened with staples or U-nails, so you can scrub without snags or loose sections. Add removable plastic bowls, washable bedding, and a covered outdoor litter box to make waste management and odor control.
Choose a roof that blocks rain and harsh glare, keeping floors drier. Keep supplies nearby for tool accessibility, and set a simple maintenance schedule everyone can follow.
Safety Features Every Catio Needs
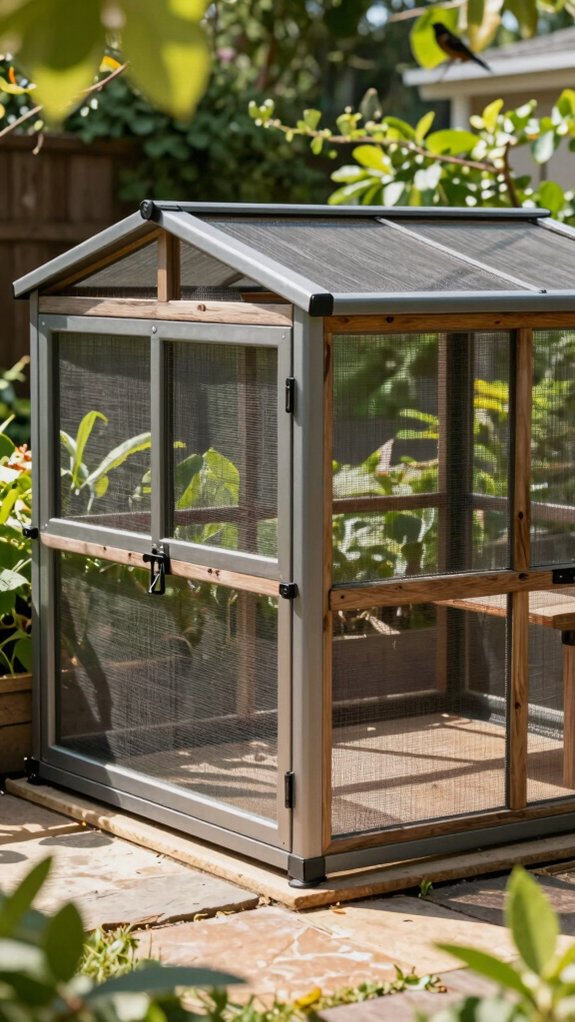
Safety begins with a catio that leaves no easy way out. Build your shared outdoor space with sturdy details that protect every curious cat.
- Use escape proof hardware, PVC-coated welded wire, and heavy-duty staples or U-nails to close every gap.
- Practice Predator deterrence with a solid ground-level base that blocks digging animals.
- Choose polycarbonate roofing, secured firmly so cats can’t reach through weak spots.
- Add a cleaning door with Secure latching, then schedule a regular Seam inspection.
Use cedar, redwood, or sealed pressure-treated framing, keep it level, and check each connection so your catio stays welcoming and secure.
Mistakes to Avoid
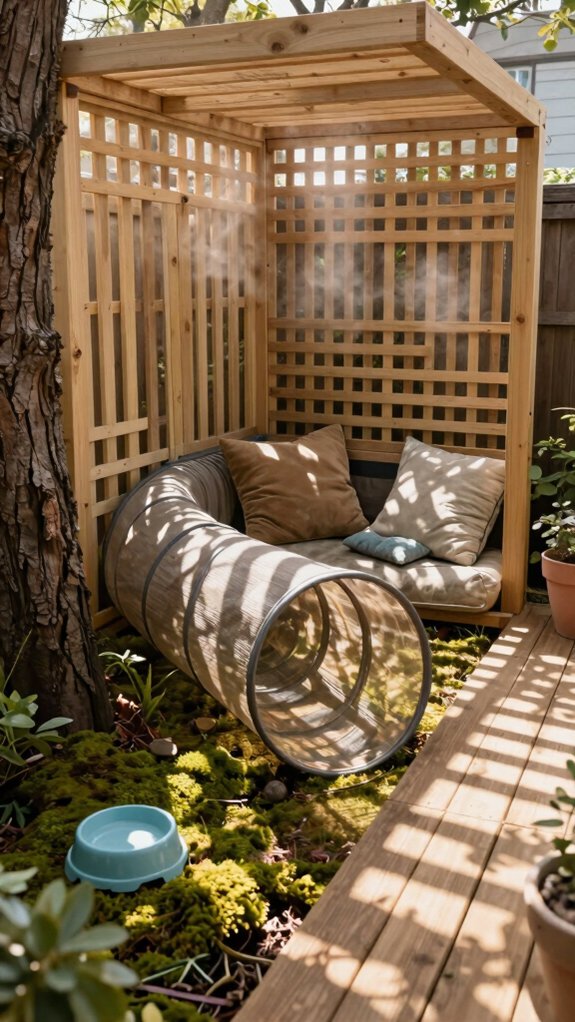
Even a well-built catio can become unsafe when small shortcuts create weak spots. Don’t rely on window screens or chicken wire; install PVC-coated wire mesh, staple it tightly, and check every seam.
Choose sealed cedar, redwood, or pressure-treated lumber, then add clawproof surfaces where paws may scratch. Build a solid base, use escape resistant locks, and wrap each junction to block digging pests.
Make heat safe plans with sunny perches, shade, and steady ventilation airflow. Choose mesh or UV-safe polycarbonate roofing, not noisy corrugated metal, for better noise reduction.
Follow pest control tips, inspect regularly, and keep your shared cat haven welcoming and secure.