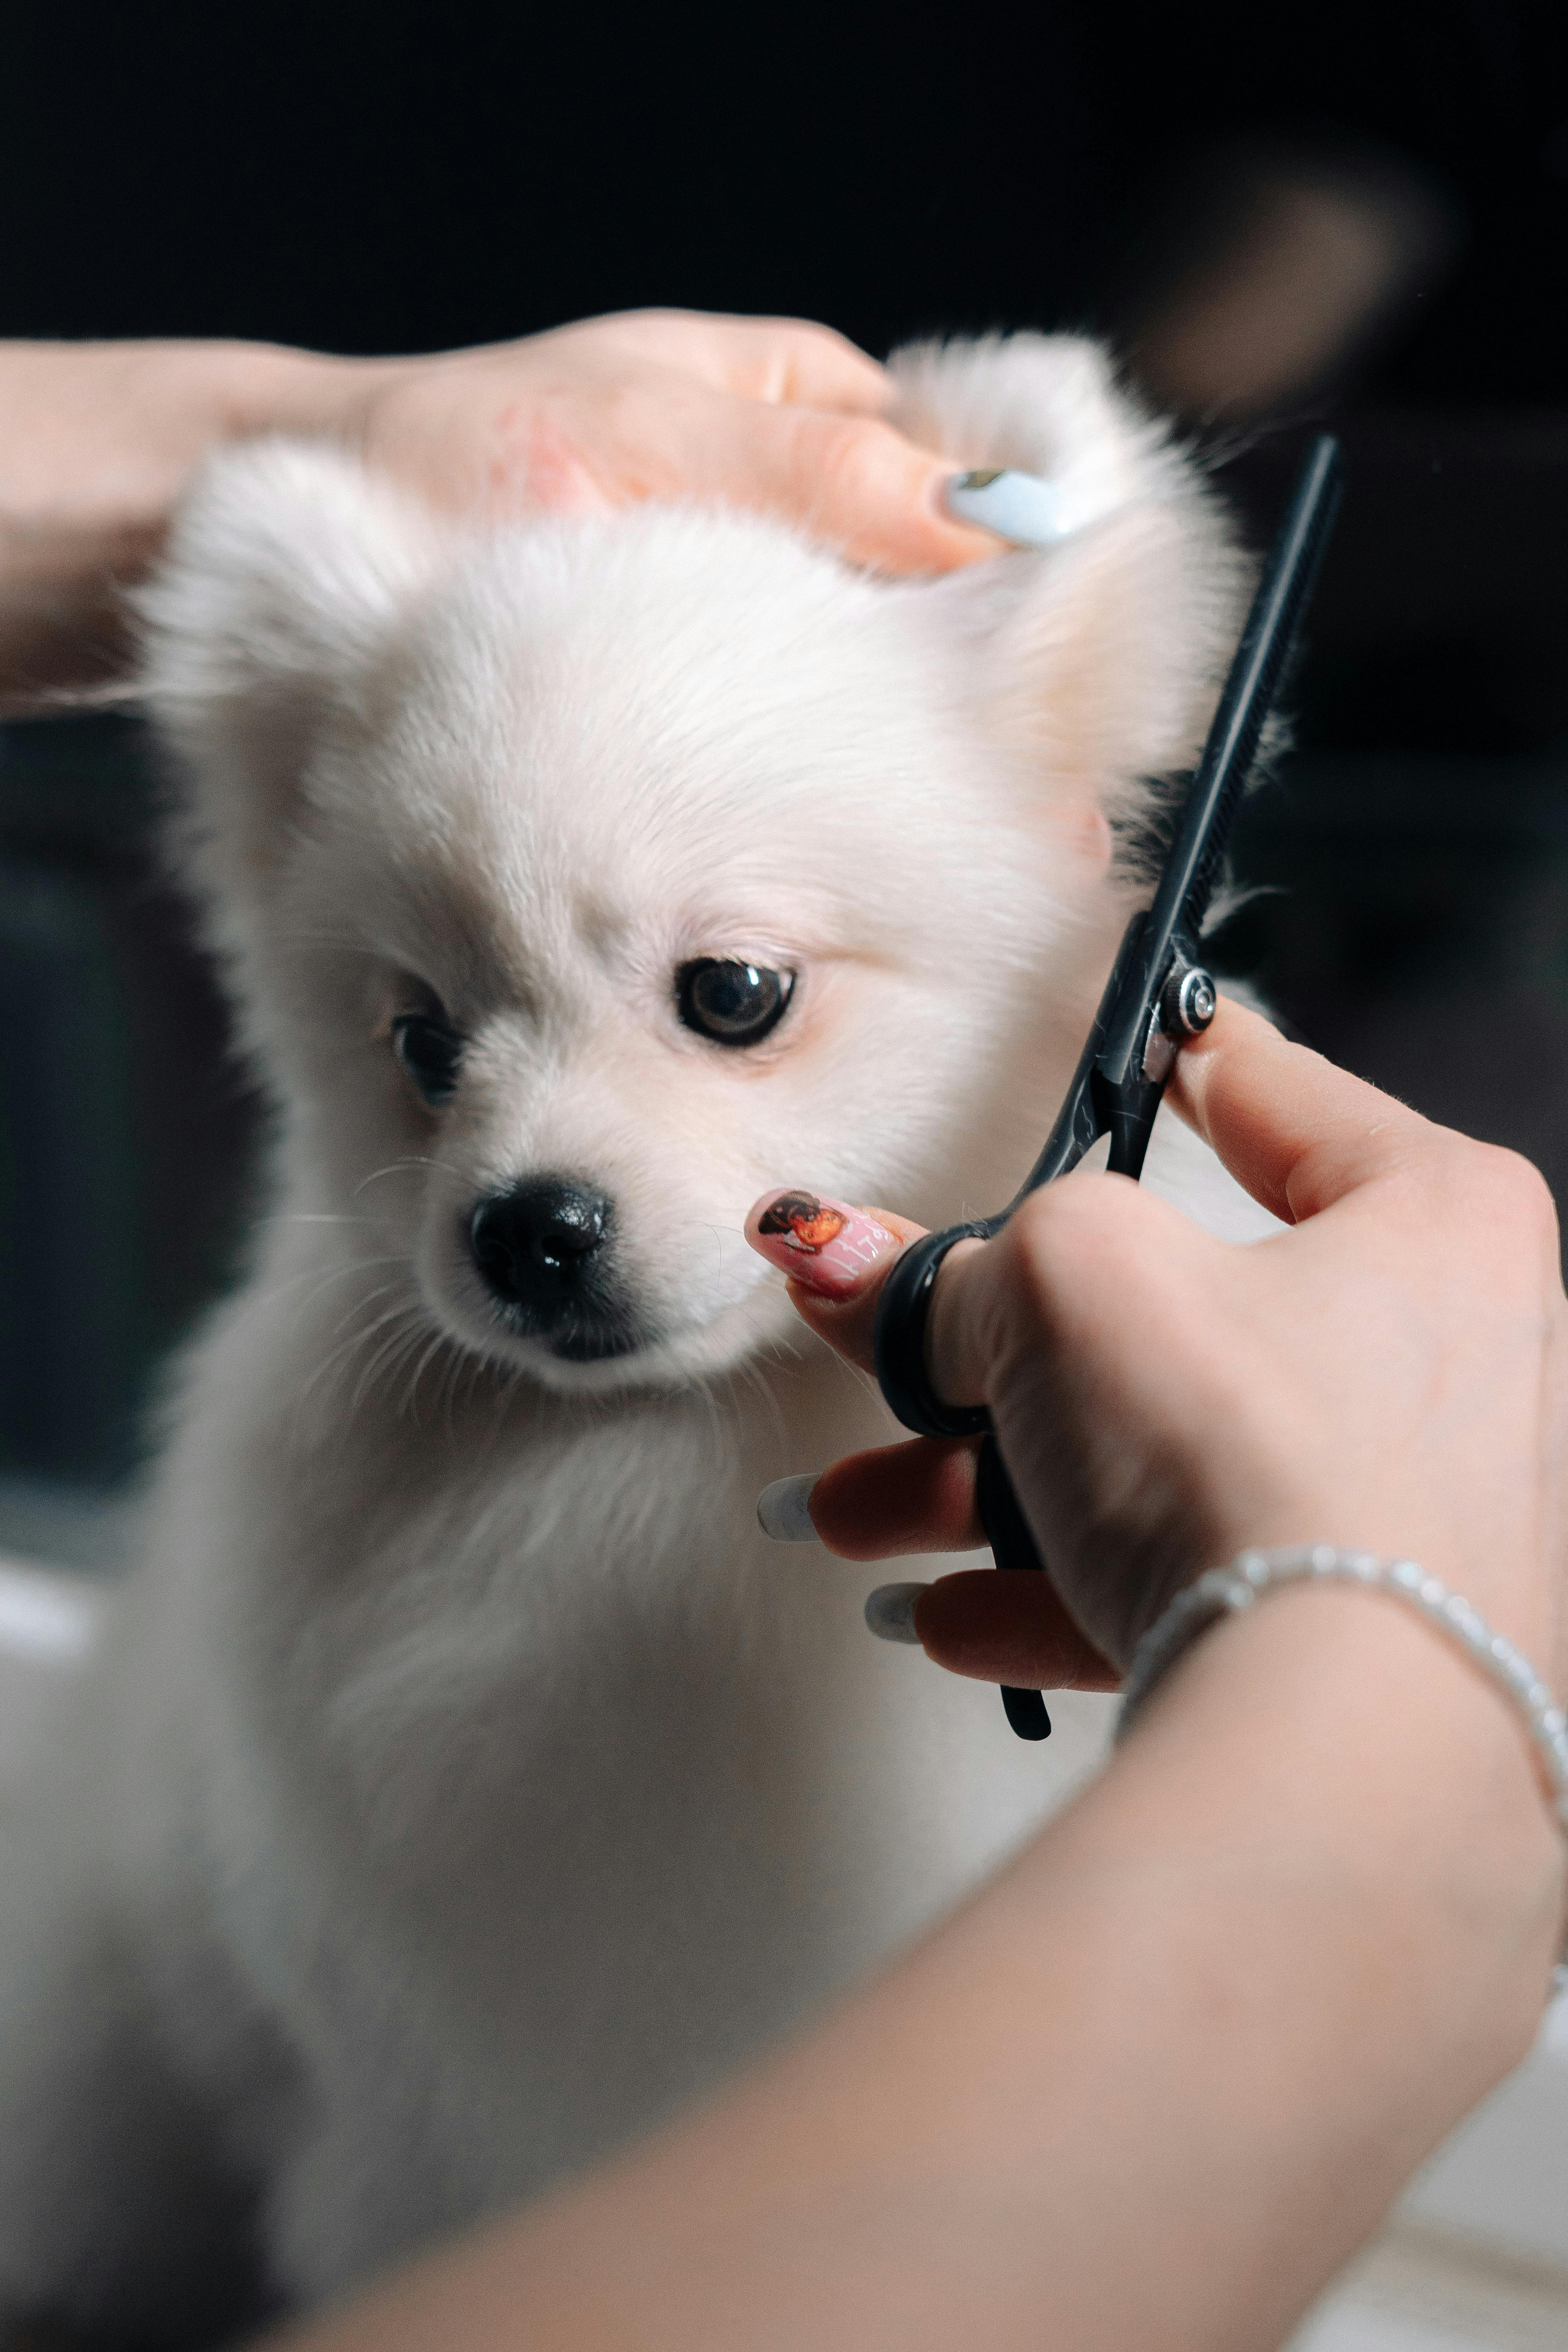

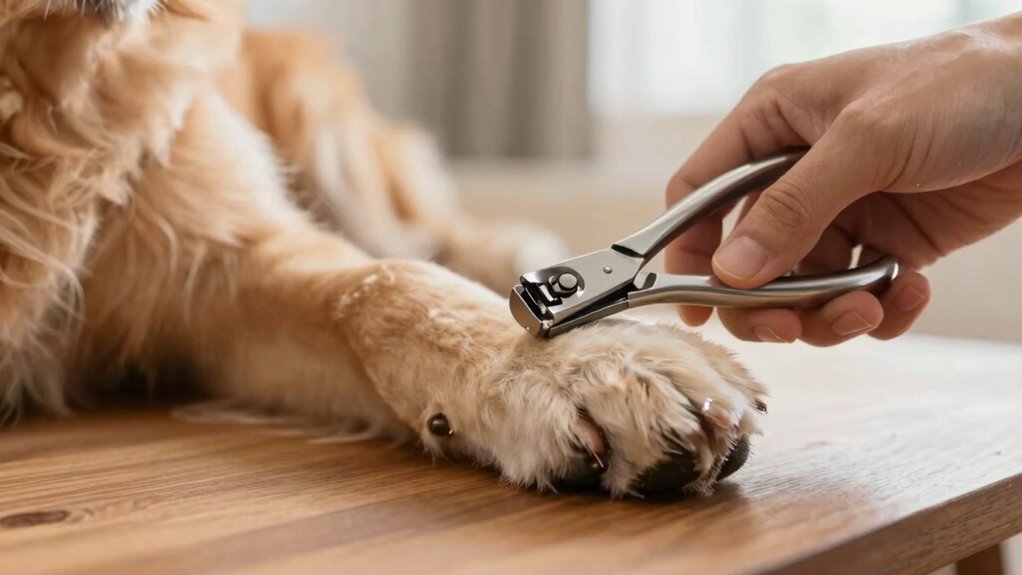
You can safely trim your dog’s nails at home by gathering proper tools (breed-appropriate clippers, grinder, styptic powder), creating a calm space, and handling paws gently. Learn to spot the quick—pink in light nails, hidden in dark ones—and trim only the very tip in small increments, smoothing edges afterward. Stop, soothe, and apply styptic powder if bleeding occurs. Trim every 3–4 weeks and follow clear step-by-step precautions to make sessions quick, confident, and less stressful.
Disclosure: This post may contain Amazon affiliate links, at no extra cost to you. Content on Pawtangle is created with research support from AI tools and carefully reviewed, edited, and fact-checked by the lead author, Dr.Fahri Pat , to ensure accuracy and reliability. Learn more
Key Takeaways
- Gather proper tools (breed-appropriate clippers, grinder, file, styptic powder, treats) and a calm, quiet space before starting.
- Get your dog comfortable by handling paws gently in short sessions and rewarding calm behavior.
- Locate the quick (pink in light nails; trim small increments for dark nails) and plan to cut only the clear tip.
- Trim 1/8–1/4 inch at a time, pause often, and stop if the dog shows pain or bleeding occurs.
- Smooth edges with a file or grinder, apply styptic powder if needed, and reward your dog to reinforce positive association.
Tools You Will Need
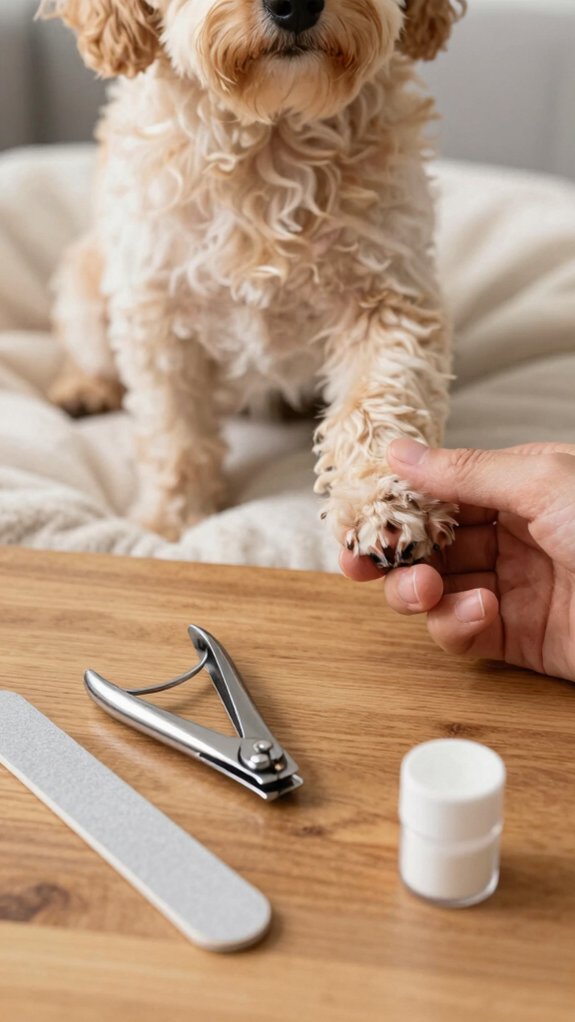
Choose the right tools before you begin trimming: pick nail clippers sized to your dog (scissor-style works well for most breeds), or consider a nail grinder with a diamond bit for smoother edges and less risk of hitting the quick; also have a file or emery board to smooth rough edges, styptic powder to stop any bleeding from accidental cuts, and treats to reward and calm your dog throughout the process. You’ll choose nail clipper types based on paw and nail size—scissor-style for medium to large, guillotine or plier styles for smaller breeds. A grinder offers gradual control; nail grinder benefits include reduced chance of sudden cuts and a polished finish. Keep supplies organized, accessible, and introduce them calmly so you both feel supported.
Understanding the Quick
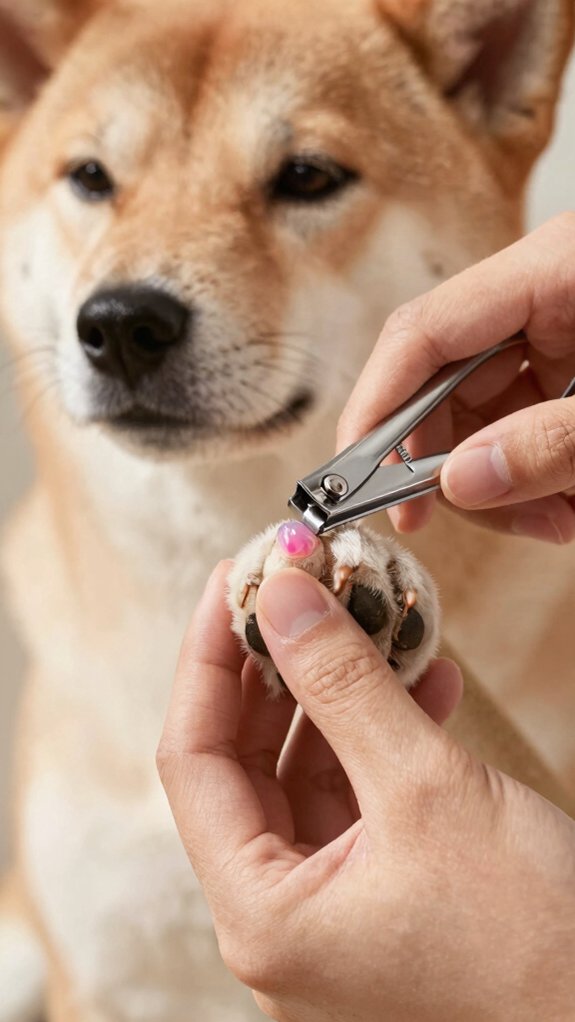
If your dog has light-colored nails you’ll usually see the pink quick and can trim confidently to the clear tip; with dark nails the quick’s hidden, so you should trim incrementally and watch the nail’s cross-section for a gray crescent. Always cut only the very tip and stop well before any soft, darker tissue to avoid pain and bleeding. Keep styptic powder nearby and check nail length regularly to prevent the quick from extending.
Light vs dark nails
Because the quick is visible in light-colored nails as a pinkish area, you can safely trim just the tip with confidence, while dark nails require a more cautious, incremental approach to avoid cutting into the sensitive tissue; use a flashlight to transilluminate dark nails, trim small amounts and check frequently, and monitor nail growth patterns over time so you learn where the quick typically lies. You’ll notice nail color differences affect your trimming techniques: light nails show the quick, so you can cut closer; dark nails hide it, so you work in small, controlled snips. Stay clinical and steady, involve family in learning, and celebrate progress together. Regular checks build familiarity, reducing anxiety and improving long-term safety.
How to avoid cutting too short
When you trim your dog’s nails, understand that the quick is a living tissue—full of blood vessels and nerves—and cutting it causes immediate pain and bleeding, so always work deliberately and stop well before you reach any pink or translucent area you can’t distinctly see. For light-colored nails, use quick identification by locating the pink zone and trimming a safe margin. For dark nails, remove only small amounts—clip a millimeter or two, then inspect. Shine a flashlight along the nail to reveal the quick’s shadowed outline. Keep styptic powder accessible in case of accidental bleeding. Maintain steady positioning, reassure your dog, and proceed slowly. These techniques make nail trimming predictable and keep both of you confident and connected.
Preparing Your Dog
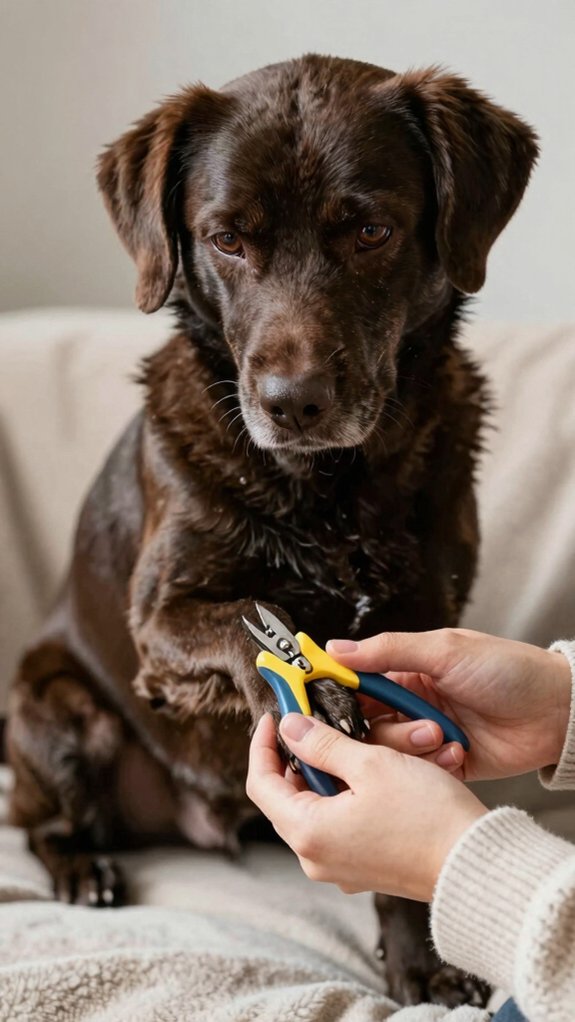
Set up a quiet, comfortable spot where your dog already feels safe to keep distractions and anxiety low. Gently handle each paw in short sessions, using slow movements and a soothing tone so they get used to the touch. Introduce the clippers or grinder calmly and take breaks if your dog shows stress to keep the process positive.
Calm environment setup
Choose a quiet, low-traffic spot and make it comfortable for your dog: place a soft mat or blanket so they have a predictable surface to sit or lie on. Create a calm atmosphere and set a clear distraction free zone to help your dog feel secure. Keep your movements measured and your voice steady; your demeanor cues safety.
- Close doors and mute devices to minimize sudden noises.
- Arrange treats and rewards within easy reach.
- Allow the dog to sniff tools briefly before use.
- Position yourself so you both feel steady and supported.
- Limit session length; brief, consistent practice builds trust.
This setup is clinical yet compassionate. You belong to a community of caregivers using predictable routines to reduce anxiety and guarantee safer nail care.
Gentle handling techniques
After you’ve made the environment calm, start preparing your dog’s paws with short, reassuring handling sessions that build familiarity and trust. Use paw desensitization techniques during play and grooming: gently massage pads, spread toes briefly, and let your dog inspect clippers or a grinder so sound and appearance become familiar. Keep sessions brief and predictable, observing micro‑signals of discomfort and adjusting pressure or pace to maintain comfort. Reinforce every calm response with treats and clear verbal praise to establish positive touch association. Rotate which paw you handle first so no limb is consistently avoided. Over several days you’ll create a reliable routine that reduces anxiety, increases cooperation, and helps your dog feel like a confident participant in its own care.
Step 1: Position Your Dog Safely
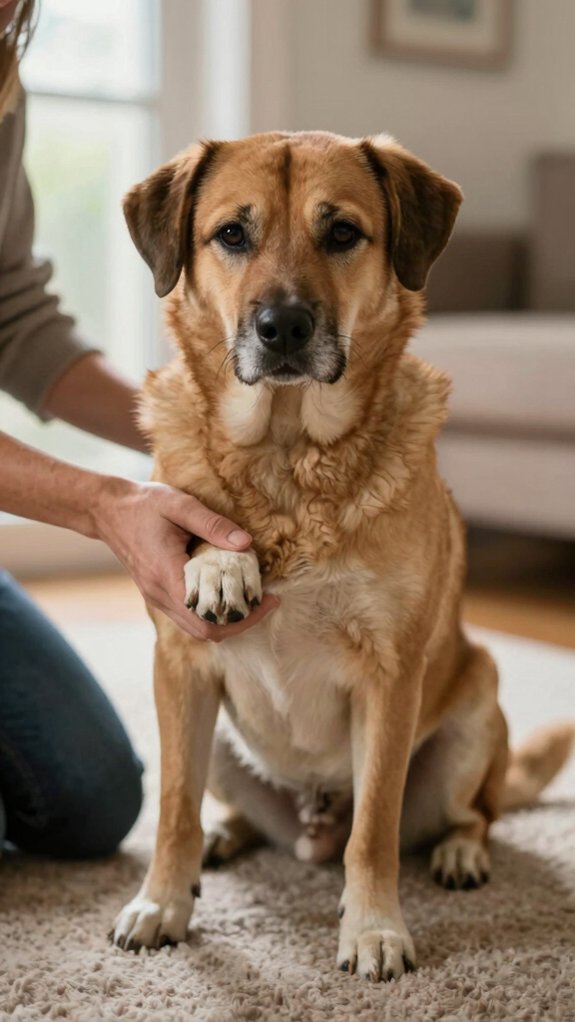
For small dogs, hold them securely on your lap or a stable surface so you can support their body and access each paw without strain. For large dogs, position them sitting or lying on a non‑slip mat and use a “stay in place” leash or a helper to keep them steady. Keep the area quiet and comfortable to minimize anxiety and make handling predictable for both of you.
Small dog hold
Position your small dog on a non-slip surface—like a rubber mat—to keep them steady and reduce the risk of slips during nail trimming. You’ll use calm, gentle handling so your dog feels safe; small dog breeds respond well to slow, predictable movements. If your dog’s anxious, have a trusted helper hold them gently. Practice short handling sessions with positive reinforcement before trimming to build trust.
- Sit or lie the dog with legs supported
- Keep a calming tone and slow motions
- Use a helper for nervous dogs
- Reward brief, successful handling sessions
- Offer praise and a small treat after each paw
These nail trimming tips help you and your dog belong to a confident, competent care routine.
Large dog positioning
How will you get your large dog steady and comfortable before you start trimming? Position your dog so they sit or lie down on a non-slip mat to promote large dog comfort and reduce sudden movement. Let them investigate the area briefly so anxiety falls; this simple acclimation supports cooperative behavior and belonging. Arrange yourself beside them with clear access to each paw, keeping a calm, reassuring presence. If needed, ask an assistant to hold or gently restrain the torso—minimal, firm contact works better than force. Use controlled, deliberate nail trimming techniques, pausing between nails to monitor stress signals. Maintain steady hands, speak softly, and move slowly; your consistent routine and precise approach will make the process safer and more predictable for both of you.
Step 2: Identify the Cutting Point
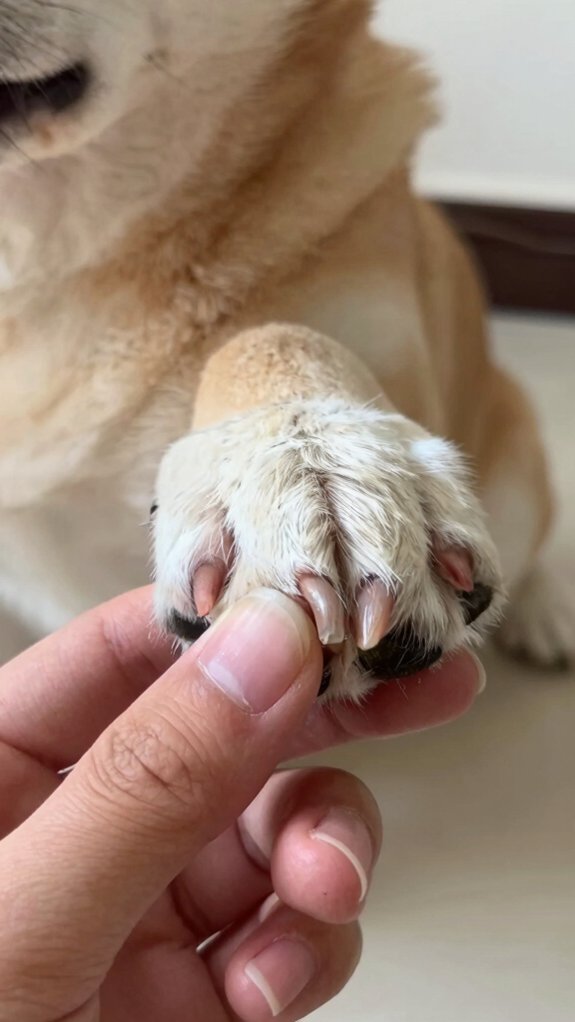
Before you cut, locate the safe cutting point by identifying the nail tip that’s clear of the quick. In light nails the quick is pink and easy to see; in dark nails use a flashlight and remove only the sharp tip to avoid hitting the quick. Check regularly so you only remove a small amount each session, preventing pain and bleeding.
Where to trim
Start by locating the quick—the pinkish, sensitive core of the nail that contains blood vessels and nerves—and plan to trim only the very tip, keeping at least 1/8 inch (about 3 mm) clear to avoid pain and bleeding. For light nails you’ll see the quick; for dark nails, you won’t, so proceed cautiously and rely on technique and lighting. Use nail trimming techniques that favor small, controlled cuts and always choose safe tools.
- Use a flashlight to brighten the nail and reveal the quick when possible.
- Inspect nails regularly to spot overgrowth early.
- Position the paw securely to prevent sudden movement.
- Trim only the translucent tip, avoiding opaque inner structures.
- Keep styptic powder ready in case of accidental bleeding.
You belong to a careful, informed pet care community; these steps keep you and your dog safe.
How much to remove
When you approach each nail, identify the quick and remove only the translucent tip—generally about 1/8 to 1/4 inch—so you stop well clear of the sensitive tissue to avoid pain and bleeding. You’ll look for the pinkish quick in light nails; for dark nails, trim tiny amounts and watch the cut surface for a change in texture or a darker central spot that signals you’re nearing the quick. Use a flashlight for visibility if needed. Consistent trimming frequency of every 3 to 4 weeks helps the quick recede and keeps the safe cutting point predictable. This cautious, community-minded approach supports your dog’s nail health and makes each session calmer for both of you.
Step 3: Trim in Small Sections
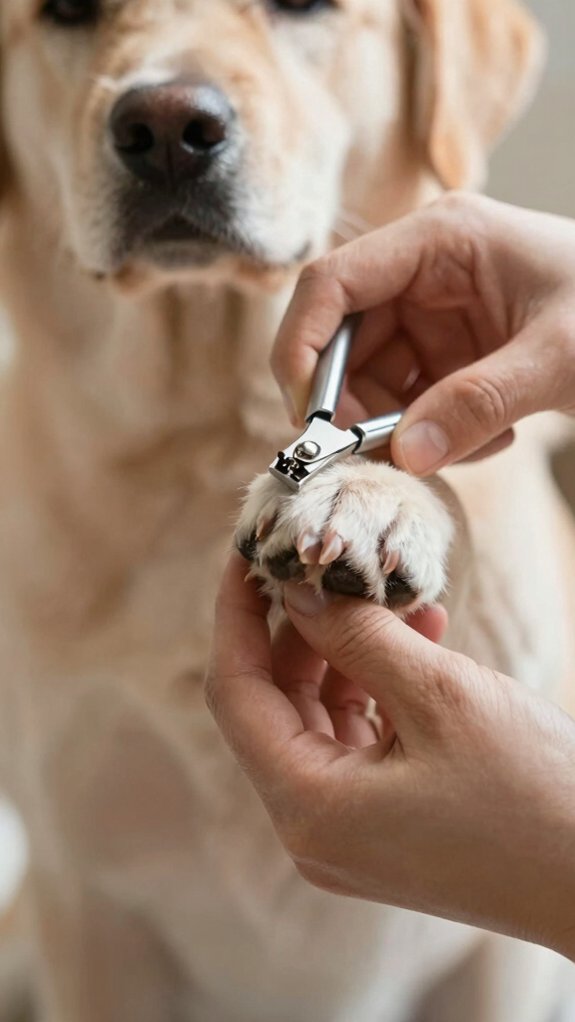
Use a gradual clipping method by removing only small sections of the nail at a time so you reduce the chance of hitting the quick, especially on dark nails. Aim for about 1/8 to 1/4 inch from the tip and use steady, smooth motions, pausing frequently to inspect the nail. If your dog shows discomfort, stop and resume later to keep the session safe and positive.
Gradual clipping method
Although you’ll trim only a small amount at a time, be deliberate and steady: clip the very tip first, then pause to let your dog settle before taking another tiny slice toward the quick. You’ll use a gradual technique that respects your dog’s comfort level and reduces risk of cutting the quick. Work methodically, watching for stress cues and returning to smaller cuts if needed.
- Begin with the tip and observe reaction.
- Use a flashlight on pale nails to locate the quick.
- For dark nails, trim minimal increments only.
- Pause frequently; reassure and reward calm behavior.
- Maintain this routine every 3–4 weeks for consistent length.
This approach nurtures confidence, safety, and a shared sense of competence between you and your dog.
Step 4: Smooth the Edges
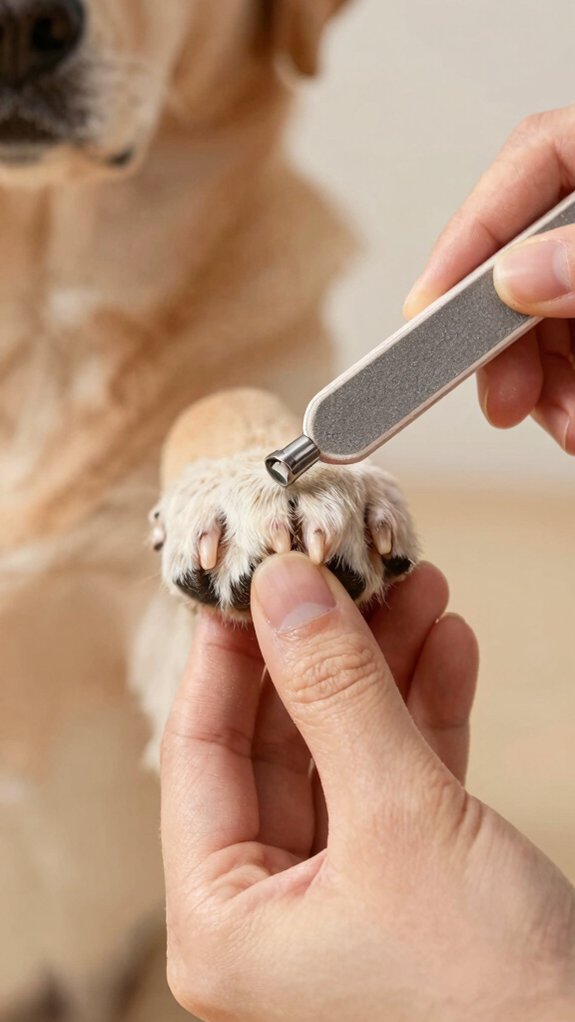
After trimming, use a nail file or emery board to remove any rough edges and prevent snagging. If you prefer a smoother finish, a nail grinder will round the tips more precisely and reduce the chance of splits. Always inspect each nail afterward to guarantee you haven’t gone too short and the quick is intact.
Using a nail file or grinder
1 simple step completes the trim: smooth the edges with a file or grinder so the nail won’t snag or scratch. After clipping, you’ll finish nail care with a tool that prevents rough edges and reduces discomfort. Use a diamond drill bit nail grinder for a smoother finish and gentler contact.
- Hold the grinder or file at a slight angle to the nail surface.
- Smooth immediately after trimming to create a positive association.
- Check the tool regularly for proper function and wear.
- Replace worn parts to maintain effective grooming techniques.
- Work calmly and stop if the dog shows distress.
You’re part of a caring routine; precise, clinical technique and consistent practice keep your dog safe and comfortable during grooming.
What to Do If You Cut the Quick
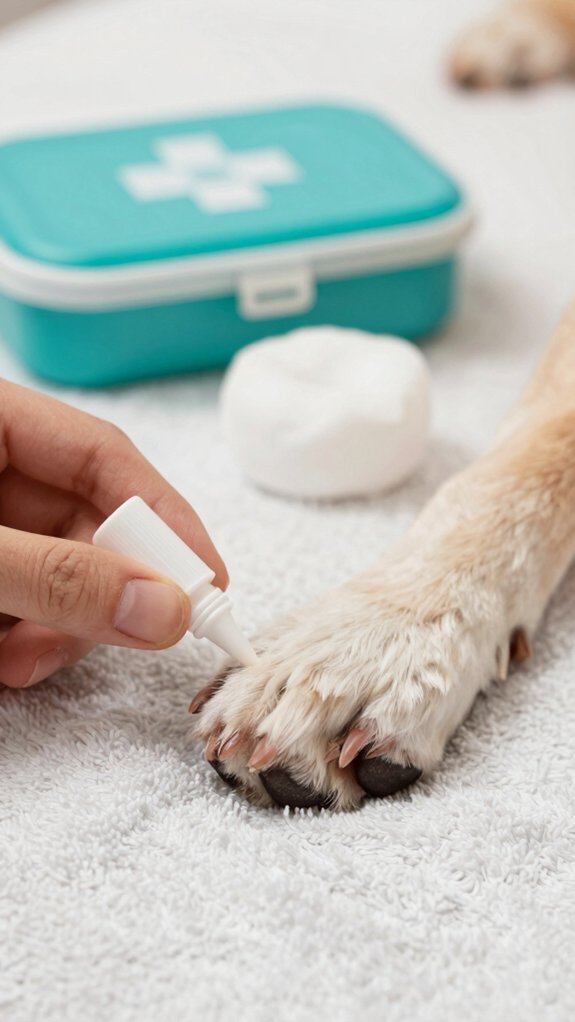
If you accidentally cut the quick, apply styptic powder immediately to stop bleeding and promote clotting. Stay calm, reassure your dog, and if powder isn’t available gently press a clean cloth or gauze to the nail while you assess the situation. Contact your veterinarian if bleeding won’t stop after 10–15 minutes, the wound looks infected, or your dog seems unusually painful or lethargic.
Styptic powder use
Keep styptic powder within reach before you start trimming so you can act quickly if you nick the quick. If bleeding occurs, press the nail gently into the powder for 5–10 seconds to promote clotting. Stay calm; your tone reassures your dog and helps restore trust.
- styptic powder benefits: rapid coagulation to stop bleeding fast
- Apply powder directly, holding steady pressure for effective clot formation
- If bleeding persists, maintain gentle pressure and reassess after a minute
- styptic powder alternatives: cornstarch or flour can help briefly if powder isn’t available
- Comfort your dog after treatment to reduce anxiety and strengthen your bond
Keep supplies nearby each session. If simple measures fail, seek professional guidance swiftly.
When to call a vet
When you accidentally cut the quick and bleeding doesn’t stop within a few minutes, act swiftly: apply styptic powder and hold firm pressure, then call your veterinarian for advice and next steps. Stay calm, monitor breathing, posture, and vocalization for signs of pain or shock. If bleeding persists, increases, or the wound appears deep, arrange a vet consultation without delay—these signs can require sutures or professional wound care. Avoid additional trimming; let the nail heal and give your dog a quiet place to rest. If your dog shows severe distress, pale gums, or continuous bleeding, seek emergency care immediately. Regular, gentle maintenance reduces future risk. You’re not alone; your vet is part of your care team.
How Often to Trim
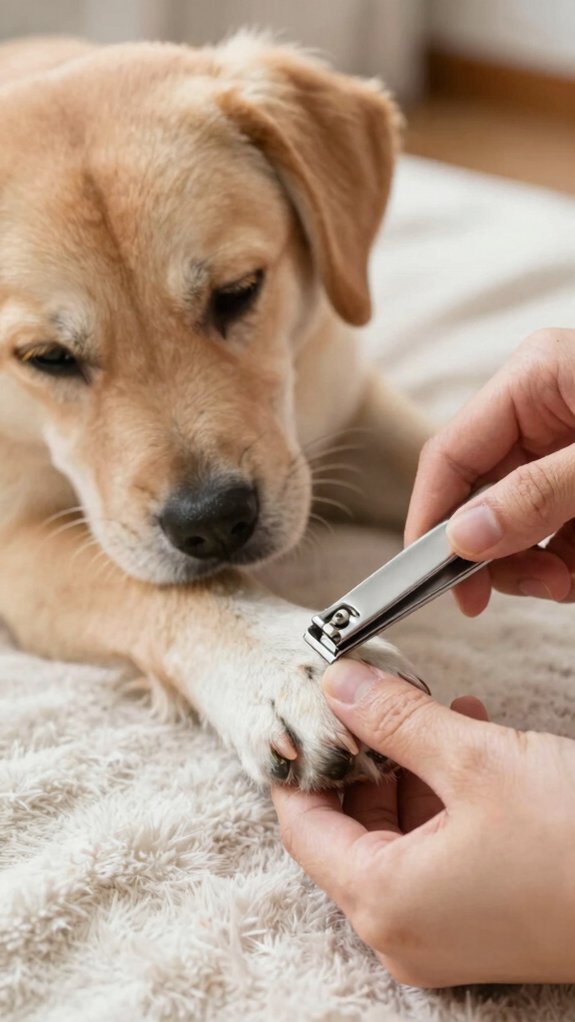
Aim to trim your dog’s nails every 3 to 4 weeks to prevent overgrowth and related problems; check them regularly and adjust the interval based on activity level, surface wear, and individual growth. You’ll establish a routine that reduces stress and supports healthy paws. Emphasize nail trimming frequency and puppy nail care early so everyone feels part of the same responsible community.
- Assess nails weekly to decide if trimming is needed.
- Increase frequency for puppies; their nails grow faster.
- Active dogs on hard surfaces may need less trimming.
- Older or sedentary dogs often require more frequent attention.
- Keep scheduled sessions to acclimate your dog and reduce anxiety.
Follow this plan consistently; it’s clinical, reassuring, and helps you belong to a group that cares for canine health.
Signs Your Dog Needs a Nail Trim
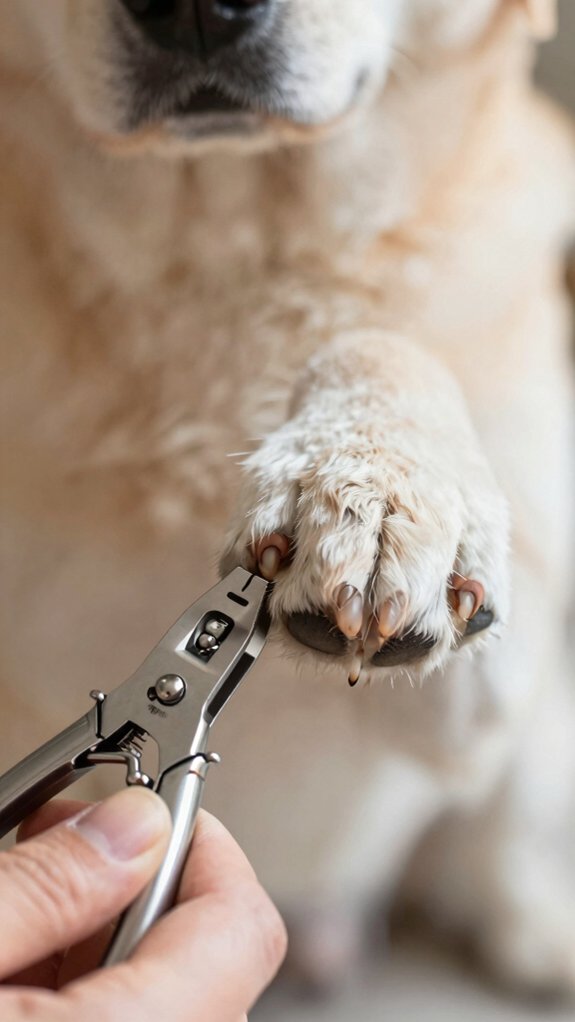
A quick tap on the floor, a visible curl past the pad, or a hesitant step are clear signs your dog needs a nail trim. Listen for tapping on hard surfaces—it’s a simple indicator that nails have grown too long and can compromise nail health. Visually check each toe: nails extending beyond the pad or curling under require attention. With light-colored nails you can often see the pink quick; when the nail approaches that zone, trim before you reach it. For dark nails, watch your dog’s gait—hesitation or discomfort suggests overlength. Maintain regular inspections and follow the recommended trimming frequency of every 3–4 weeks if walks don’t naturally wear nails down. You’re part of a community that keeps pets safe and comfortable.
Aftercare and Rewards
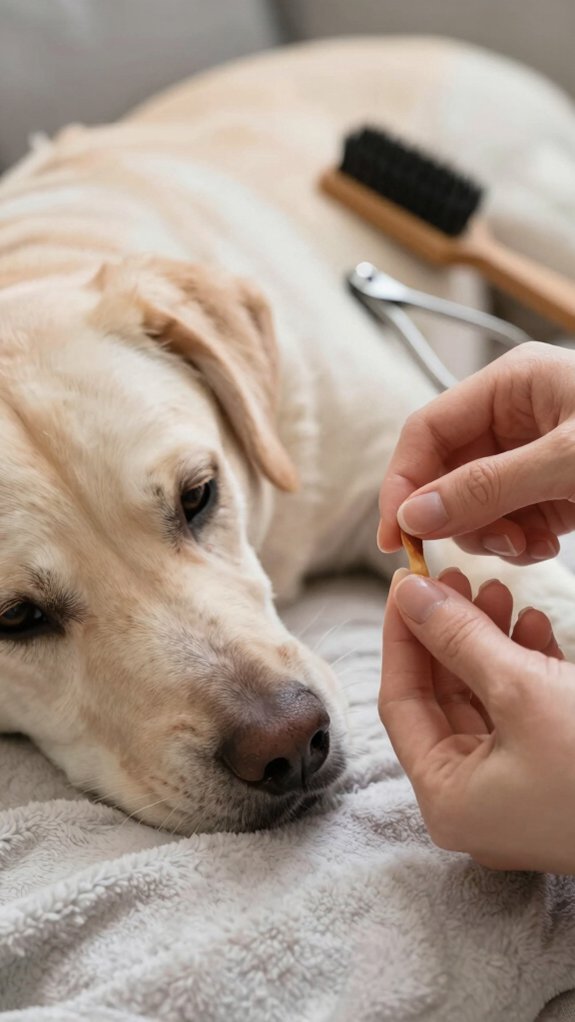
After trimming, reinforce the experience with immediate treats and calm praise so your dog links nail care with something pleasant. Use brief, consistent rewards for cooperation and celebrate small gains to build confidence for future sessions. Keep sessions regular and monitor the paws afterward so positive reinforcement becomes part of a predictable, pain-free routine.
Positive reinforcement
While keeping your tone calm and steady, immediately praise your dog and offer a treat to link nail trimming with a positive outcome. You’ll use behavior modification to form positive associations: calm voice, gentle petting, and a lick mat during sessions reduce anxiety and reinforce cooperation. Increase frequency gradually and reward each successful step to build trust.
- Praise and treat immediately after trimming each nail.
- Use soothing tones and gentle strokes during aftercare.
- Employ a lick mat or distraction treat to improve compliance.
- Reward small milestones (one nail, a calm minute) to encourage progress.
- Schedule more frequent, short sessions to normalize the routine.
You’re creating a welcoming, consistent routine that strengthens your bond and makes future trims easier.
Frequently Asked Questions
Do You Cut a Dog’s Nails Vertically or Horizontally?
You shouldn’t cut vertically or horizontally; you cut at a slight angle. You’ll use proper nail trimming techniques and safe grooming practices, keeping motion smooth and controlled so you and your dog feel confident, cared for, and part of a calm team.